This blog will explain how to archive deliveries via object RV_LIKP. Generic technical setup must have been executed already, and is explained in this blog.
Object RV_LIKP
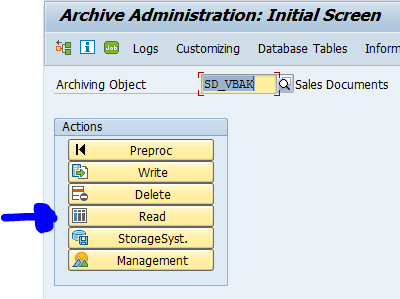
Go to transaction SARA and select object RV_LIKP.
Dependency schedule:

In case you use production planning backflush, you must archive those first. Then material documents, shipment costs (if in use) and SD transport (if in use).
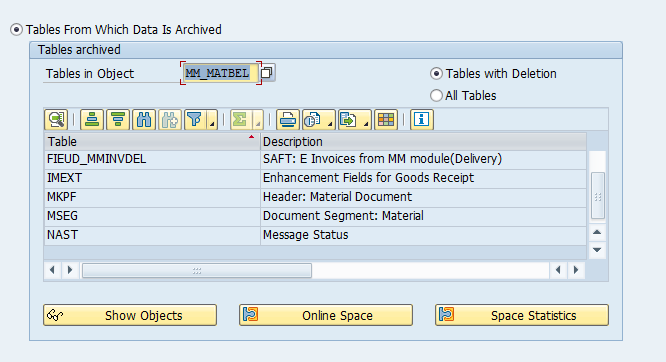
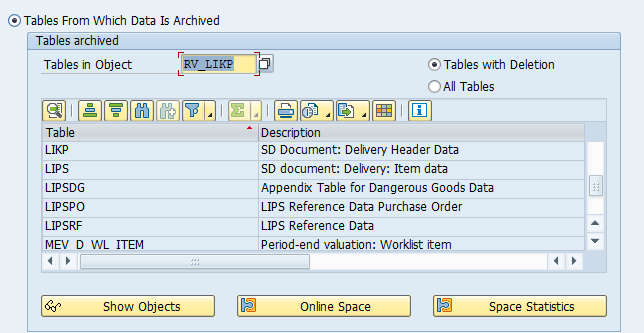
Main tables that are archived:
- LIPK
- LIPS
- NAST (for the specific records)
- VBFA (for the specific records)
- VBPA (for the specific records)
Technical programs and OSS notes
Preprocessing program: S3LIKPPTS
Write program: S3LIKPWRS
Delete program: S3LIKPDLS
Read program: S3LIKPAU
Relevant OSS notes:
- 574894 – Display of archived deliveries via VL03N and VL33N
- 2537042 – Archiving of Delivery with relevant for shipment status
- 2830402 – The system does not archive the delivery in S3LIKPWRS
- 3213750 – S3LIKPWRS performance impacted by V_KONV_CDS
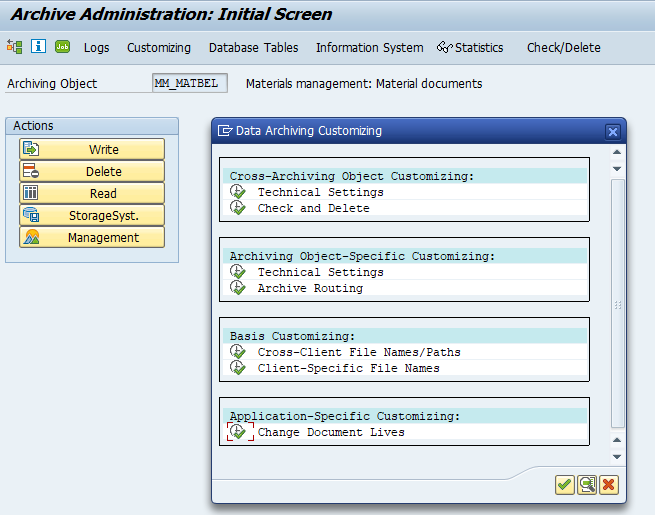
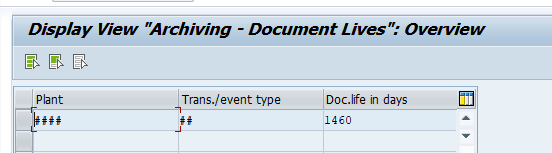
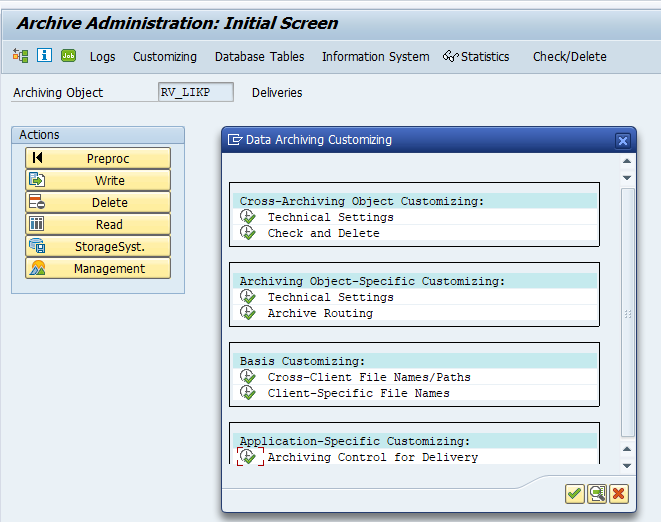
Application specific customizing
In the application specific customizing for RV_LIKP you can maintain the document retention time settings:

Executing the preprocessing run
In transaction SARA, select RV_LIKP. In the preprocessing run the documents to be archived are prepared:
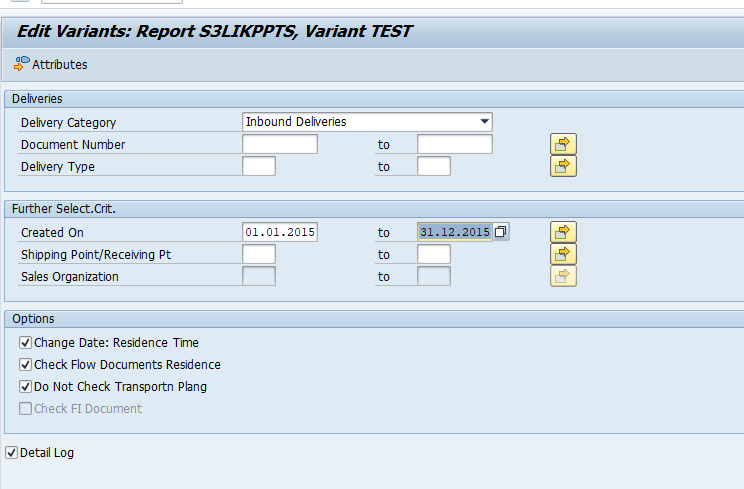
You must run the program twice: for inbound and outbound deliveries.
Check the log for the results:
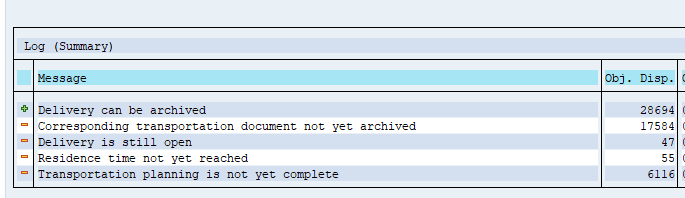
Typically RV_LIKP will yield 30 to 70% documents that can be archived.
Executing the write run and delete run
In transaction SARA, RV_LIKP select the write run:
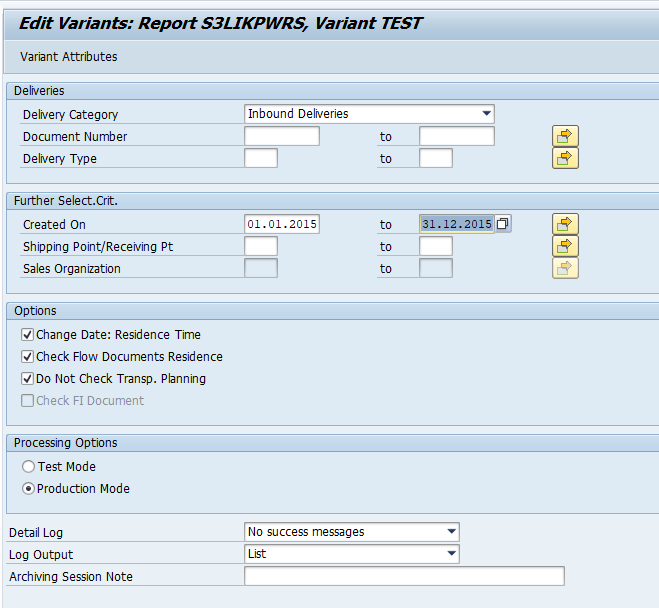
Select your data, save the variant and start the archiving write run.
Give the archive session a good name that describes sales organization/shipment point and year. This is needed for data retrieval later on.
After the write run is done, check the logs. RV_LIKP archiving has average speed, but not so high percentage of archiving (up to 40 to 90%).
Deletion run is standard by selecting the archive file and starting the deletion run.
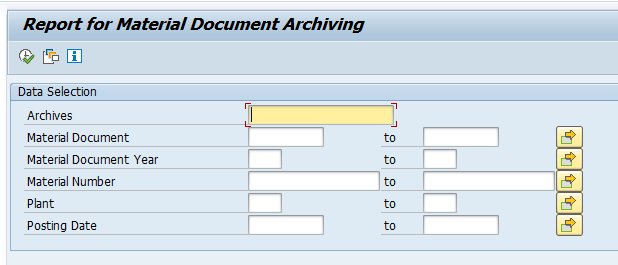
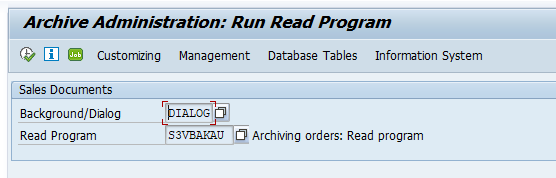
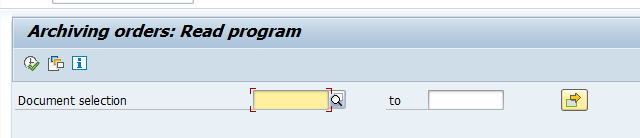
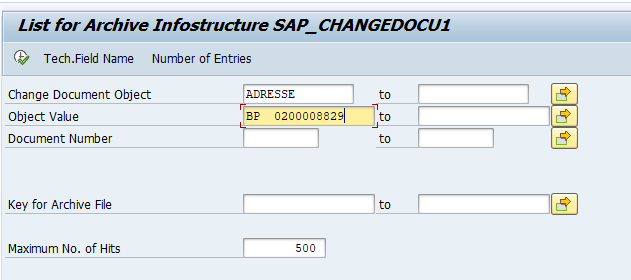
Data retrieval
Start the data retrieval program and fill selection criteria:

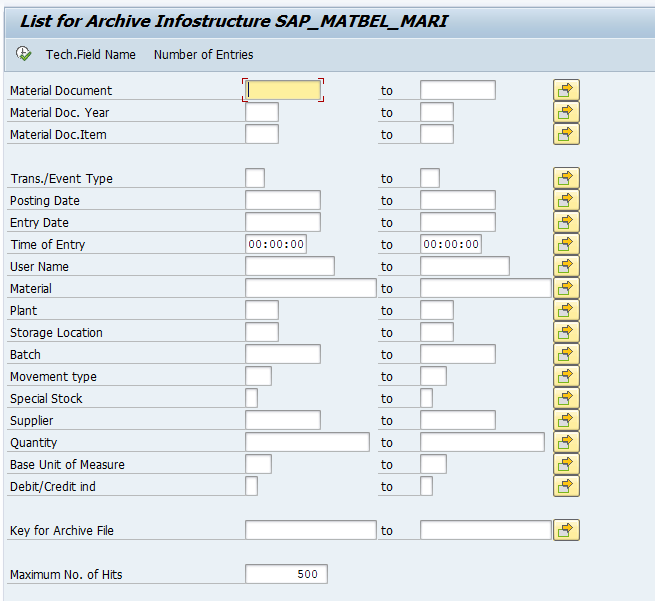
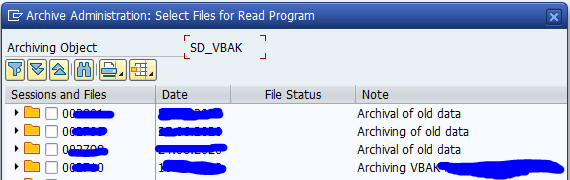
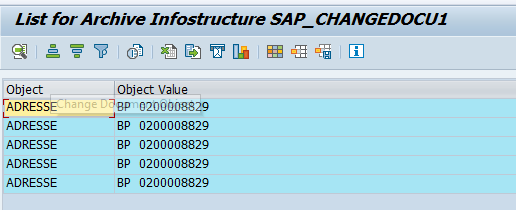
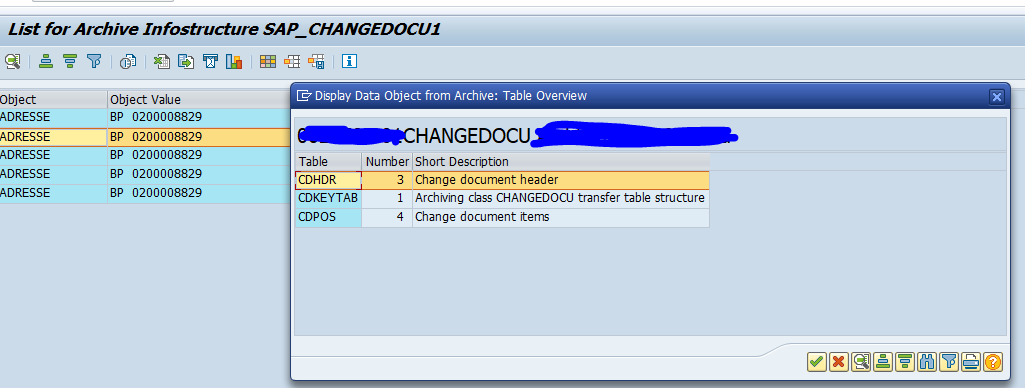
In the second screen select the archive files. Now wait long time before data is shown.
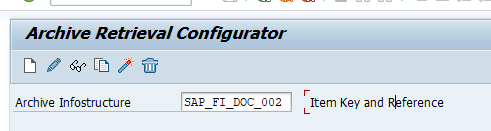
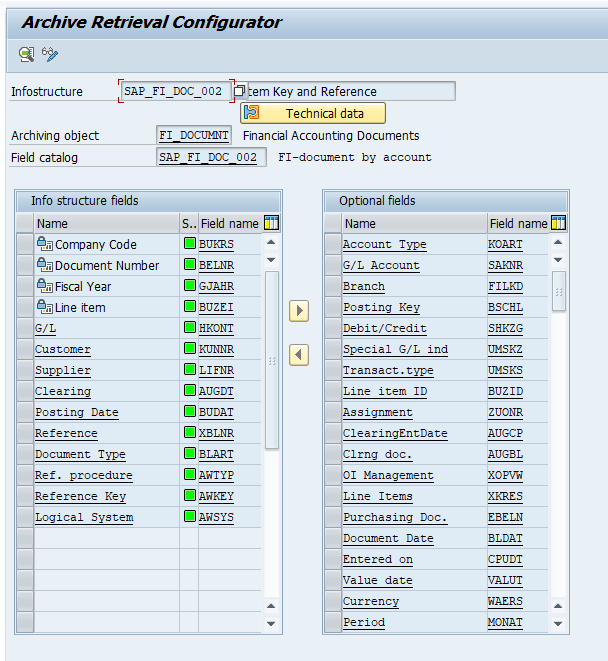
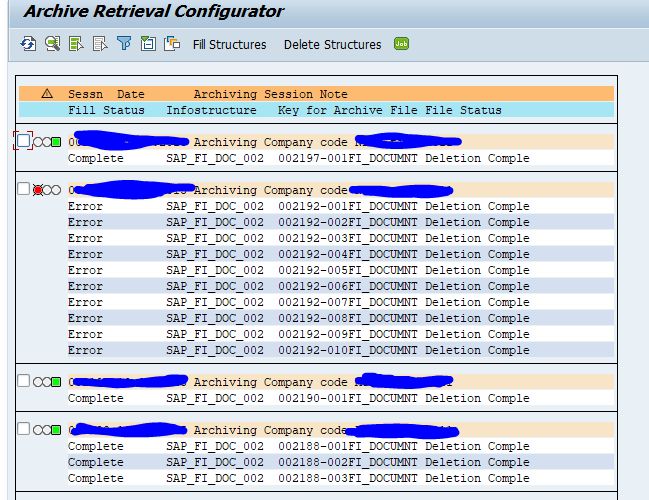
For faster retrieval, setup data archiving infostructures SAP_RV_LIKP_001 and SAP_RV_LIKP_002. These are not active by default. So you have to use transaction SARJ to set them up and later fill the structures (see blog).