This blog will list several RC-8 transport errors, explanation of the reason, and solution to solve the RC-8.
Import options
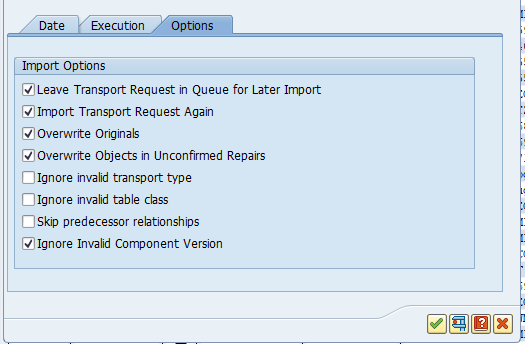
The transport import has a tab for options:
In the below solutions there is reference to the use of these options.
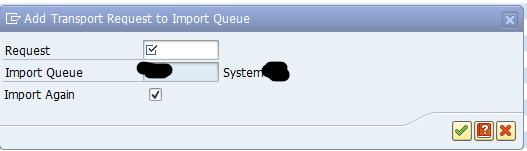
Adding transport again to the import queue
To re-import transport again, go to transaction STMS, go to the import queue, select the menu Extra, Other Requests, Add. Enter the transport request and tick the box Import Again:
Local repair
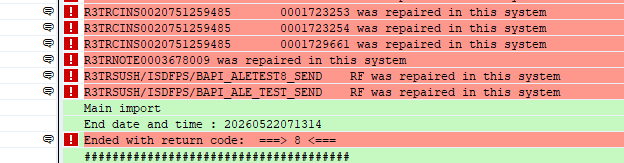
For some reason the ABAP code was changed locally in the target system.
The text looks like “was repaired in this system”:
Solution: re-import with the overwrite originals flag, and set the flag overwrite objects in unconfirmed repairs.
Component version mismatch
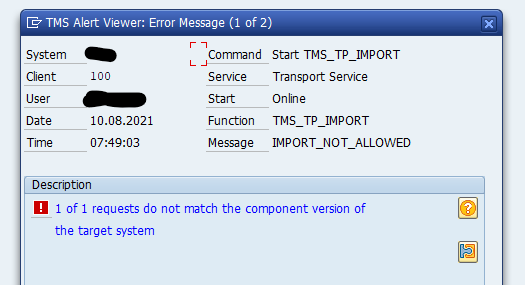
A very frequent cause of transport errors can be component version mismatch. This means that the system detects a difference in components between the source and target (more on components in this blog). That can be a component (like add on) that is already installed on the source , but not yet on target. Or that in the source the ST-PI or ST-A/PI is already patched, but not on the target.
In most cases this version mismatch can be ignored and you can set the “Ignore Invalid Component Version” flag.
When not to set this flag:
Transports related to newly installed addon like customizing/workbench needing the new component
Transports with OSS notes related to this component (for example OSS notes on top of ST-PI)
Missing ABAP object references
A very common cause of RC-8 is that an ABAP program needs an object, which the developer stored in a different transport. To fix the RC-8: import first the transport with the object, then the ABAP program transport. Or import them both at the same time.
To avoid such RC-8’s always run the transport sequence check tool, as explained in this blog.
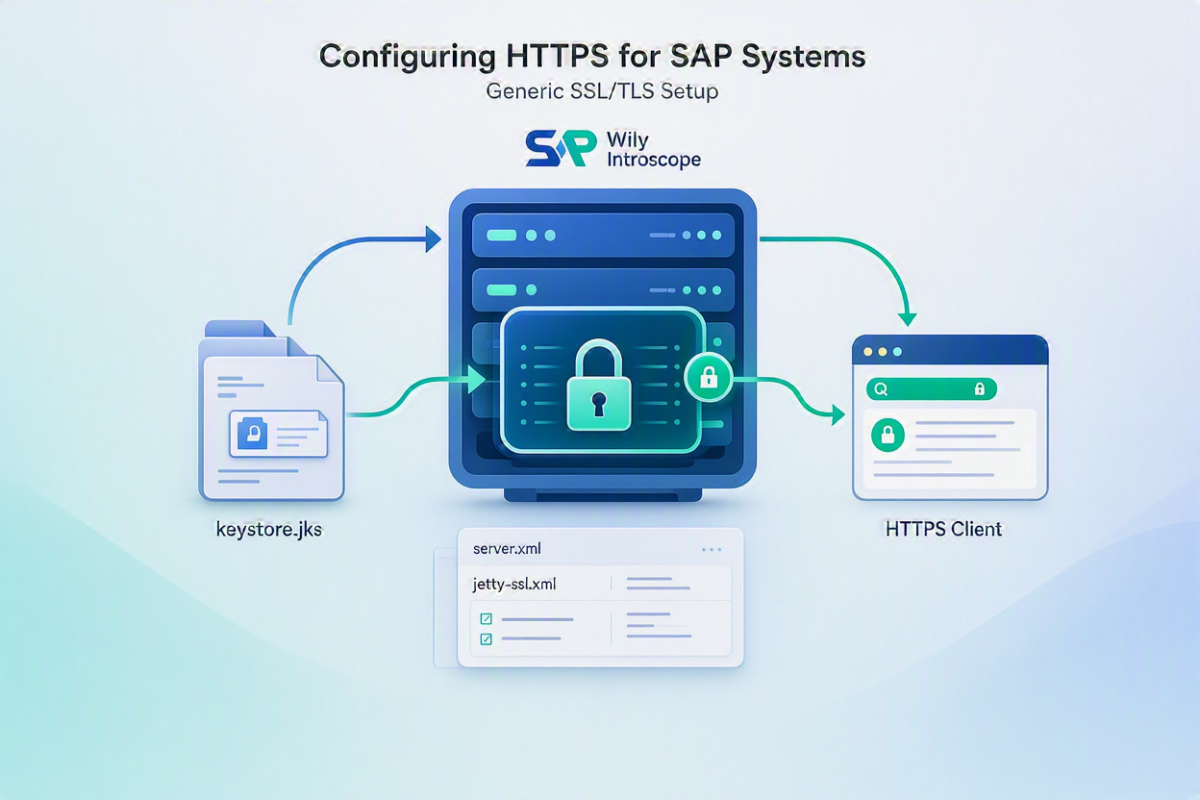
SAP Wily Introscope (CA APM) Enterprise Manager (EM) plays a critical role in monitoring SAP system performance. By default, the EM web interface communicates over HTTP, which is not secure for enterprise environments.
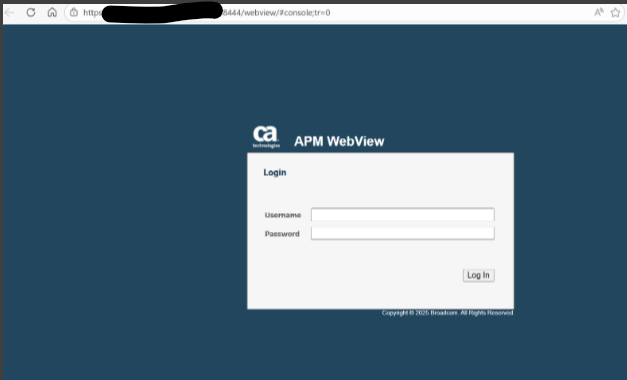
After applying SSL certificates, restart wily and launch https URL with 8444
Common Issues and Troubleshooting
HTTPS not working
Check whether the Jetty SSL configuration is actually enabled
In many cases, the HTTPS section in the configuration file is still commented out
Certificate not recognized
Verify that the correct alias is being used in the keystore
Ensure the full certificate chain is present, including any intermediate certificates
SSL errors in the browser
This often happens when using a self-signed certificate
Also check for CN/hostname mismatches between the certificate and the URL
Port not accessible
Confirm that the HTTPS port is open on the firewall
Make sure the port is properly exposed and the service is listening on it
Best Practices for HTTPS Configuration
Use certificates issued by a trusted Certificate Authority (CA) for any production environment. Self-signed certificates should be limited to testing only.
Wherever possible, disable plain HTTP access and enforce HTTPS across all endpoints to avoid unsecured communication.
Always maintain a secure backup of both the keystore and truststore files, along with their passwords, in case recovery is needed.
Conclusion
Enabling HTTPS in SAP Wily Introscope ensures secure communication between users and the Enterprise Manager. By leveraging Jetty SSL configuration and proper certificate management, organizations can significantly improve the security posture of their monitoring infrastructure.
This setup is a recommended best practice for all enterprise deployments of Introscope.
The whole world and also SAP are investing a lot in AI.
This blog explains technical references for the SAP AI Core. We stick to technical facts, not opinions, nor future predictions, nor business cases. There are already more than sufficient blogs on these topics.
SAP AI Core main description
The main information of SAP AI Core can be found in this document published by SAP. Current version at time of writing this blog was from May 2026.
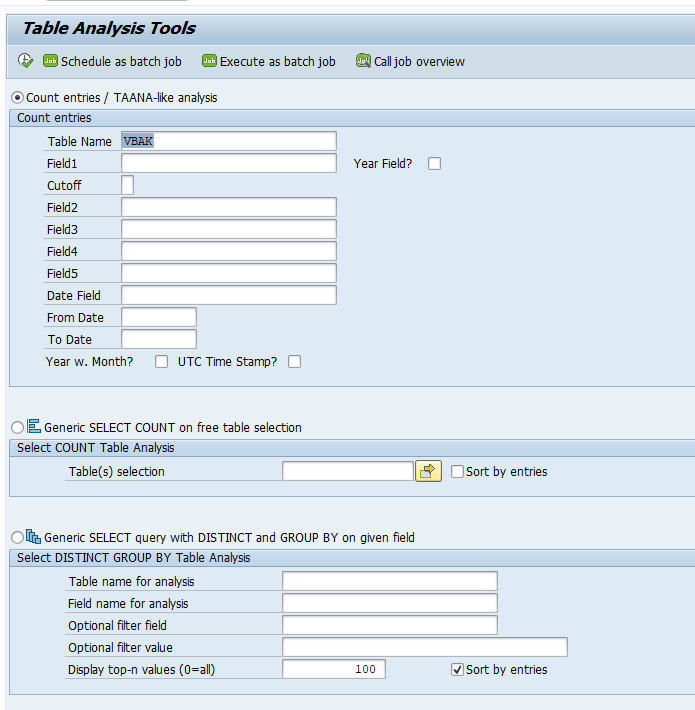
In some cases transaction SE16 might not be allowed to be used in a productive system. But as basis you need to analysis a table (for example to count amount of entries).
As alternative you can use the table analysis tool.
Start transaction ST13, and choose tool TABLE_ANALYSIS:
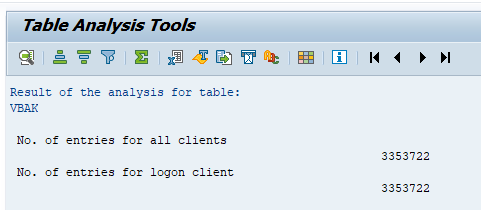
The output:
As alternative, you can also use SA38 to run program /SSA/CAG.
The me.sap.com data volume management function was terminated. This blog will explain how you can use SAP Focused Run to get an overview of the top 20 tables on HANA based system. There data volume really matters for both cost of the infrastructure and HANA database license costs.
Set up
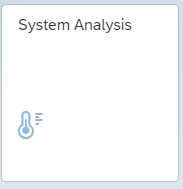
The setup is part of SAP Focused Run System Analysis. Select the System Analysis tile:
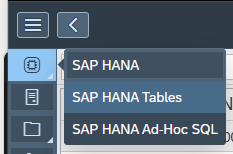
Then select the HANA system for which you want to perform the analysis. Select the tool HANA Tables:
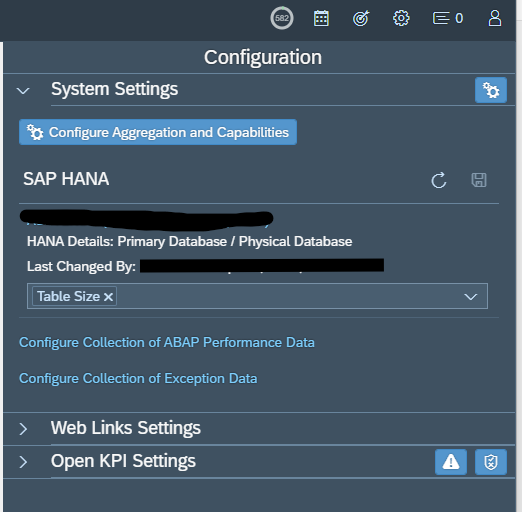
Depending on your SSI settings data might be shown already. If not, select the configuration item to open the configuration screen:
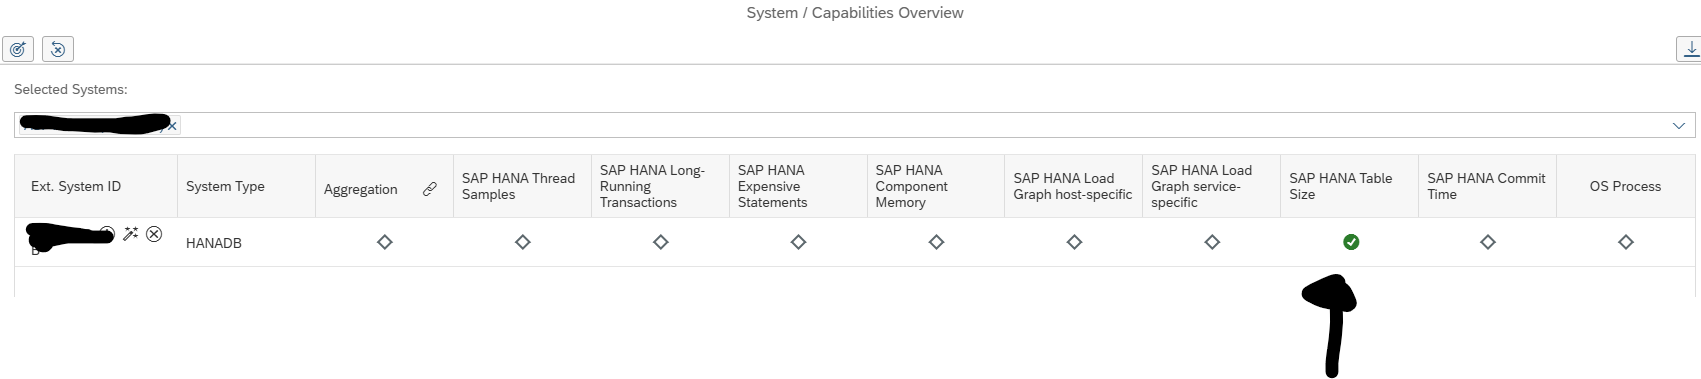
Click the Configure Aggregation and Capabilities button. In the next screen make sure the switch for SAP HANA Table Size is green:
If it is not green yet, click on the grey diamond to activate it:
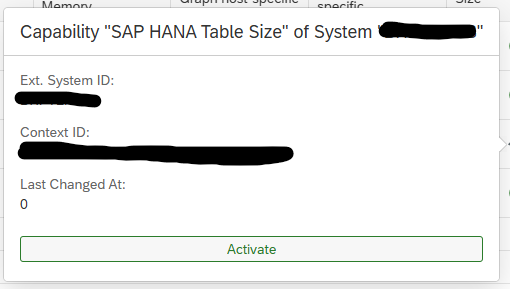
Hit the Activate button to confirm activation.
After activation wait 1 day for data collection.
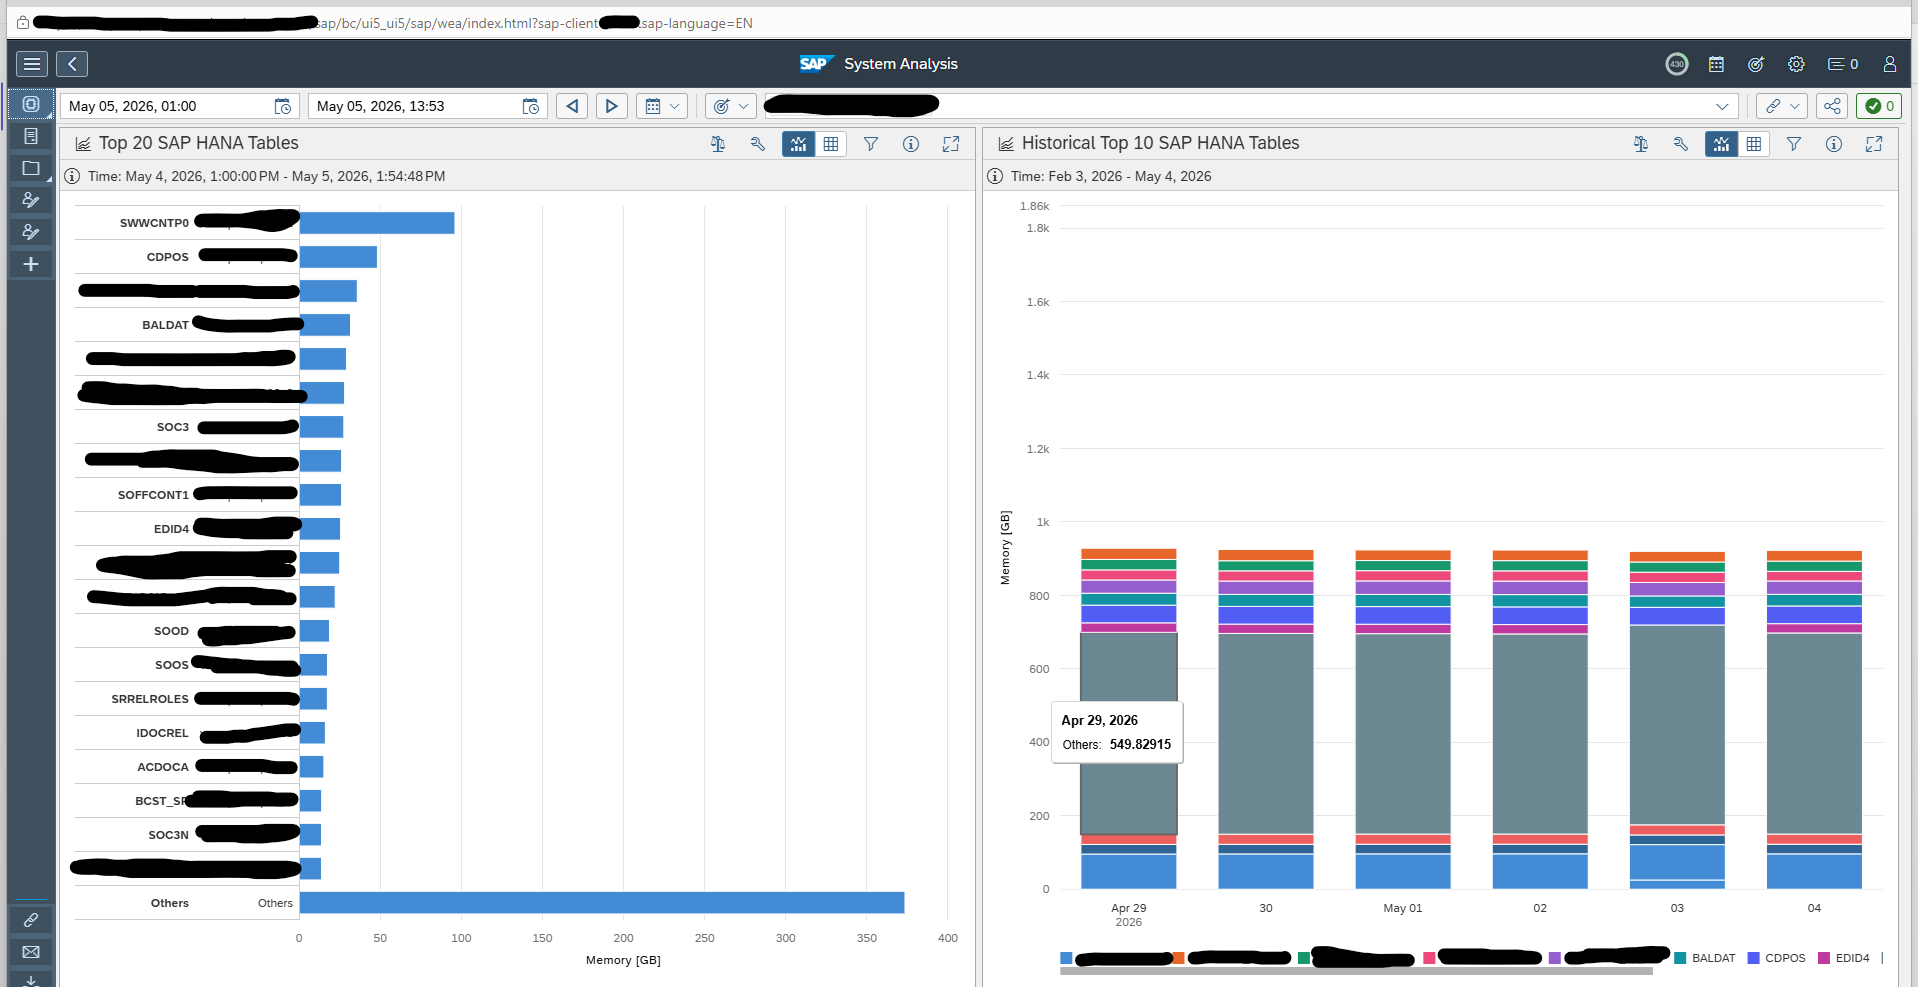
Top 20 results
Now you can see the results. On the left hand side the current top 20 tables, and on the right hand side the growth:
Optionally you can set the function default as active in the SSI by going to table RCA_SSI_CONF with SM30 and add the entry HANA_TABLE_SIZE with activation X.