This blog will explain how to activate ODATA V4.
Questions that will be answered in this blog are:
- How to activate ODATA V4 on your SAP system?
- Does SAP support ODATA V3?
- Do all consuming applications support ODATA V4?
- What are the differences of ODATA V2 and V4?
ODATA V4
In the typical FIORI use case you will activate ODATA V2. SAP has skipped ODATA V3. ODATA V4 is supported by SAP.
Constraints of SAP ODATA V4 are listed in OSS note 2322624 – SAP Gateway SAP_GWFND OData V4 protocol – Known Constraints.
Filtering is powerful in ODATA V4. Read more on this in OSS note 2305033 – SAP Gateway OData V4 $flter Consulting Note.
Keep in mind not all application fully support all aspects of ODATA V4 or might not be able to consume ODATA V4 at all. Check first with the consumer before publishing an ODATA on V4.
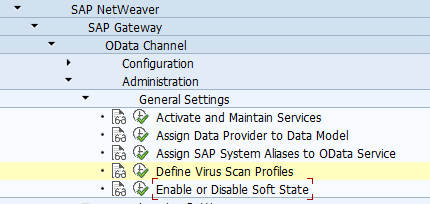
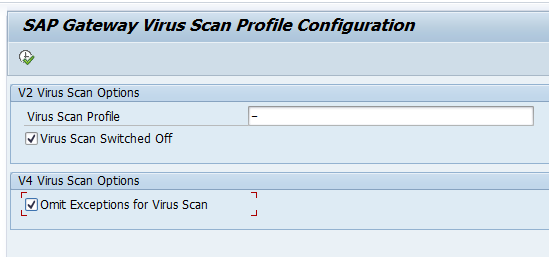
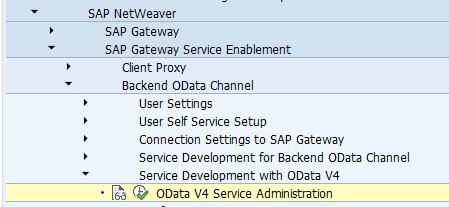
Activation of ODATA V4
First step in activation is to check the virus scan settings for ODATA:
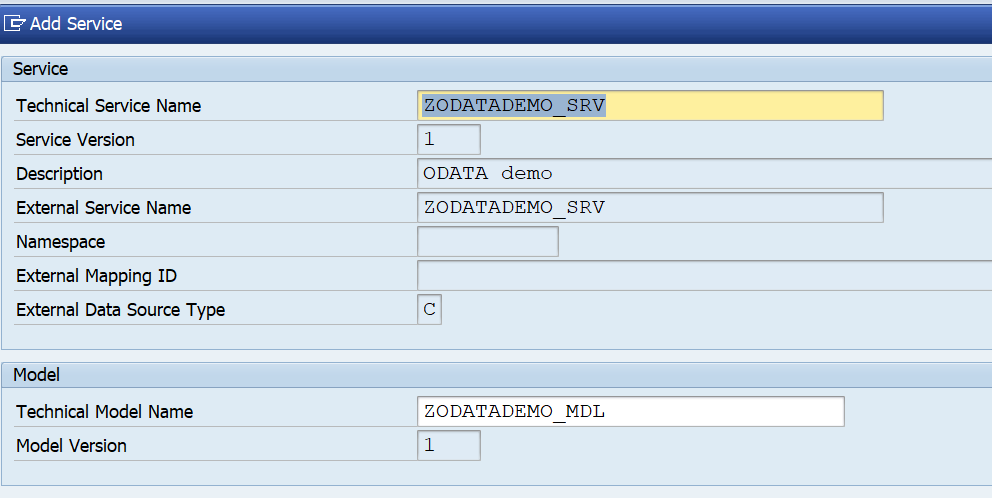
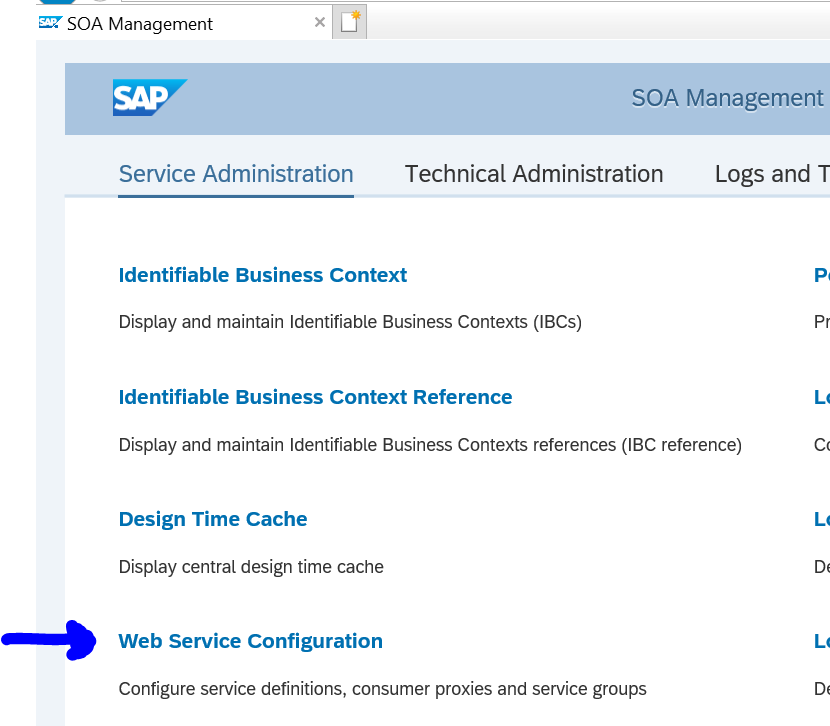
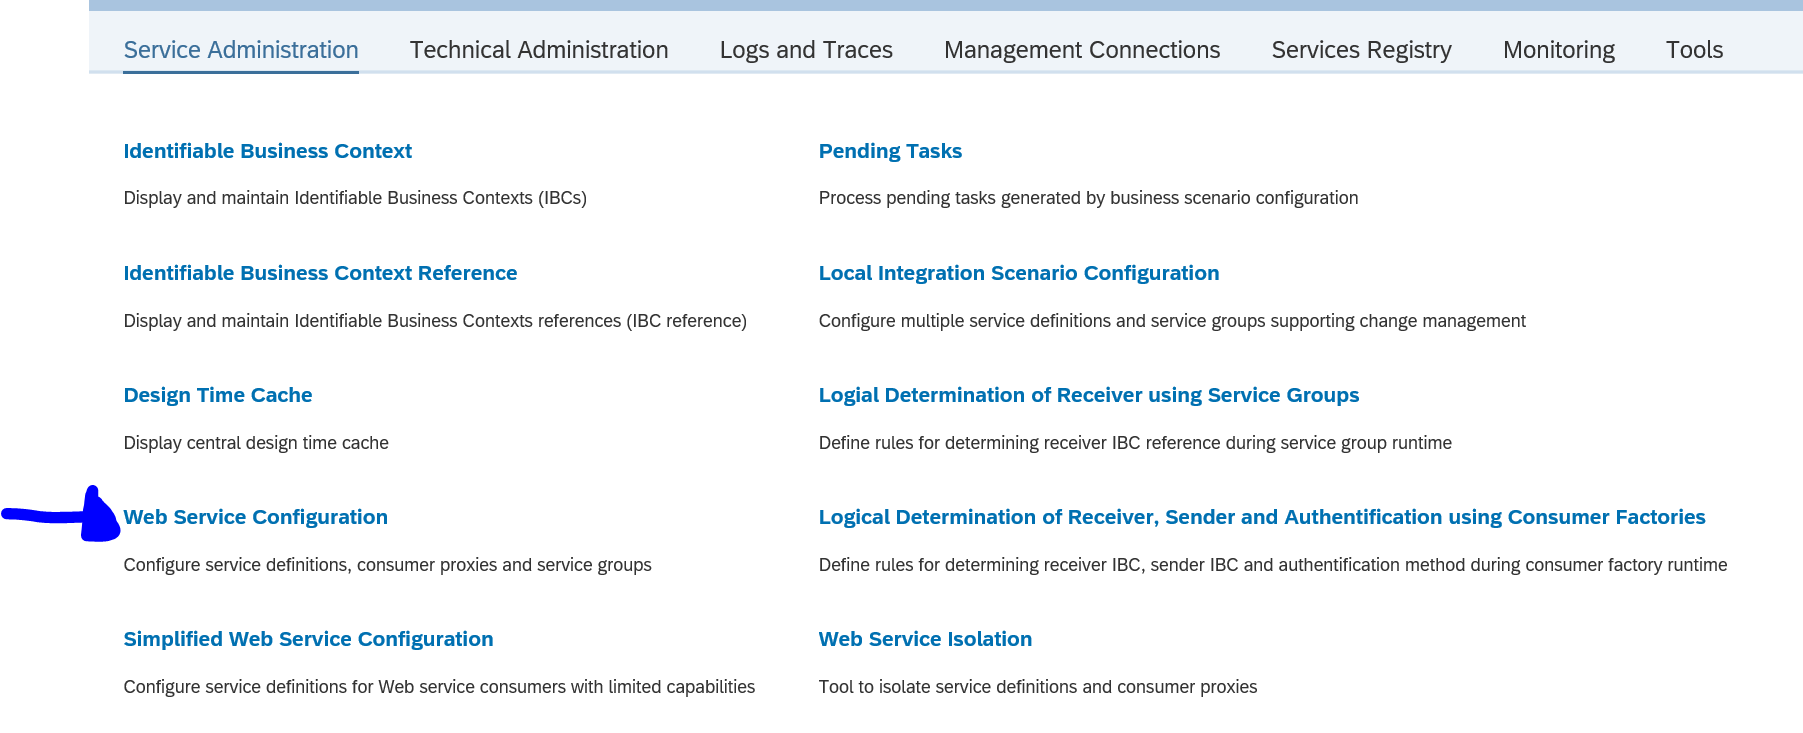
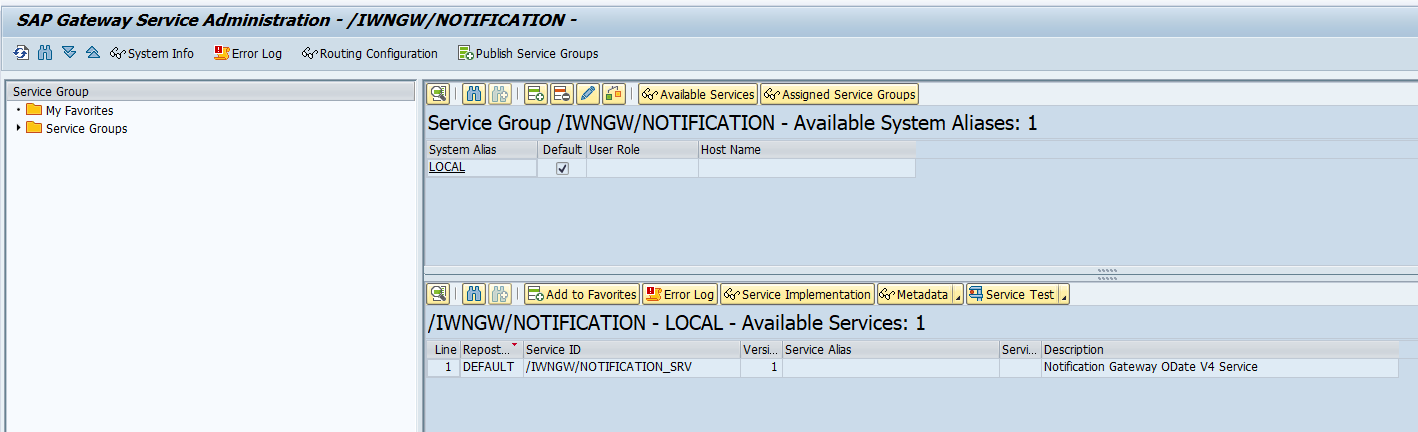
Activation of ODATA V4 messages via service administration:
Or use transaction /iwbep/v4_admin:
And for the front end /iwfnd/v4_admin:
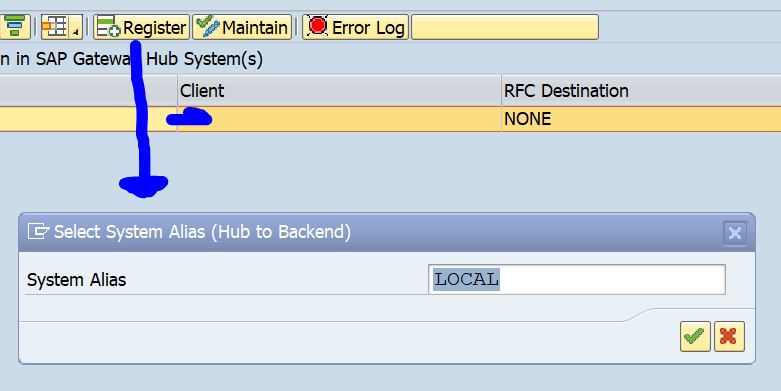
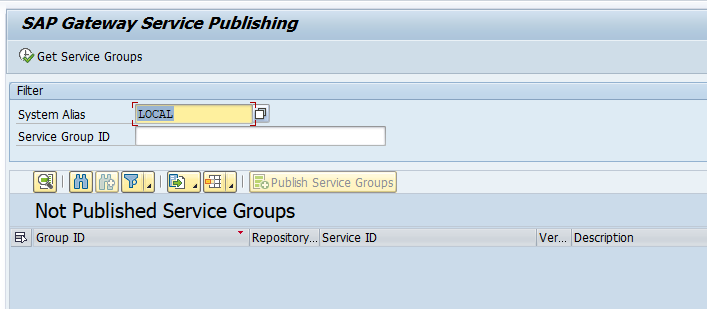
Press button Add service groups:

Push the button Get Service Groups:
And select your entry and press Publish Service Groups:
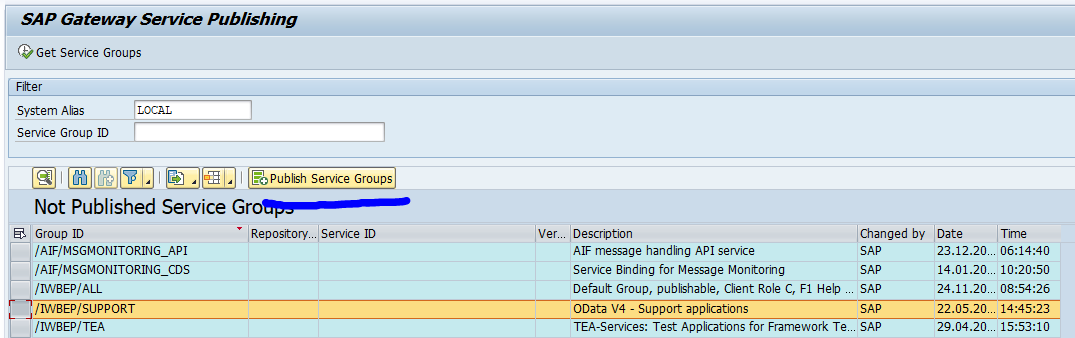
Which one to publish has to be told to you. The consultant requesting it might link to the API hub.
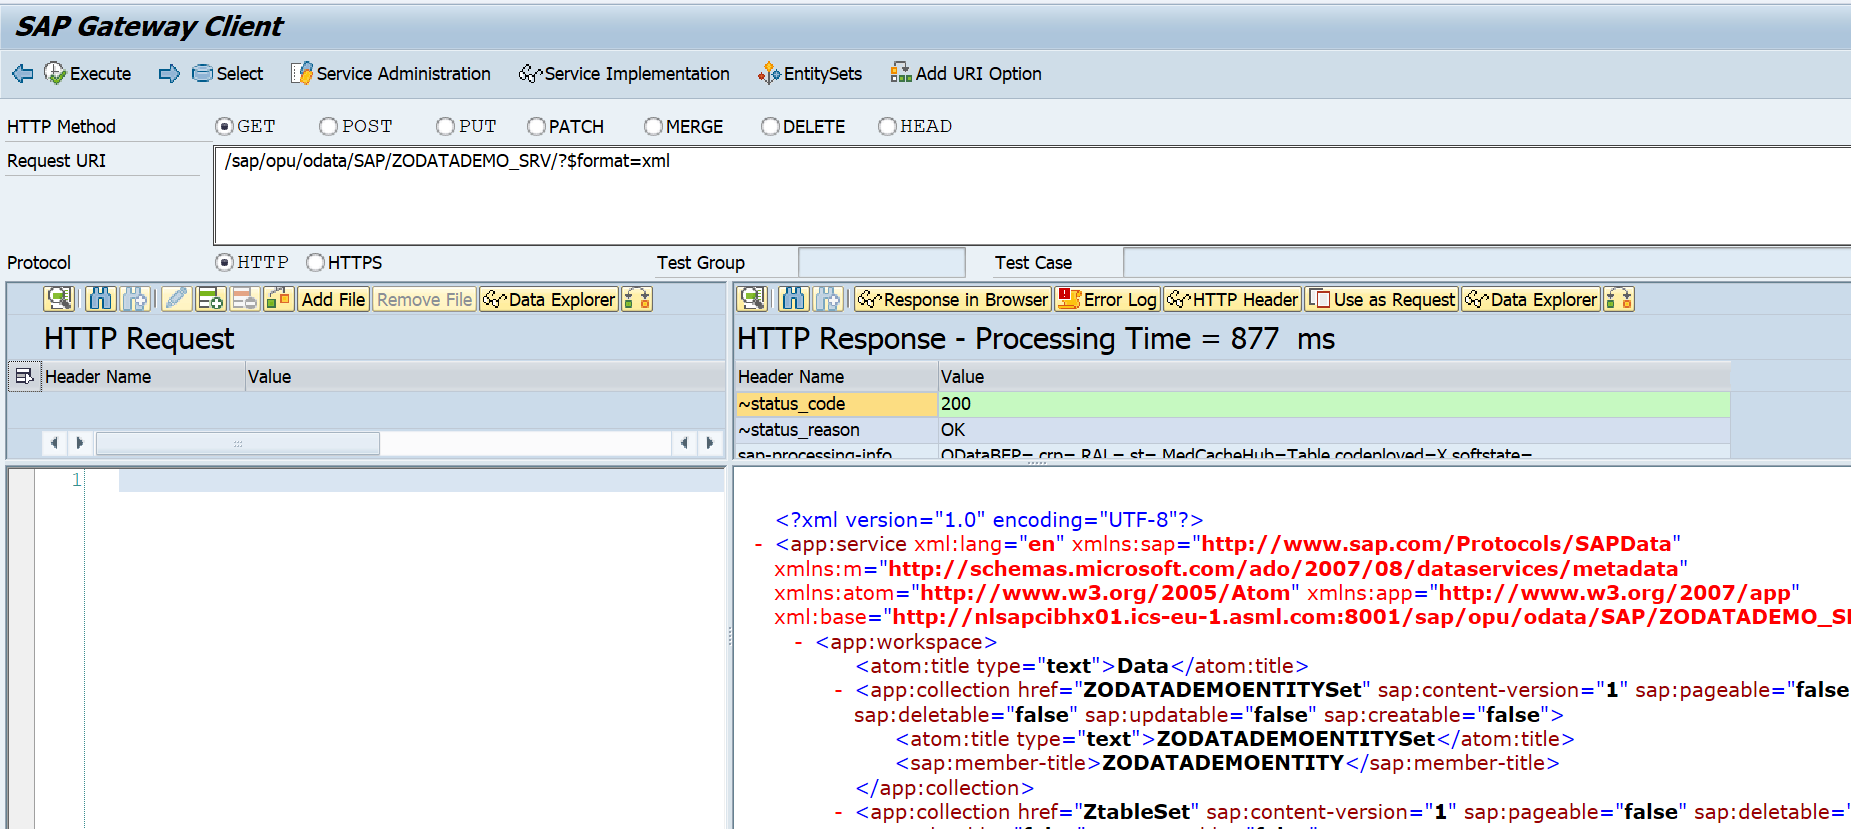
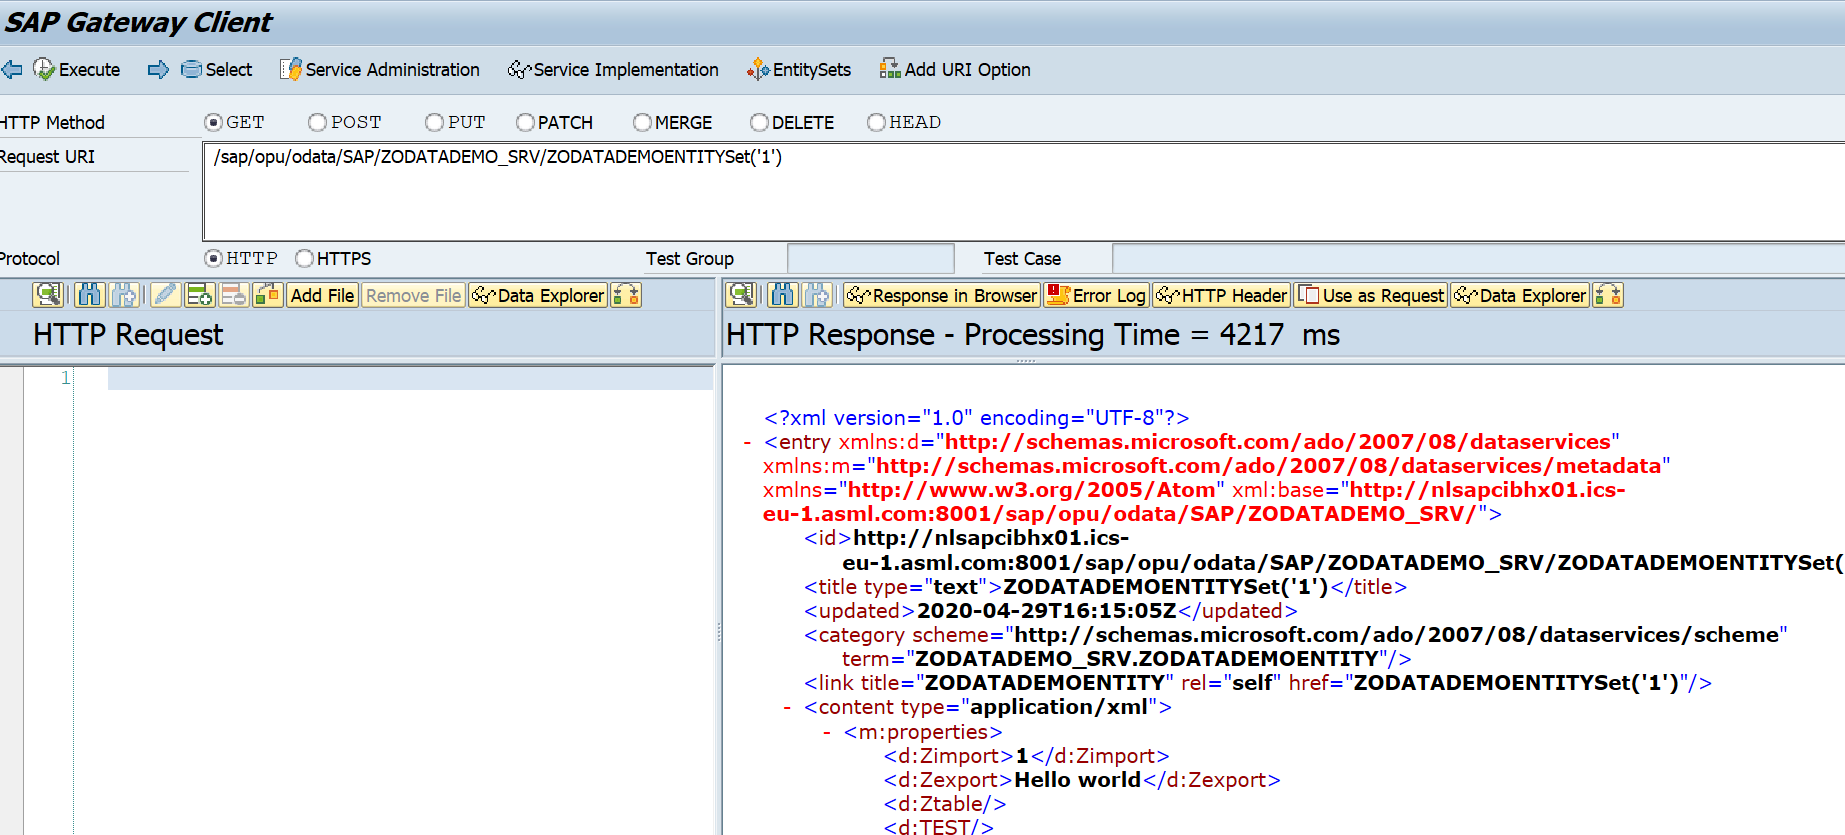
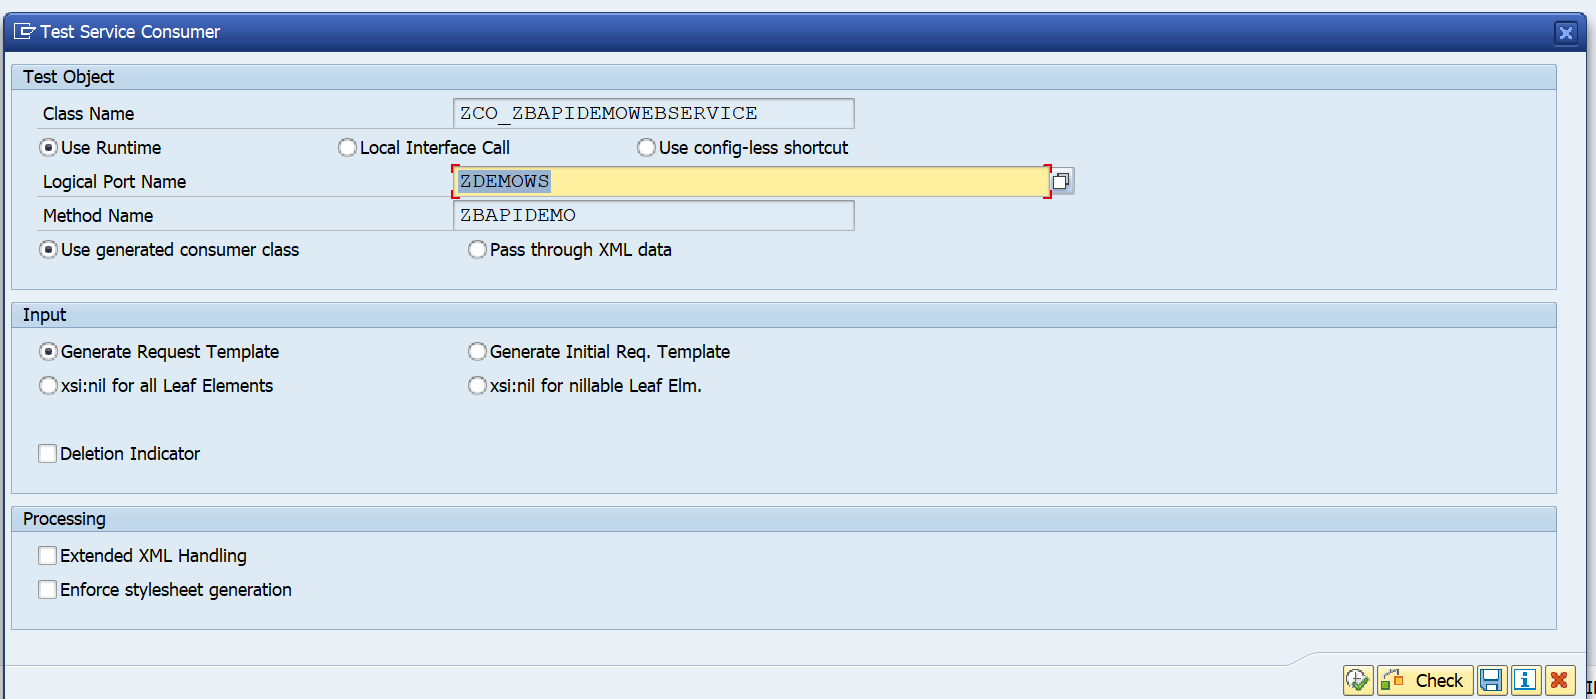
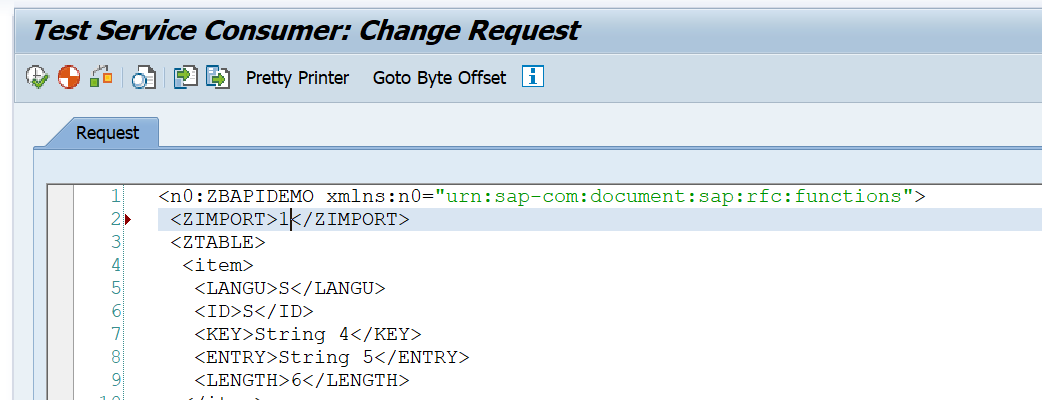
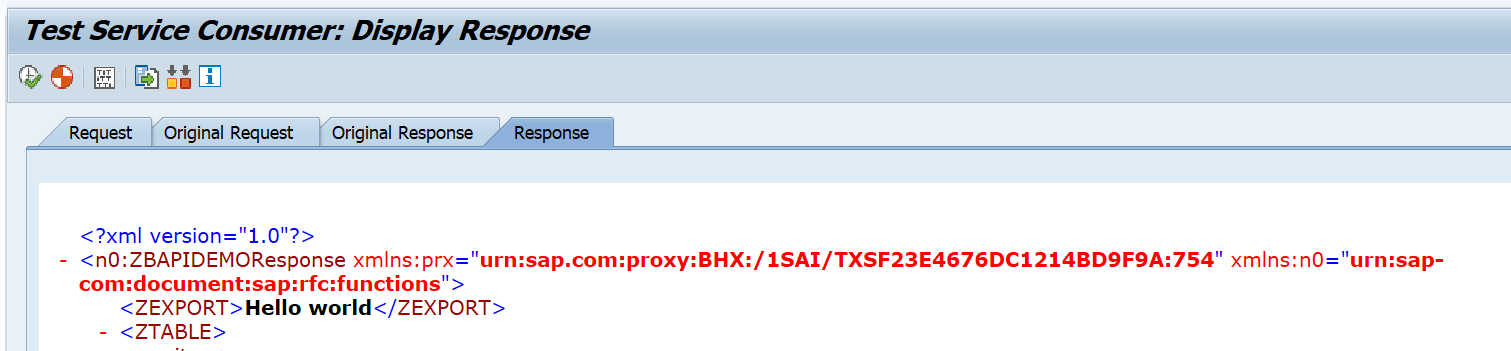
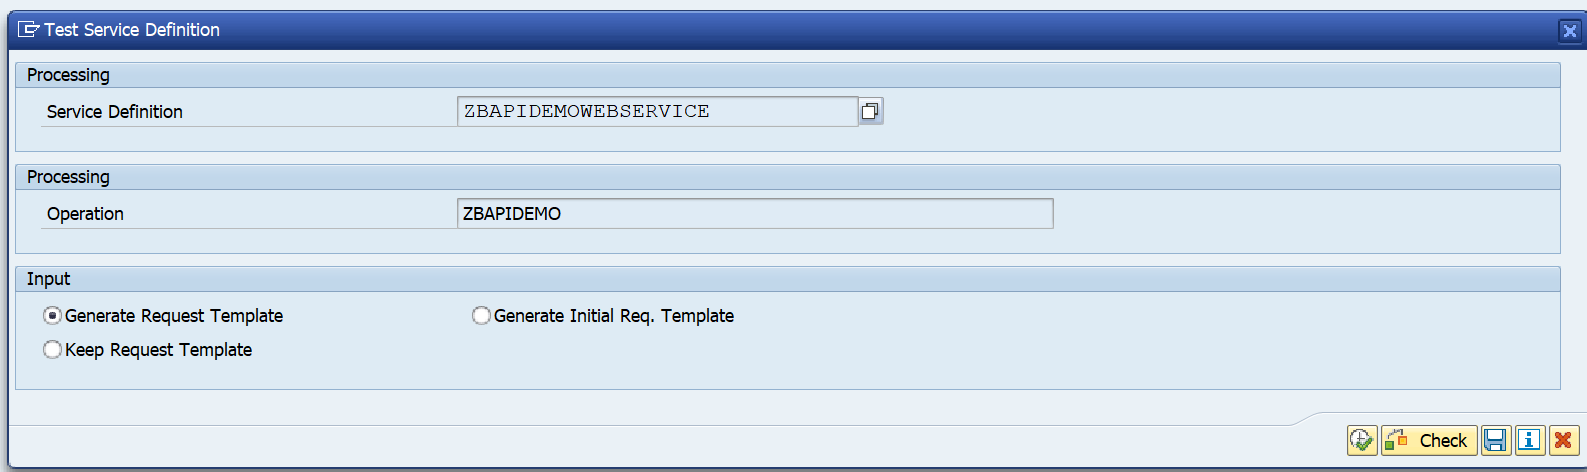
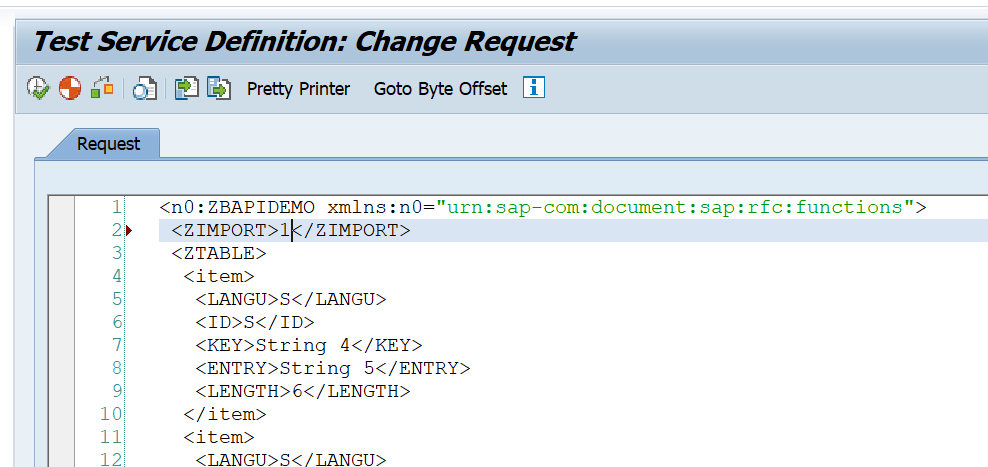
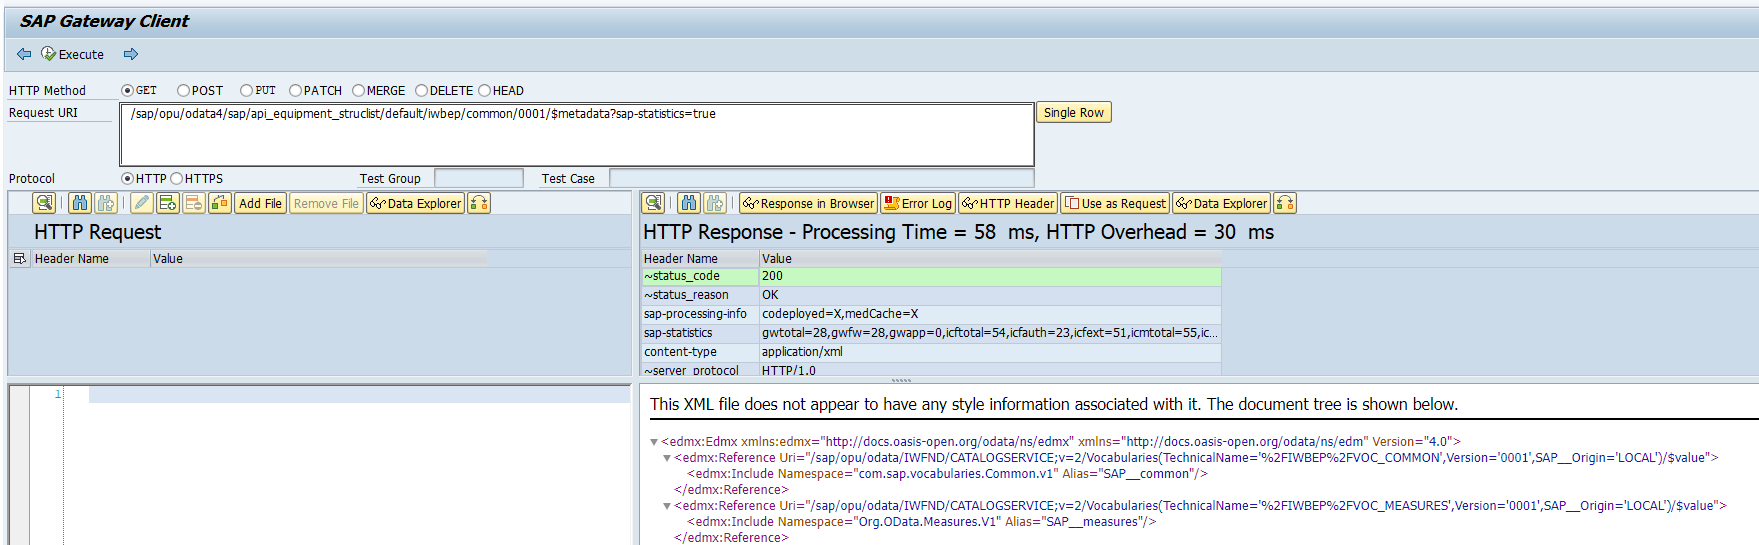
After activation, you can use the Service Test button to check if the activation is ok:

On the screen hit Execute and the result should be a HTTP 200 success message:
OSS notes and background
Background notes:
- 2948977 – How to Register OData V4 Service in SAP Gateway System?
- 3027559 – OData V4 and Client Proxy: Handling of Virus Scanner related issues
- 3037006 – How to unpublish ODATA V4 service groups?
- 3101976 – Publishing OData V4 service is throwing error: Publishing of XXXXXXXXXX in Customizing client not allowed
- 3144784 – Does ODATA V4 supports on SAP NetWeaver 7.4? – SAP for Me
- 3145233 – Unsupported Front-end/Hub version.
- 3220333 – How to transport ODATA V4 Service group registration?
- 3245194 – How to distinguish the version of OData – V2 or V4
- 3247965 – How to Transport OData V4 Service Groups?
- 3248335 – Transport Request screen is not appearing when publishing the OData V4 Service Groups
- 3491161 – ODATA V4 Service Generation Error in SEGW
- 3519031 – OData V4: 20 sap-messages returned
Bug fix OSS notes:
- 3031742 – Shortdump ASSERTION_FAILED in /IWBEP/CL_V4_MED_MODEL_FACTORY
- 3125215 – Accept Blank if-match headers
- 3143041 – Partial-busi-data flag is set incorrectly by old front-end / hub systems in remote scenario
- 3232327 – Fix for stateful tracelogs in Gateway Odata V4
- 3236604 – ContentID in error message spelled wrong
- 3243730 – Nullable Action Parameter causes dump
- 3260505 – Service Feature: Flag Framework calculated properties as provided
- 3392675 – App Support: OData V4 support
- 3473382 – OData V4 Action parameter is not parsed correctly
- 3478328 – OData V4 – Text annotation based on OTR does not show
- 3481862 – OData V4 $filter: Unit/Currency and Amount check depends on order of the fields
- 3485185 – OData V4 combination of query options $apply and $skiptoken not supported
- 3507303 – Fix namespace escaping in ValueListMapping (V4)
- 3531075 – OData V4 Catalog Service default paging is not working correctly
- 3535420 – OData V4: Release of transport containing service group publishing fails with message ‘A key with language “‘ ‘” was specified for table “/IWFND/C_V4_MSGT”. This is not a valid language.’
- 3536314 – Value help parameter escaping corrections (OData V4)
- 3548175 – OData V4: ETag response header missing for nullable Operation return
- 3549264 – OData V4: CX_SY_REF_IS_INITIAL for $filter with literal values ‘AND or ‘EQ’
- 3552283 – OData V4: set_provider_abap_conv_exit overwrites uppercase conversion info
Useful background blogs:
Differences between ODATA V2 and V4
For UI consumption differences between ODATA V2 and V4 read this SAP help file.
Generic blog on main differences ODATA V2 and V4: read here.
Or read this SAP blog on differences ODATA V2 and V4 for SAP specific.