This blog will explain about the SQLM tool to monitor expensive SQL statements in a productive environment.
Questions that will be answered are:
- How to start and configure the SQLM tool?
- How to analyze the results?
Configuration of SQLM tool
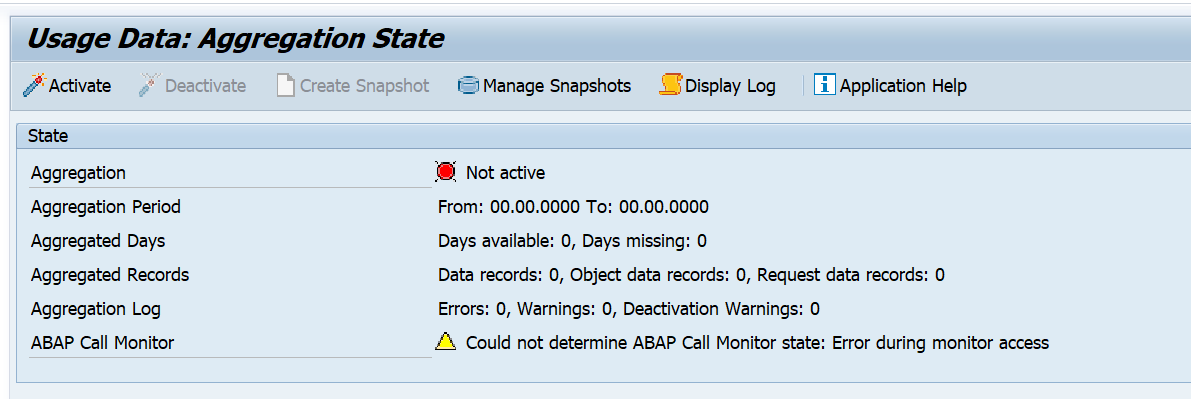
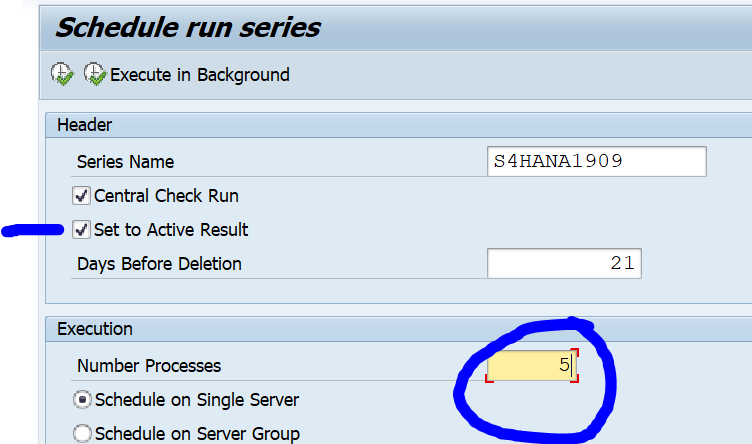
The SQLM tool does not require specific configuration or installation if you have a bit modern SAP system. To activate it start transaction SQLM and click on the Activate button for All Servers:
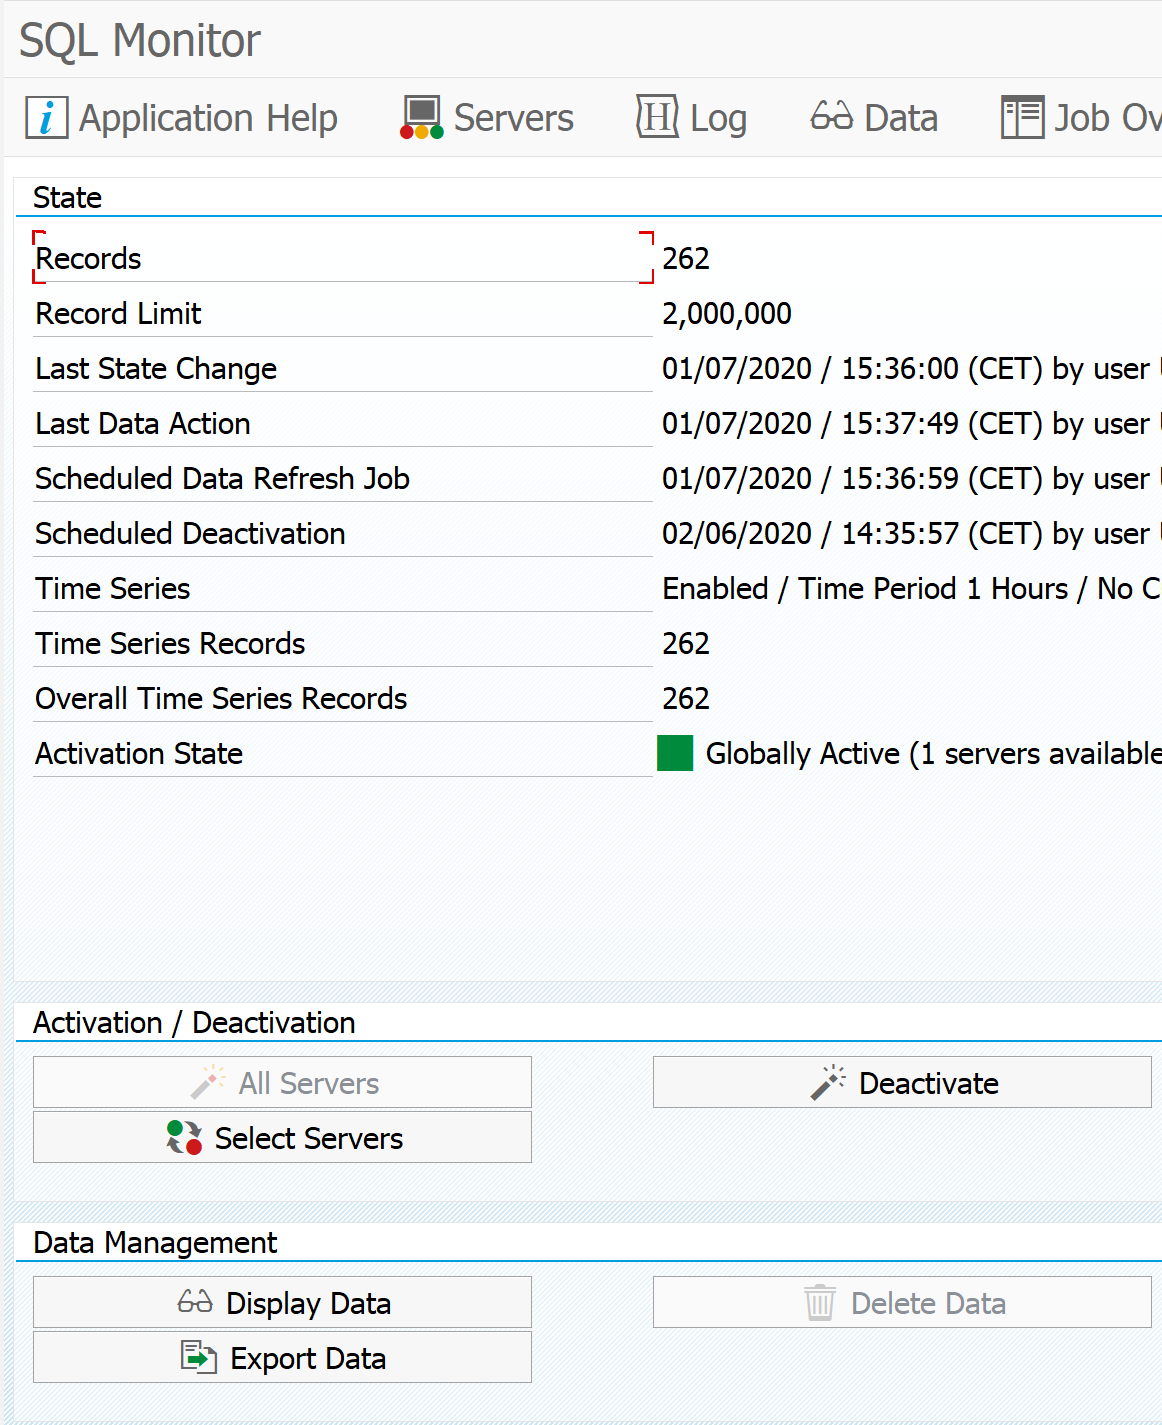
The trace is active now until the given time frame.
Example use of the SQLM transaction
First we start by writing a very bad performing Z program:
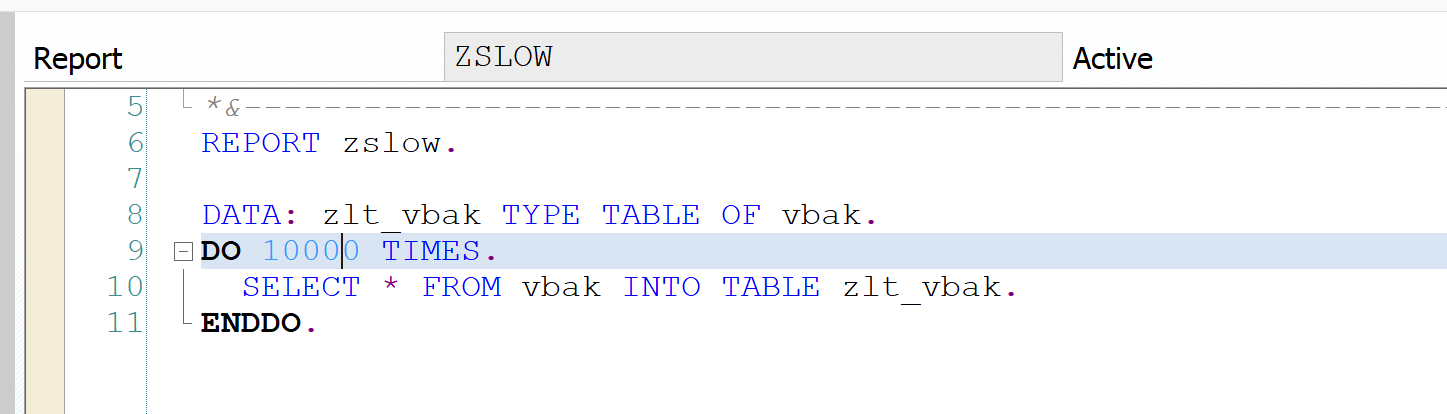
This program is really inefficient. After activation of the SQLM monitoring we run this program a few times.
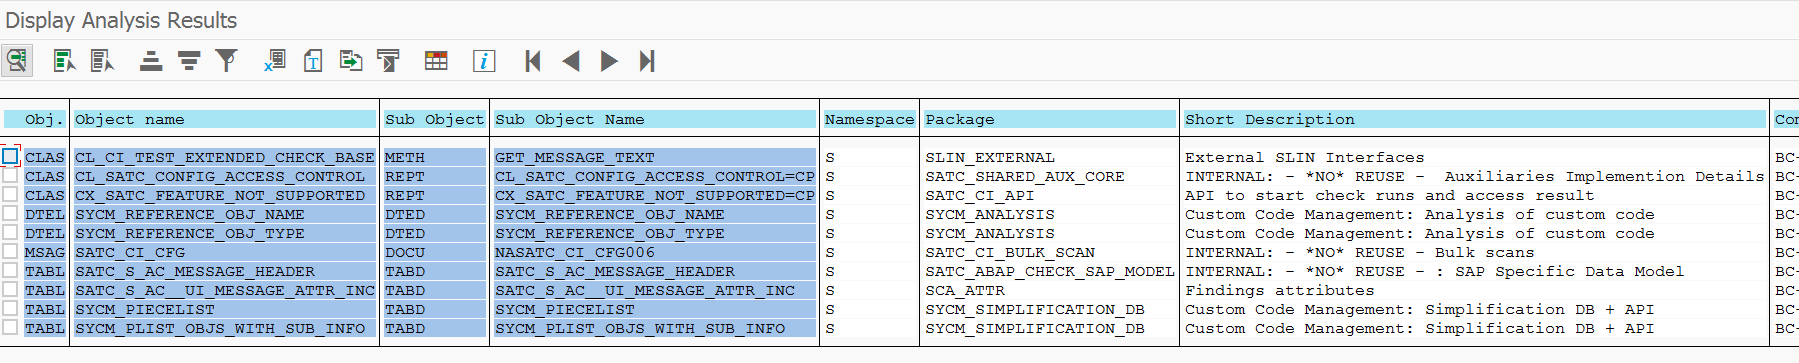
Now we goto the SQLMD transaction (or from SQLM and then press display data button) to display the SQL monitoring results:
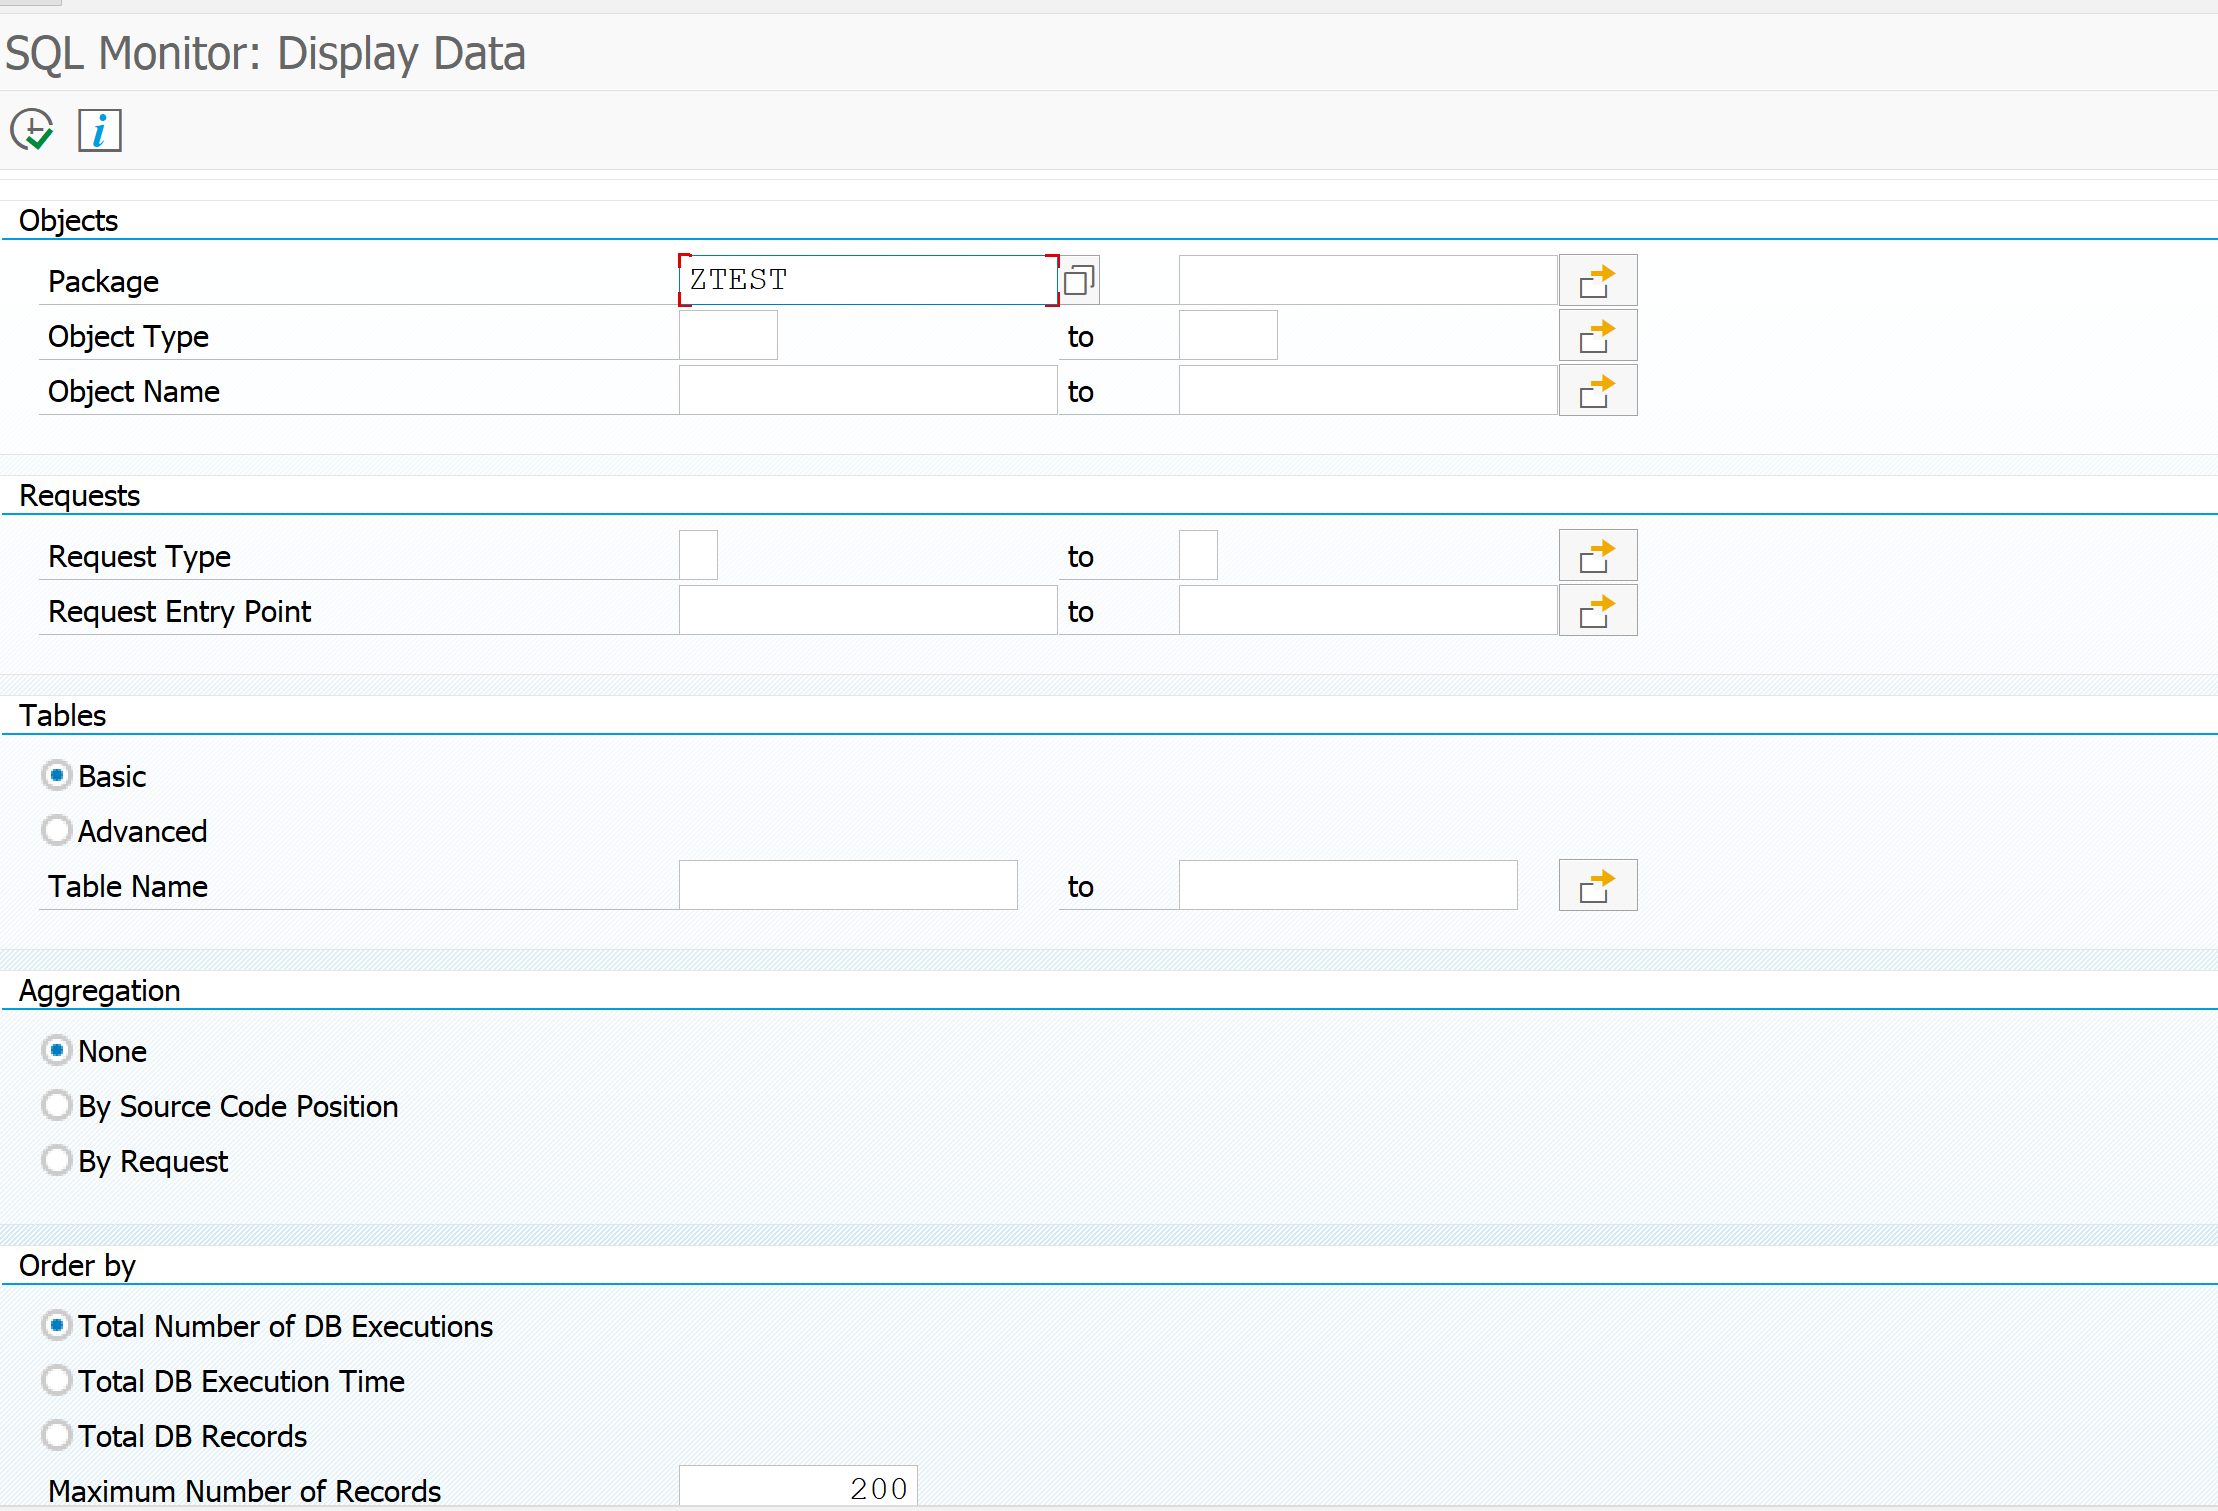
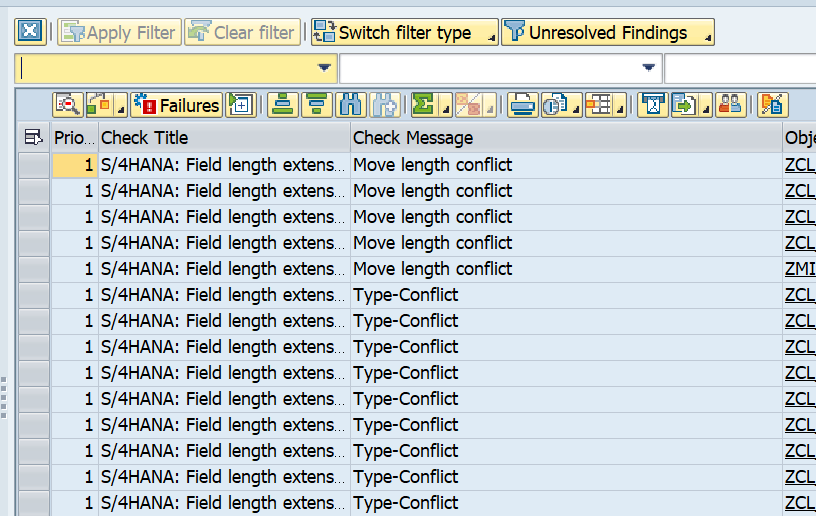
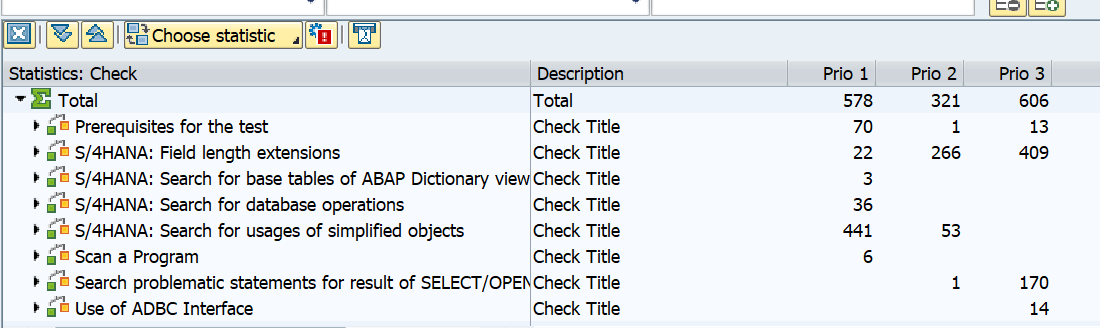
Selection can be done on total number of executions, execution time, amount of records. Result:

You see now the impact of our badly written program. Double click on the line will jump to the ABAP code point.
Creating snapshots
At the bottom of the SQLM start screen there are the buttons to create snapshots:

This results into the Snapshot screen:
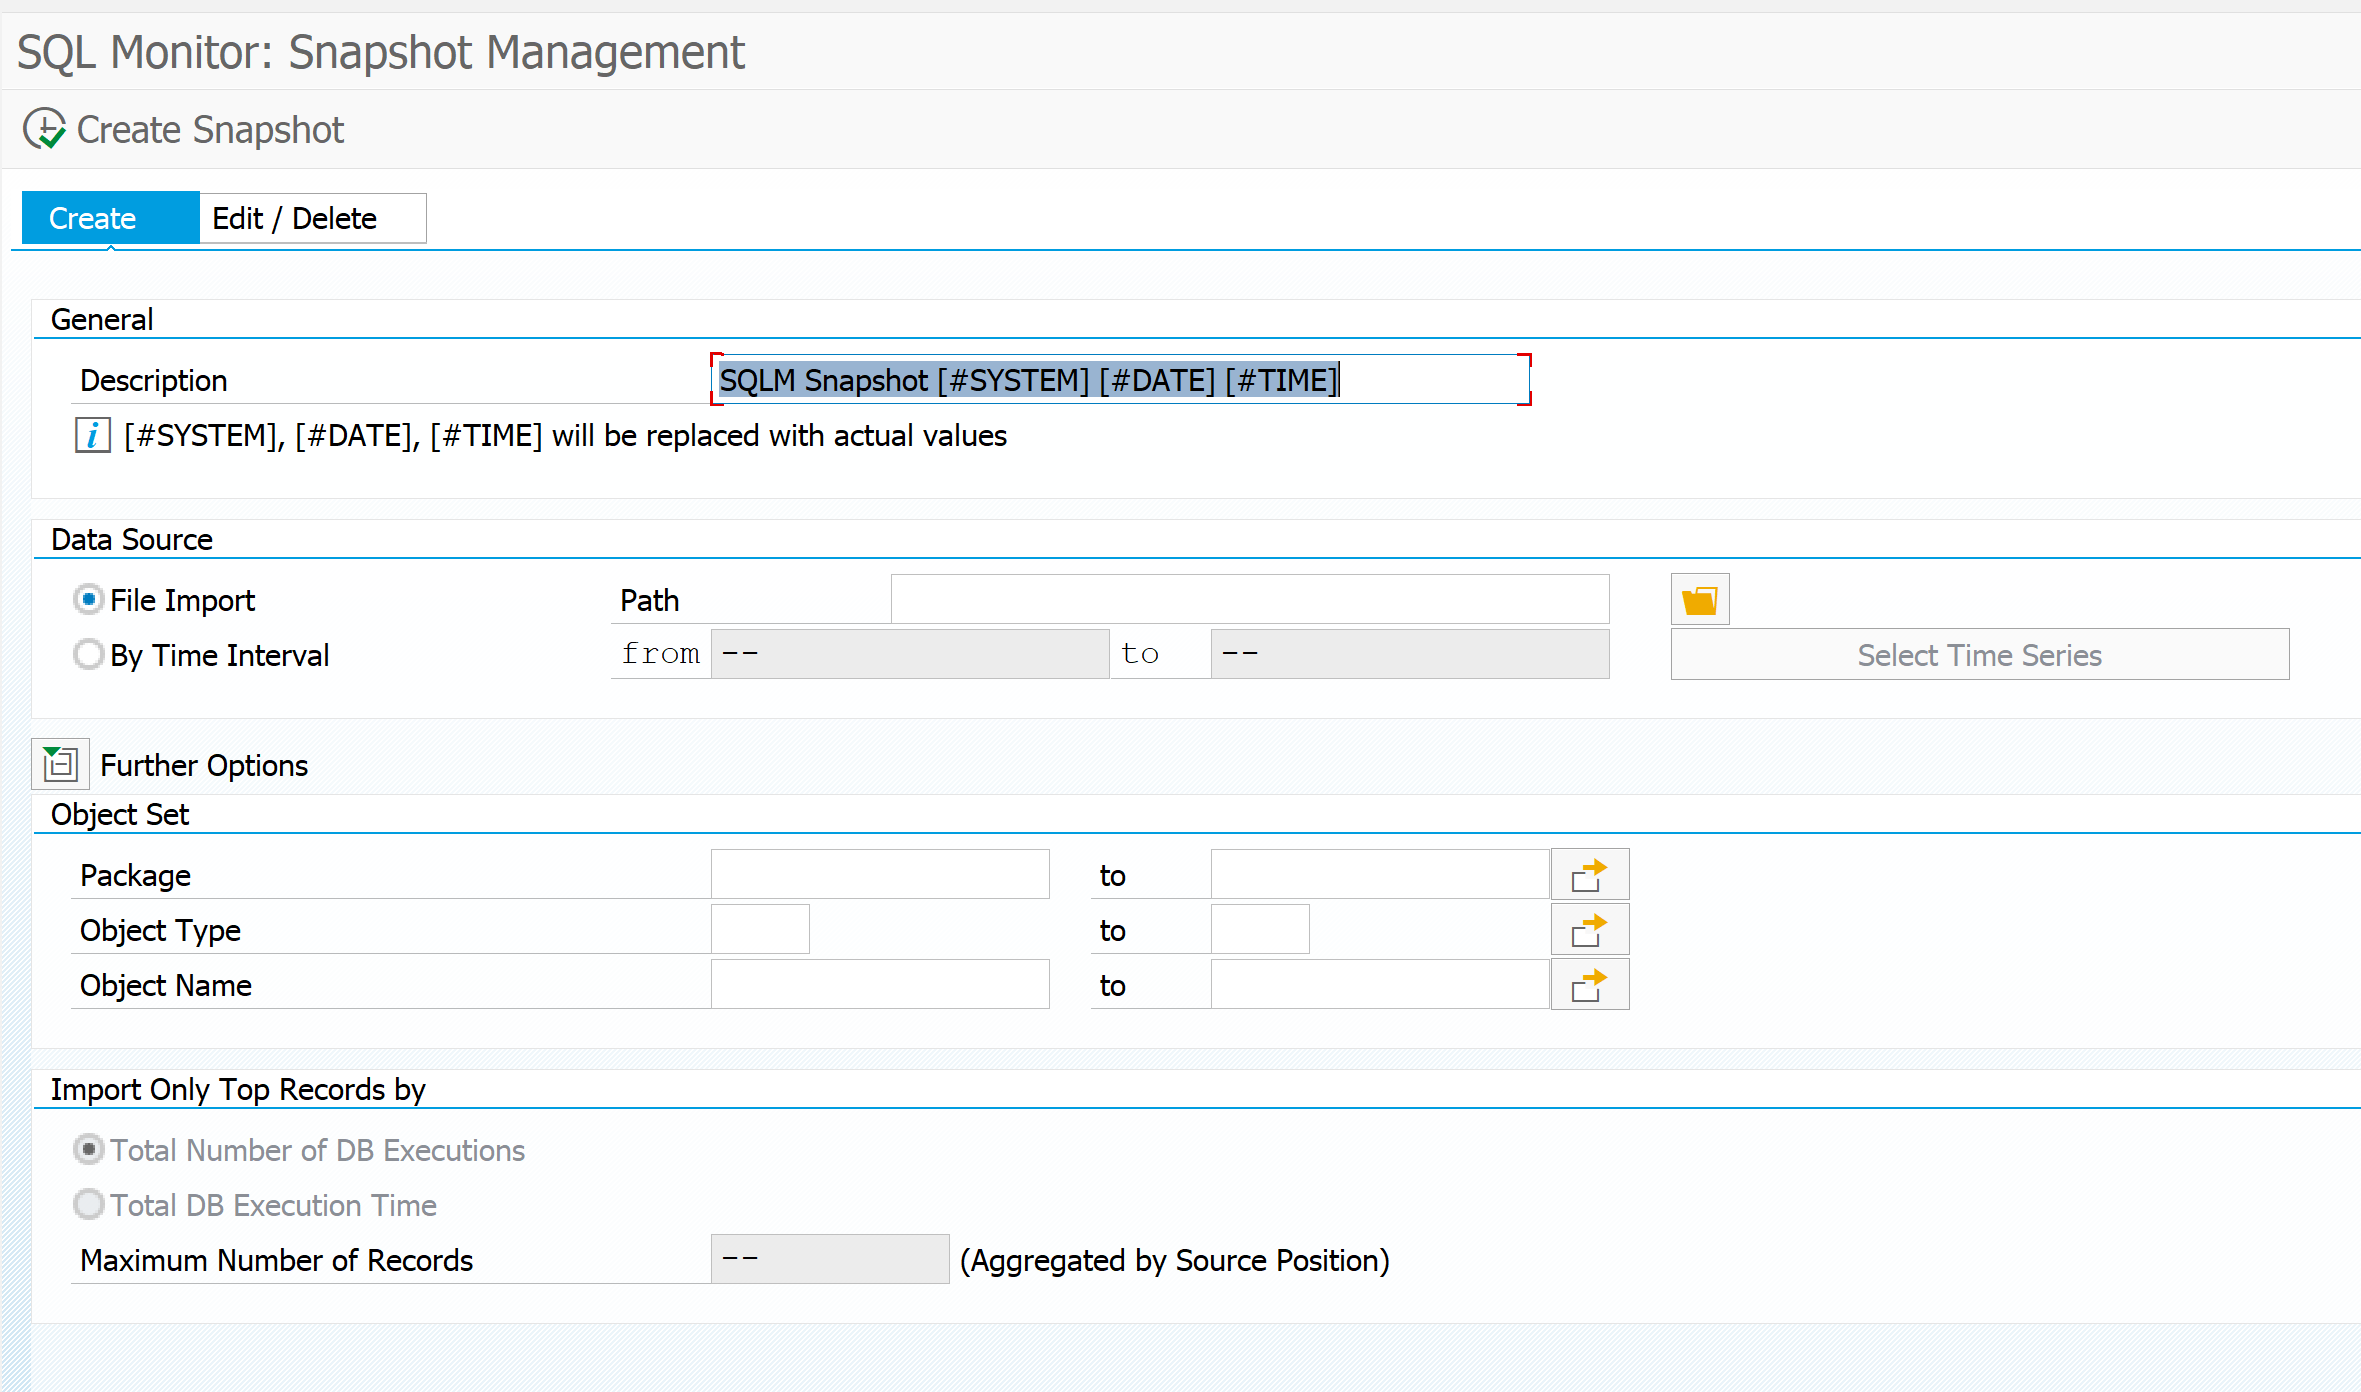
You can create a snapshot here for later re-use. You can also download the snapshot to a different system by using these buttons: first export to file:

When you have the file, goto the target system and start SQLM and press create snapshot. Now use the option Create with Data Source File Import.
It is common practice to capture data in production by a basis administrator who exports it. Then the data download is handed over to an ABAP developer using the data as upload in SQLM database in the development system to improve poorly performing Z code. The developer can use the SWLT tool (see blog) to combine the SQLM data with the static code review data taken from the ATC tool (see blog).
Follow up use in SWLT
The SQLM data can be used as input in the SWLT tool: SQL performance worklist tool. This tool combines the SQLM data with the ATC tool results. Read more about SWLT in this blog.
Background information
More background information can be found in OSS note 1885926 – ABAP SQL monitor and 3242700 – ABAP SQL Monitor: Implementation Guide and Best Practices.
Useful blog (which is start of blog series on SQLM): link.
Impact on performance and memory is minimal. Description is fully documented in OSS note 3100598 – Memory Requirement and Performance Impact of the SQL Monitor.
OSS notes
Relevant OSS notes:
- 2829252 – SQLM: SQL error when downloading SQL Monitor data
- 2831379 – SQL Monitor: Display SQL Trace End Time wrong
- 2843038 – SQLM: Runtime error DATA_LENGTH_0 when activating the SQL Monitor
- 2849183 – Robustness of RSQLM_UPDATE_DATA (Time Series) – Improvements
- 2905354 – SQL Monitor: CONVT_CODEPAGE in SQLM_RTM_UPDATE
- 2915083 – SQLM: COMPUTE_INT_TIMES_OVERFLOW in CL_SQLM_TIME
- 2983805 – SQL Monitor: Improvements to Entity Name resolution
- 2997202 – SQL Monitor – Recommendations for 7.40 SP18, 7.50 SP09, 7.51 SP04, 7.52 and higher
- 3058422 – RTM: RTM_PERIODIC_JOB canceled with runtime error SQL_CAUGHT_RABAX
- 3085361 – Conversion error in SQLM data export
- 3113152 – Runtime Monitor: Improve Automatic Deletion of Database Records
- 3332968 – SQL Monitor: Data is not completely deleted
- 3332985 – RTM: Deletion of records fails with TIME_OUT in class CL_RTM_PERSISTENCE
- 3402433 – SQL Monitor: Performance Improvements to Entity Name resolution
- 3549096 – SQL Monitor: Parameter Partition Size in RSQLM_UPDATE_DATA
- 3623263 – Pass area to SQL monitoring
- 3706749 – SQL Monitor: Resolve DYNPRO_FIELD_CONVERSION in transaction SQLM