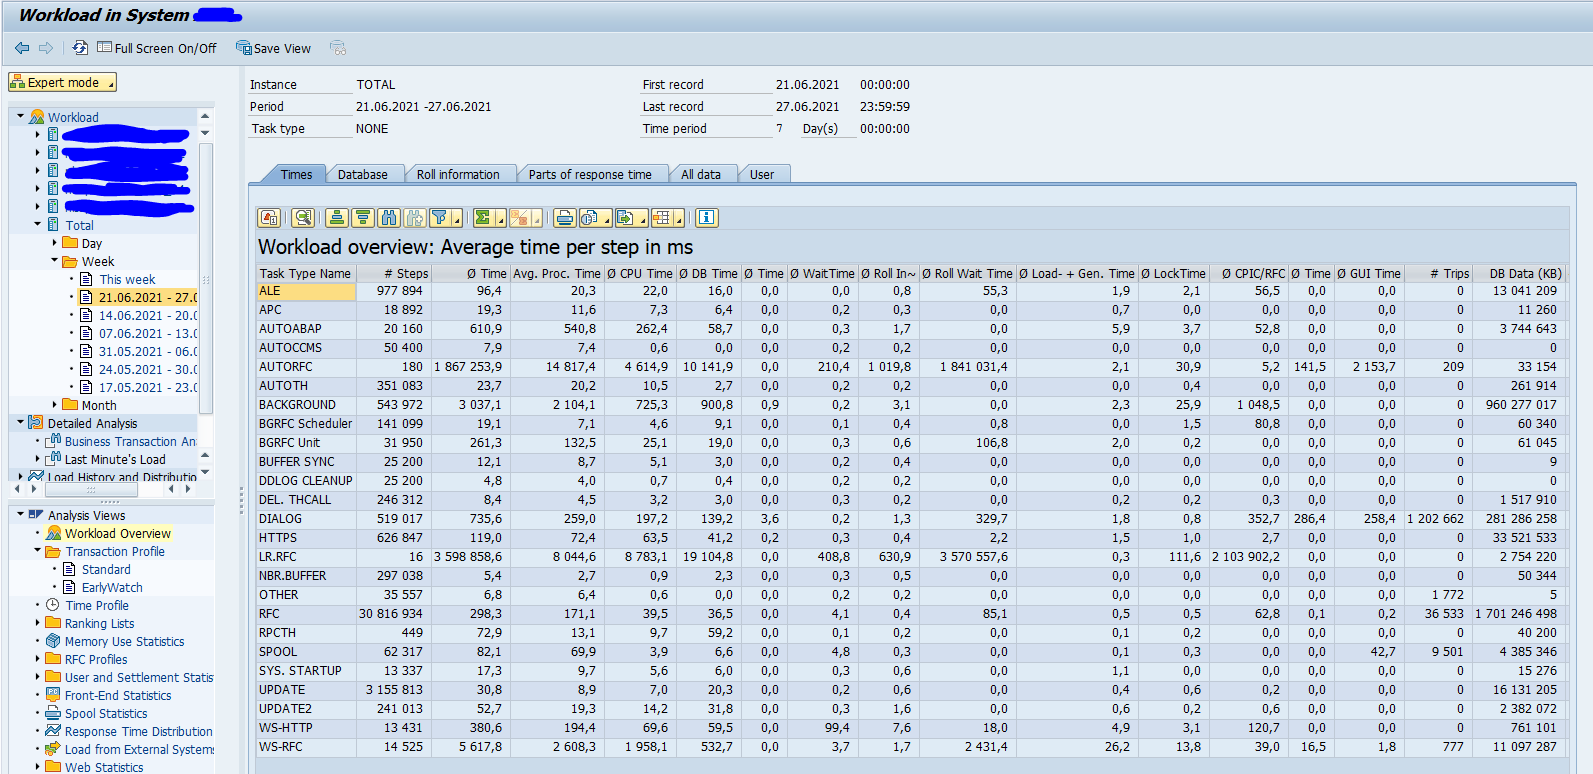
For several use cases you might need to get a more detailed insight into your SAP system. One of the tools is ST03N (read more about it in this blog), but it focuses on transactions. If you need more details on the calling ABAP coding, the SCMON tool might be a better solution. SCMON is the successor of the UPL tool (Usage and Procedure Logging).
Questions that will be answered in this blog are:
- How to switch on SCMON tool?
- How to use the results of the SCMON tool?
- How can I find back from a piece of code to where it is actually used in a transaction, RFC call, ODATA call, etc?
- What is the impact of the SCMON tool on system performance?
Activation of SCMON
The minimum requirements of SCMON are described formally in OSS notes 1828848 – Usage & Procedure Logging and ABAP Call Monitor: Technical prerequisite (UPL/SCMON) and 2679723 – ABAP Call Monitor, but basically it is available on any supported modern ABAP stack.
Start transaction SCMON:
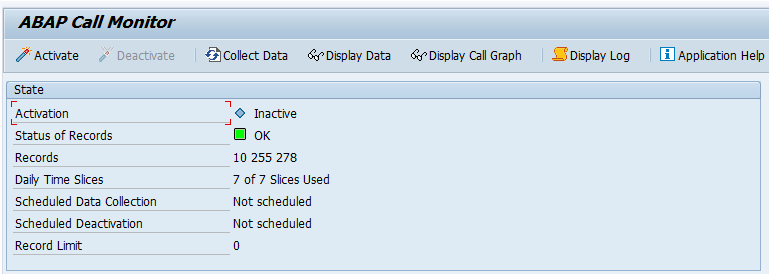
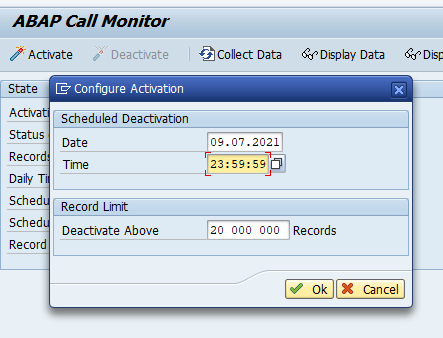
Press the activate button and set the end time settings for the SCMON monitor:
Use of SCMON data
If data is gathered you can already use the results, or you can wait until the data collection time is completed. To display the data start transaction SCMON and hit the Display Data button:
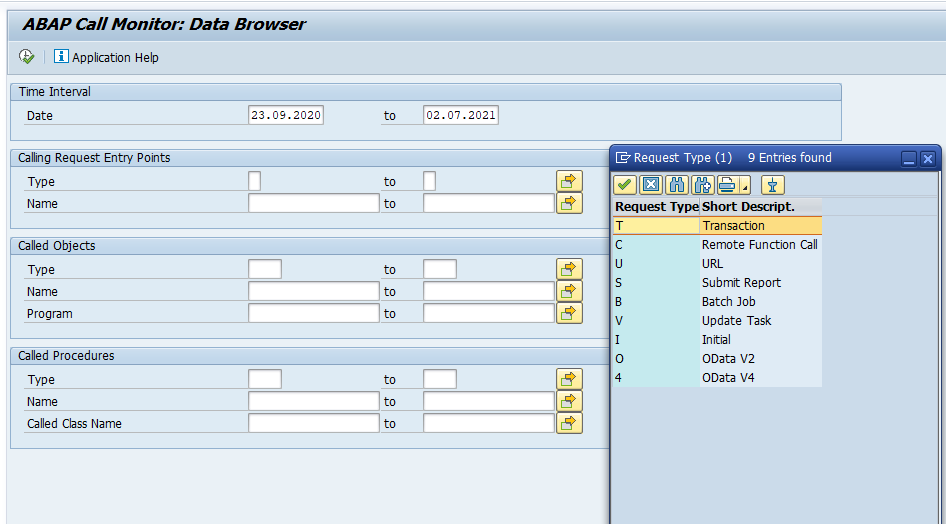
Here you can already see a benefit over ST03N: you can select request type batch jobs, URL, ODATA call, or RFC call next to transaction.
As example we show the result of transaction VA01:
Now you can see in very much detail which ABAP points are called for VA01.
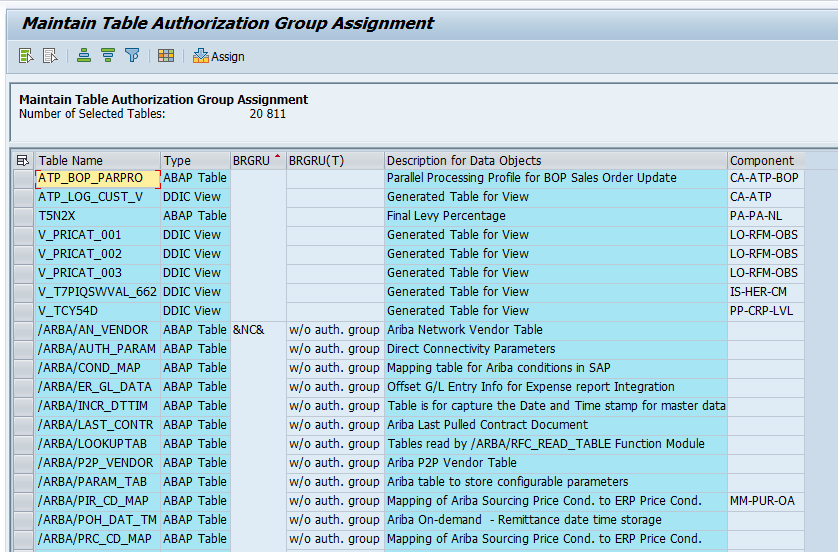
You can also use it the other way around. Suppose we apply an OSS note to class CL_UKM_BUPA_FACTORY and want to determine the impact. If we do a where used list in SE24 on this class we get 134 new calling points and we don’t even know which ones are used.
If we input CL_UKM_BUPA_FACTORY in the CLASS field and search for it, we get this result:
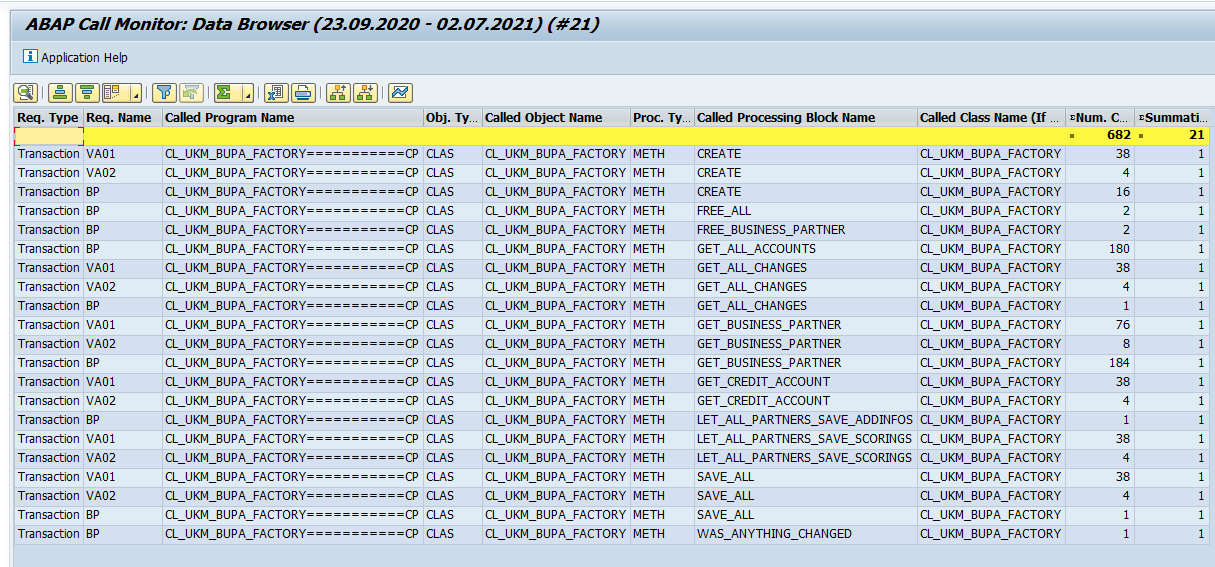
Now you can see that in our system the transactions VA01, VA02 and BP are using this class. Those need to be tested.
This is the big advantage of SCMON: it only takes used code and the code is related back to the start point which you can relate to, like a transaction, batch job, ODATA call, etc.
Performance of SCMON
If you worry about SCMON performance on your production system, it is about the same load as the old UPL. There is a parameter to fine tune performance described in OSS note 2657522 – New profile parameter and improvements for ABAP call monitor.
The exact impact of SCMON on performance is clearly described in OSS note 3098211 – Memory and performance requirements of the ABAP Call Monitor.
Condensing data with SUSG
With transaction SUSG the SCMON data can be condensed. Read more about it in this blog.
SAP background
Background of SCMON can be found in this SAP blog.
Bug fix OSS notes
Bug fix OSS notes that might be relevant for you: