To prepare for an S4HANA migration, you can use the SAP Readiness Check for SAP ERP Usage and Data Profiling. This analysis will provide data insights in your current ERP system usage.
Tool installation and run
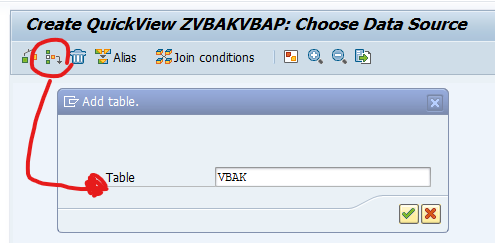
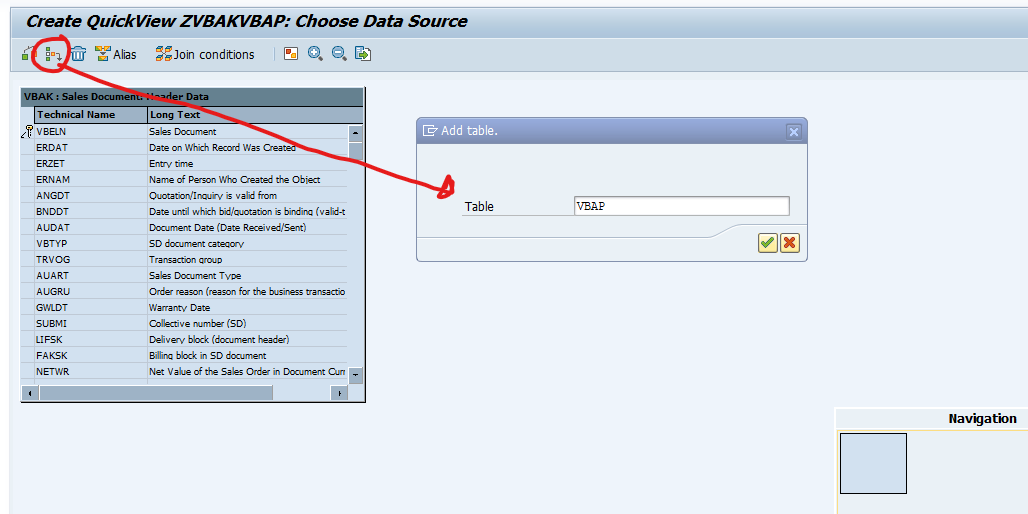
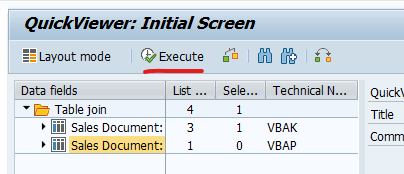
The tool can be installed by applying OSS note 3112362 – SAP Readiness Check for SAP ERP Usage and Data Profiling. Transport this note to your productive system. The tool needs to have the actual production data. Start program RC_UDP_COLLECT_ANALYSIS_DATA:
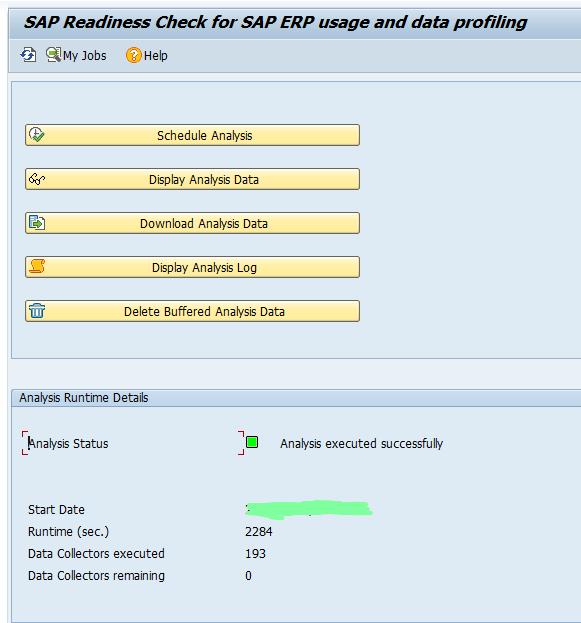
Start with the Schedule Analysis. A batch job will collect the data. Once done, you can use the Display Analysis Data button to see the results. The Download Analysis Data allows you to download the data. The data needs to be uploaded to the SAP Readiness site.
Tool result
After uploading to the SAP readiness site, give SAP about one hour to process the data.
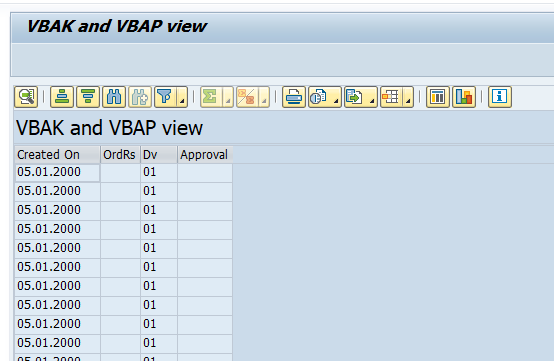
Then the analysis result is available:
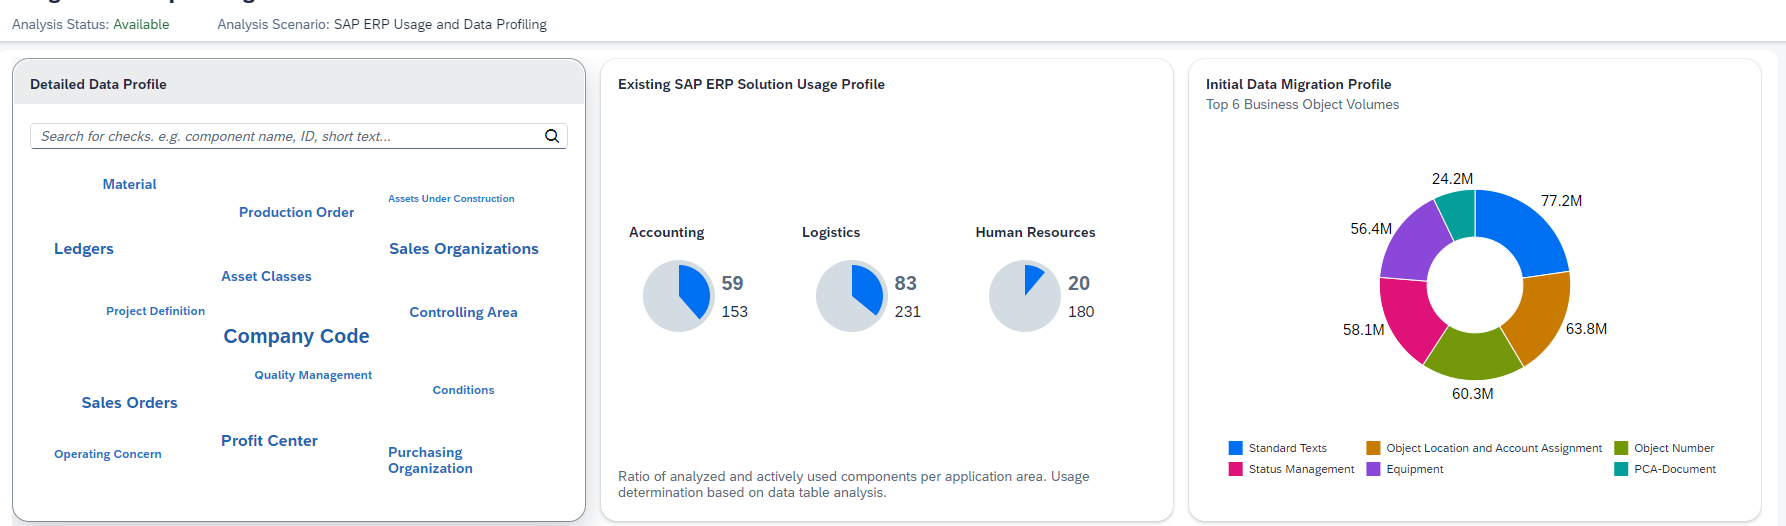
From left to right:
- Detailed data profiles
- Module based data profiles
- Top list of data volumes
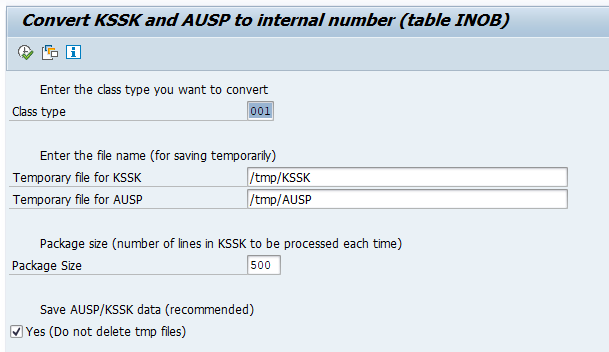
Zoom in on the module based data profiles:
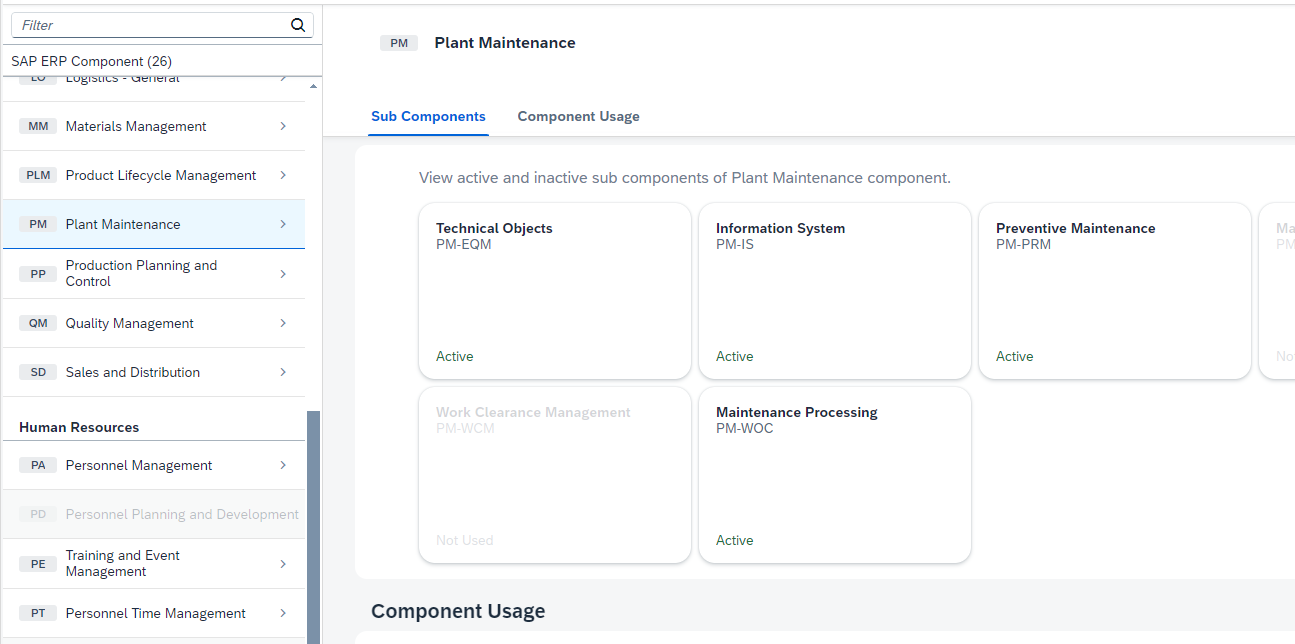
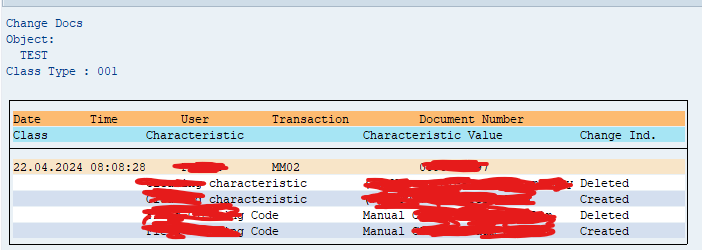
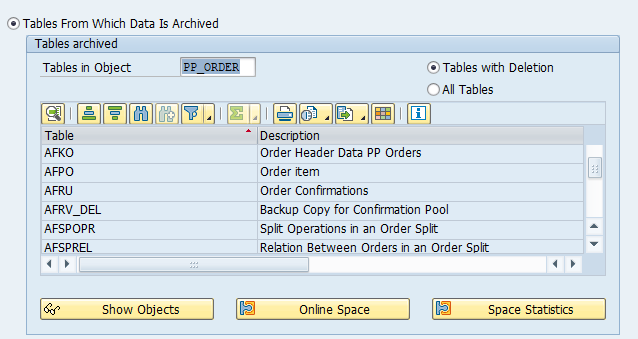
For each part, you can now drill down to table level:

This way you can see if a certain S4HANA change will have much impact or not (due to amount of records).