SAP user license measurement

This blog will explain about SAP user license measurement.

Important: this blog will explain in general terms. Your own company might have bit different agreements in their contract! Especially for larger companies no SAP contract is ever the same.

Questions that will be answered in this blog are:

  • How to measure users in the SAP system?
  • How can the USMM tool help in the clean up?
  • How does it work when I have same user in multiple productive system?

General tips and tricks on user measurements can be found in this blog.

USMM2

In newer systems USMM is replaced by USMM2. For more information on USMM2 see this blog.

USMM user measurement tool

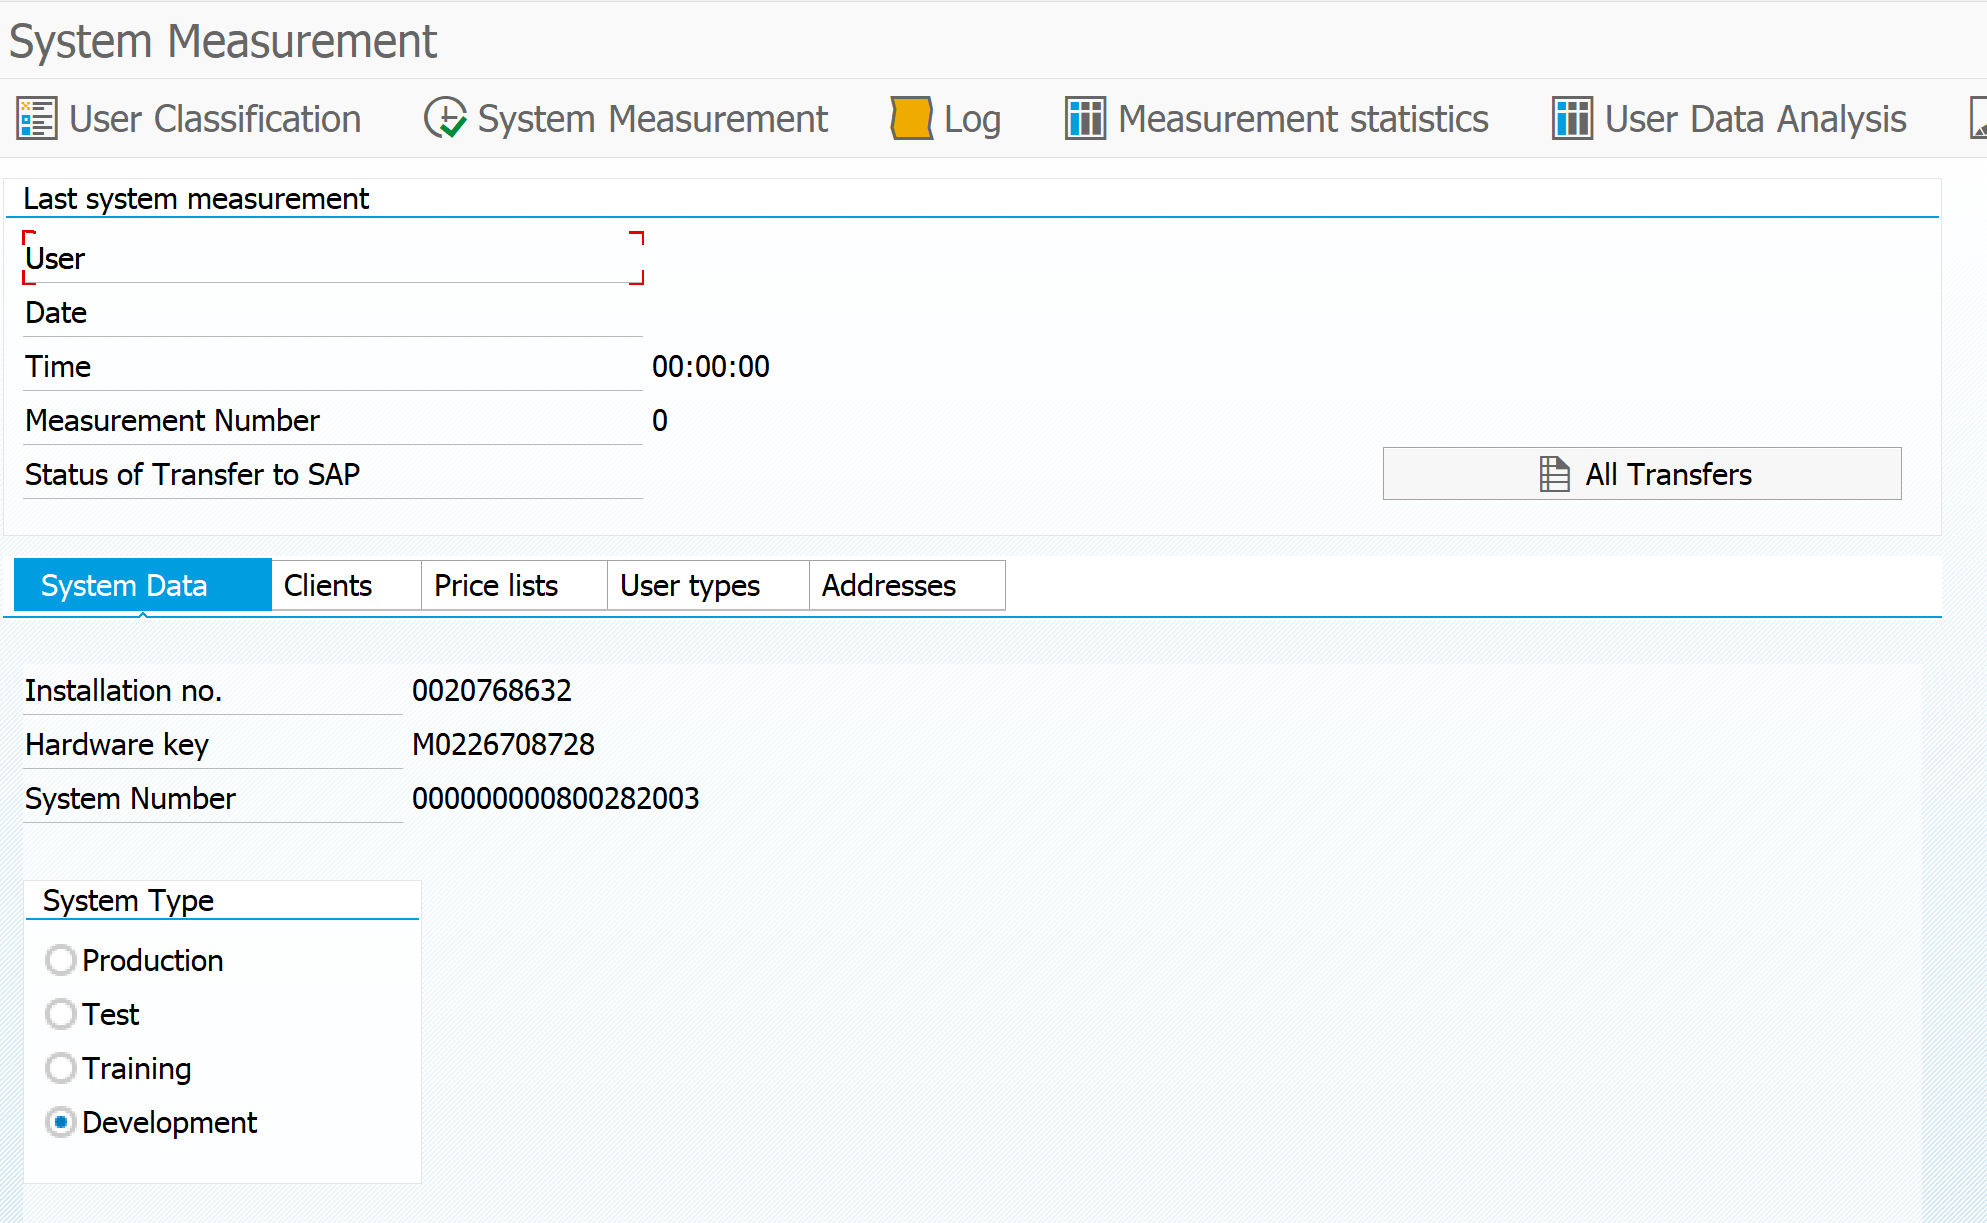
The user measurement tool USMM is the starting point. Start transaction USMM and you will come to the tool launch page:

USMM start screen

Important first step is to go to the tab User Types and activate the types according to your contract:

USMM active user types

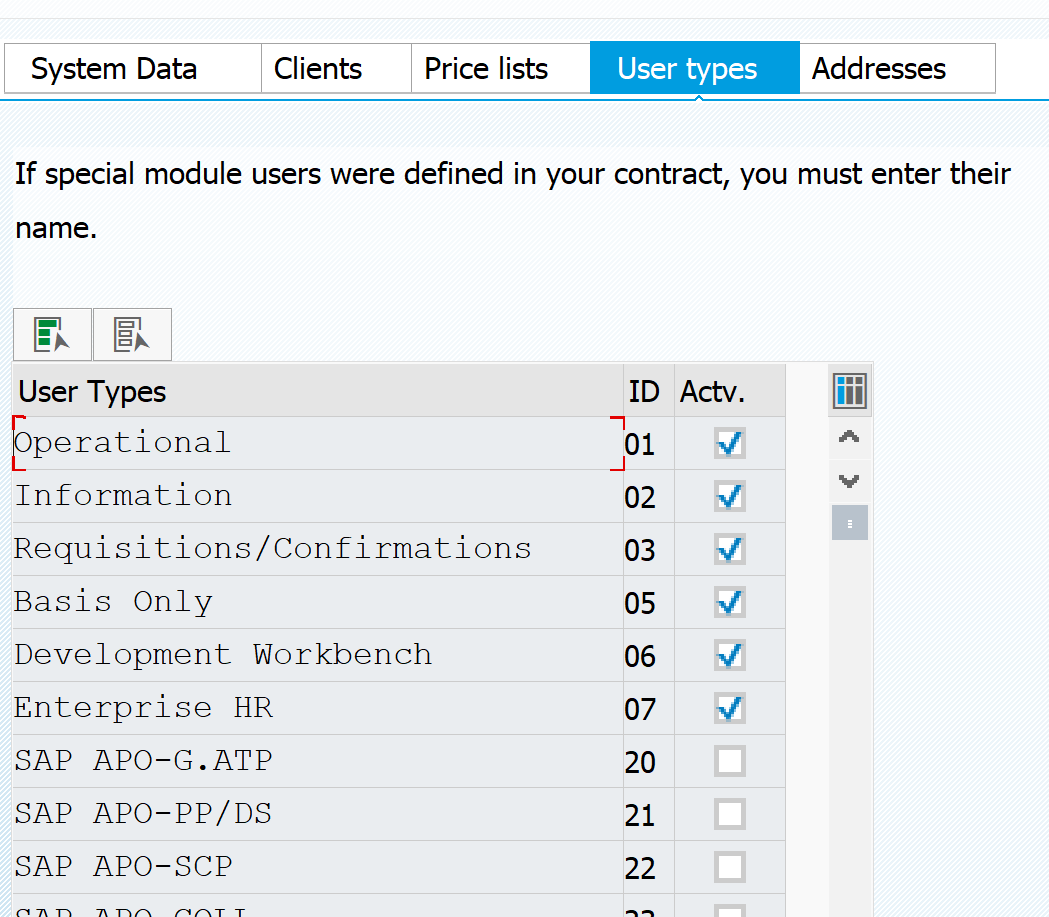
Reminder: these types can be different company depending on the contract.

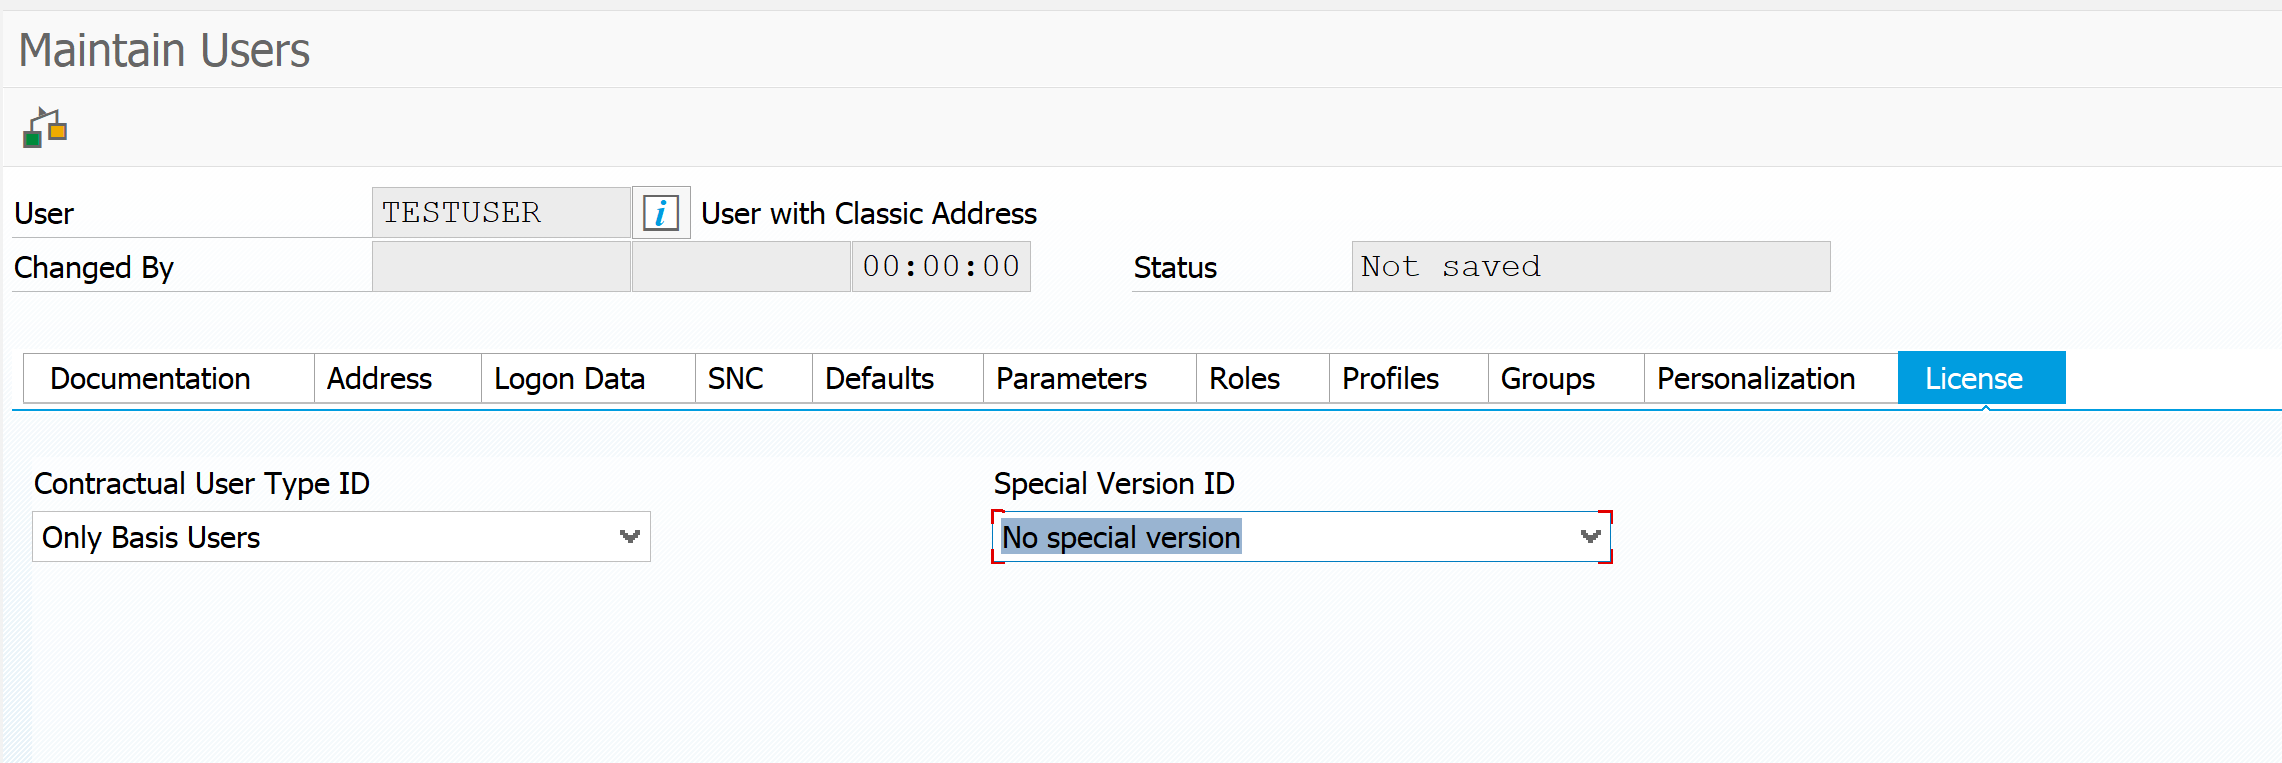
These activated types will now be visible in the SU01 License tab:

License tab in SU01

User classification check

In the USMM tool the first thing to do before running the measurement is to validate the user classification. From the USMM start screen click the user classification button. This will now list all the users in your system and the assigned or determined user classification:

User classification overview

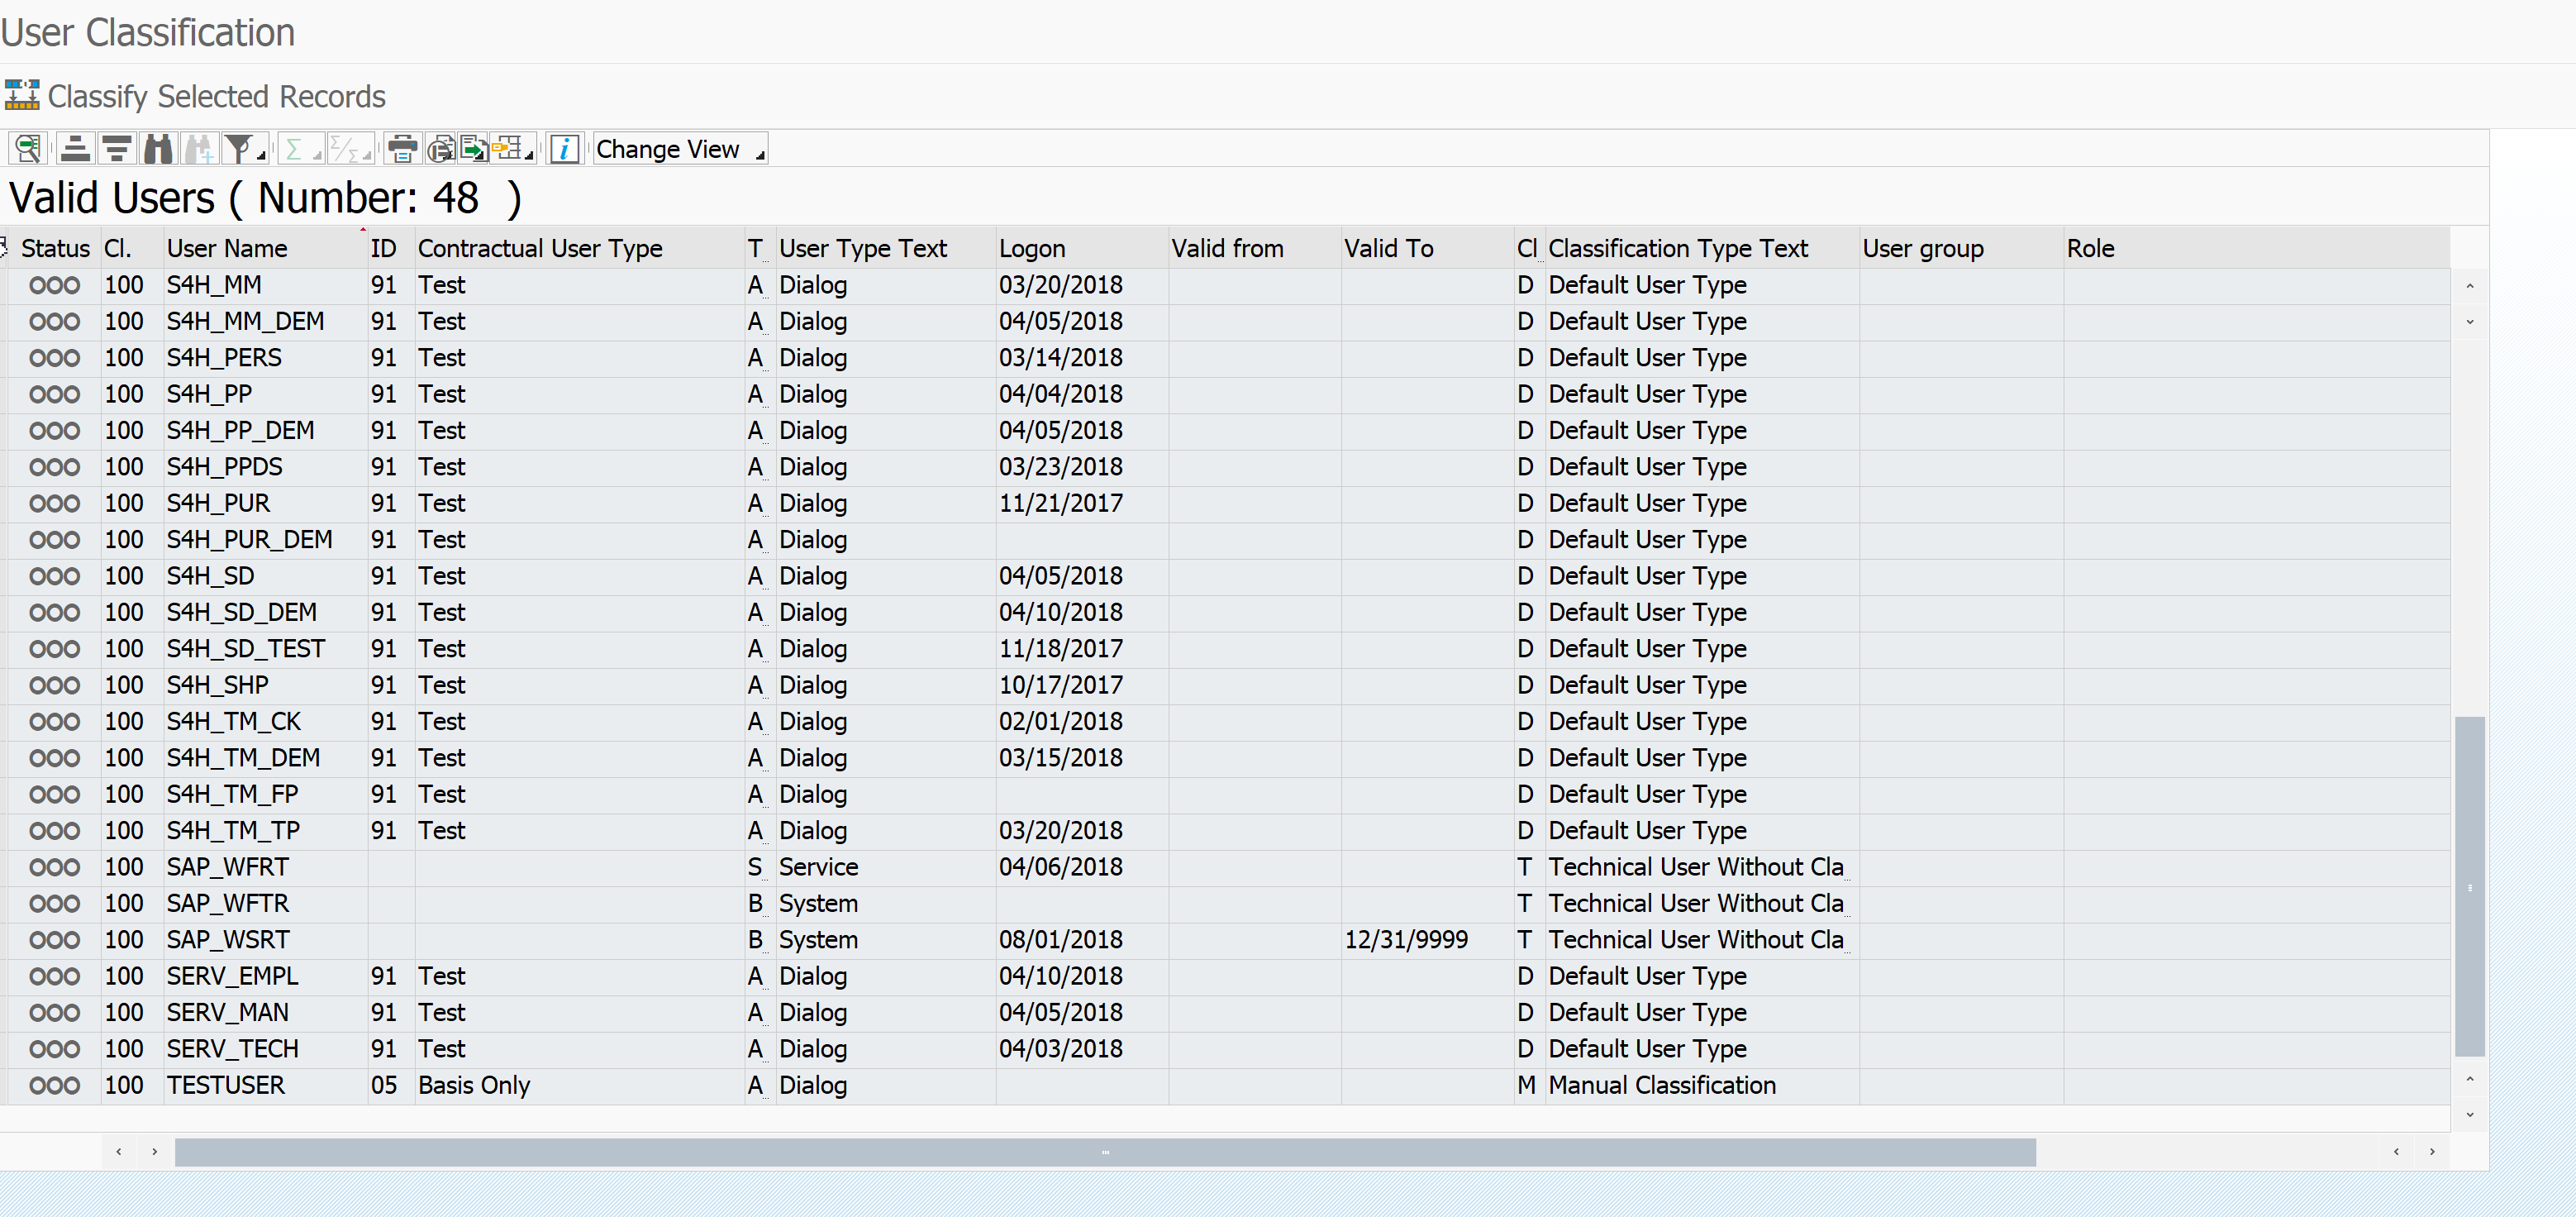
If you want to change a classification you can do that in SU01 license tab, or directly from this screen by selection of the record(s) and pressing the Classify Selected Records button.

General rules for classification:

  • Background users (type B and S) typically count as Technical users
  • Non-classified dialog users will be set to Default (meaning SAP will count them as the most expensive type of users)
  • Locked users will be counted as well
  • Users outside of validity period will not be counted in the measurement
Deleted users and users outside of validity date will not be counted in the measurement, but the statistics of these actions will be!
If you execute regular clean up (every month or quarter) this will be seen in the statistics. If you do clean up just before the measurement it will be seen as well, and might lead to discussion. If you do monthly clean up discussions will end fast.

Executing the user measurement

After you have classified and checked all the users,you can start the user measurement in USMM by hitting the System Measurement button.

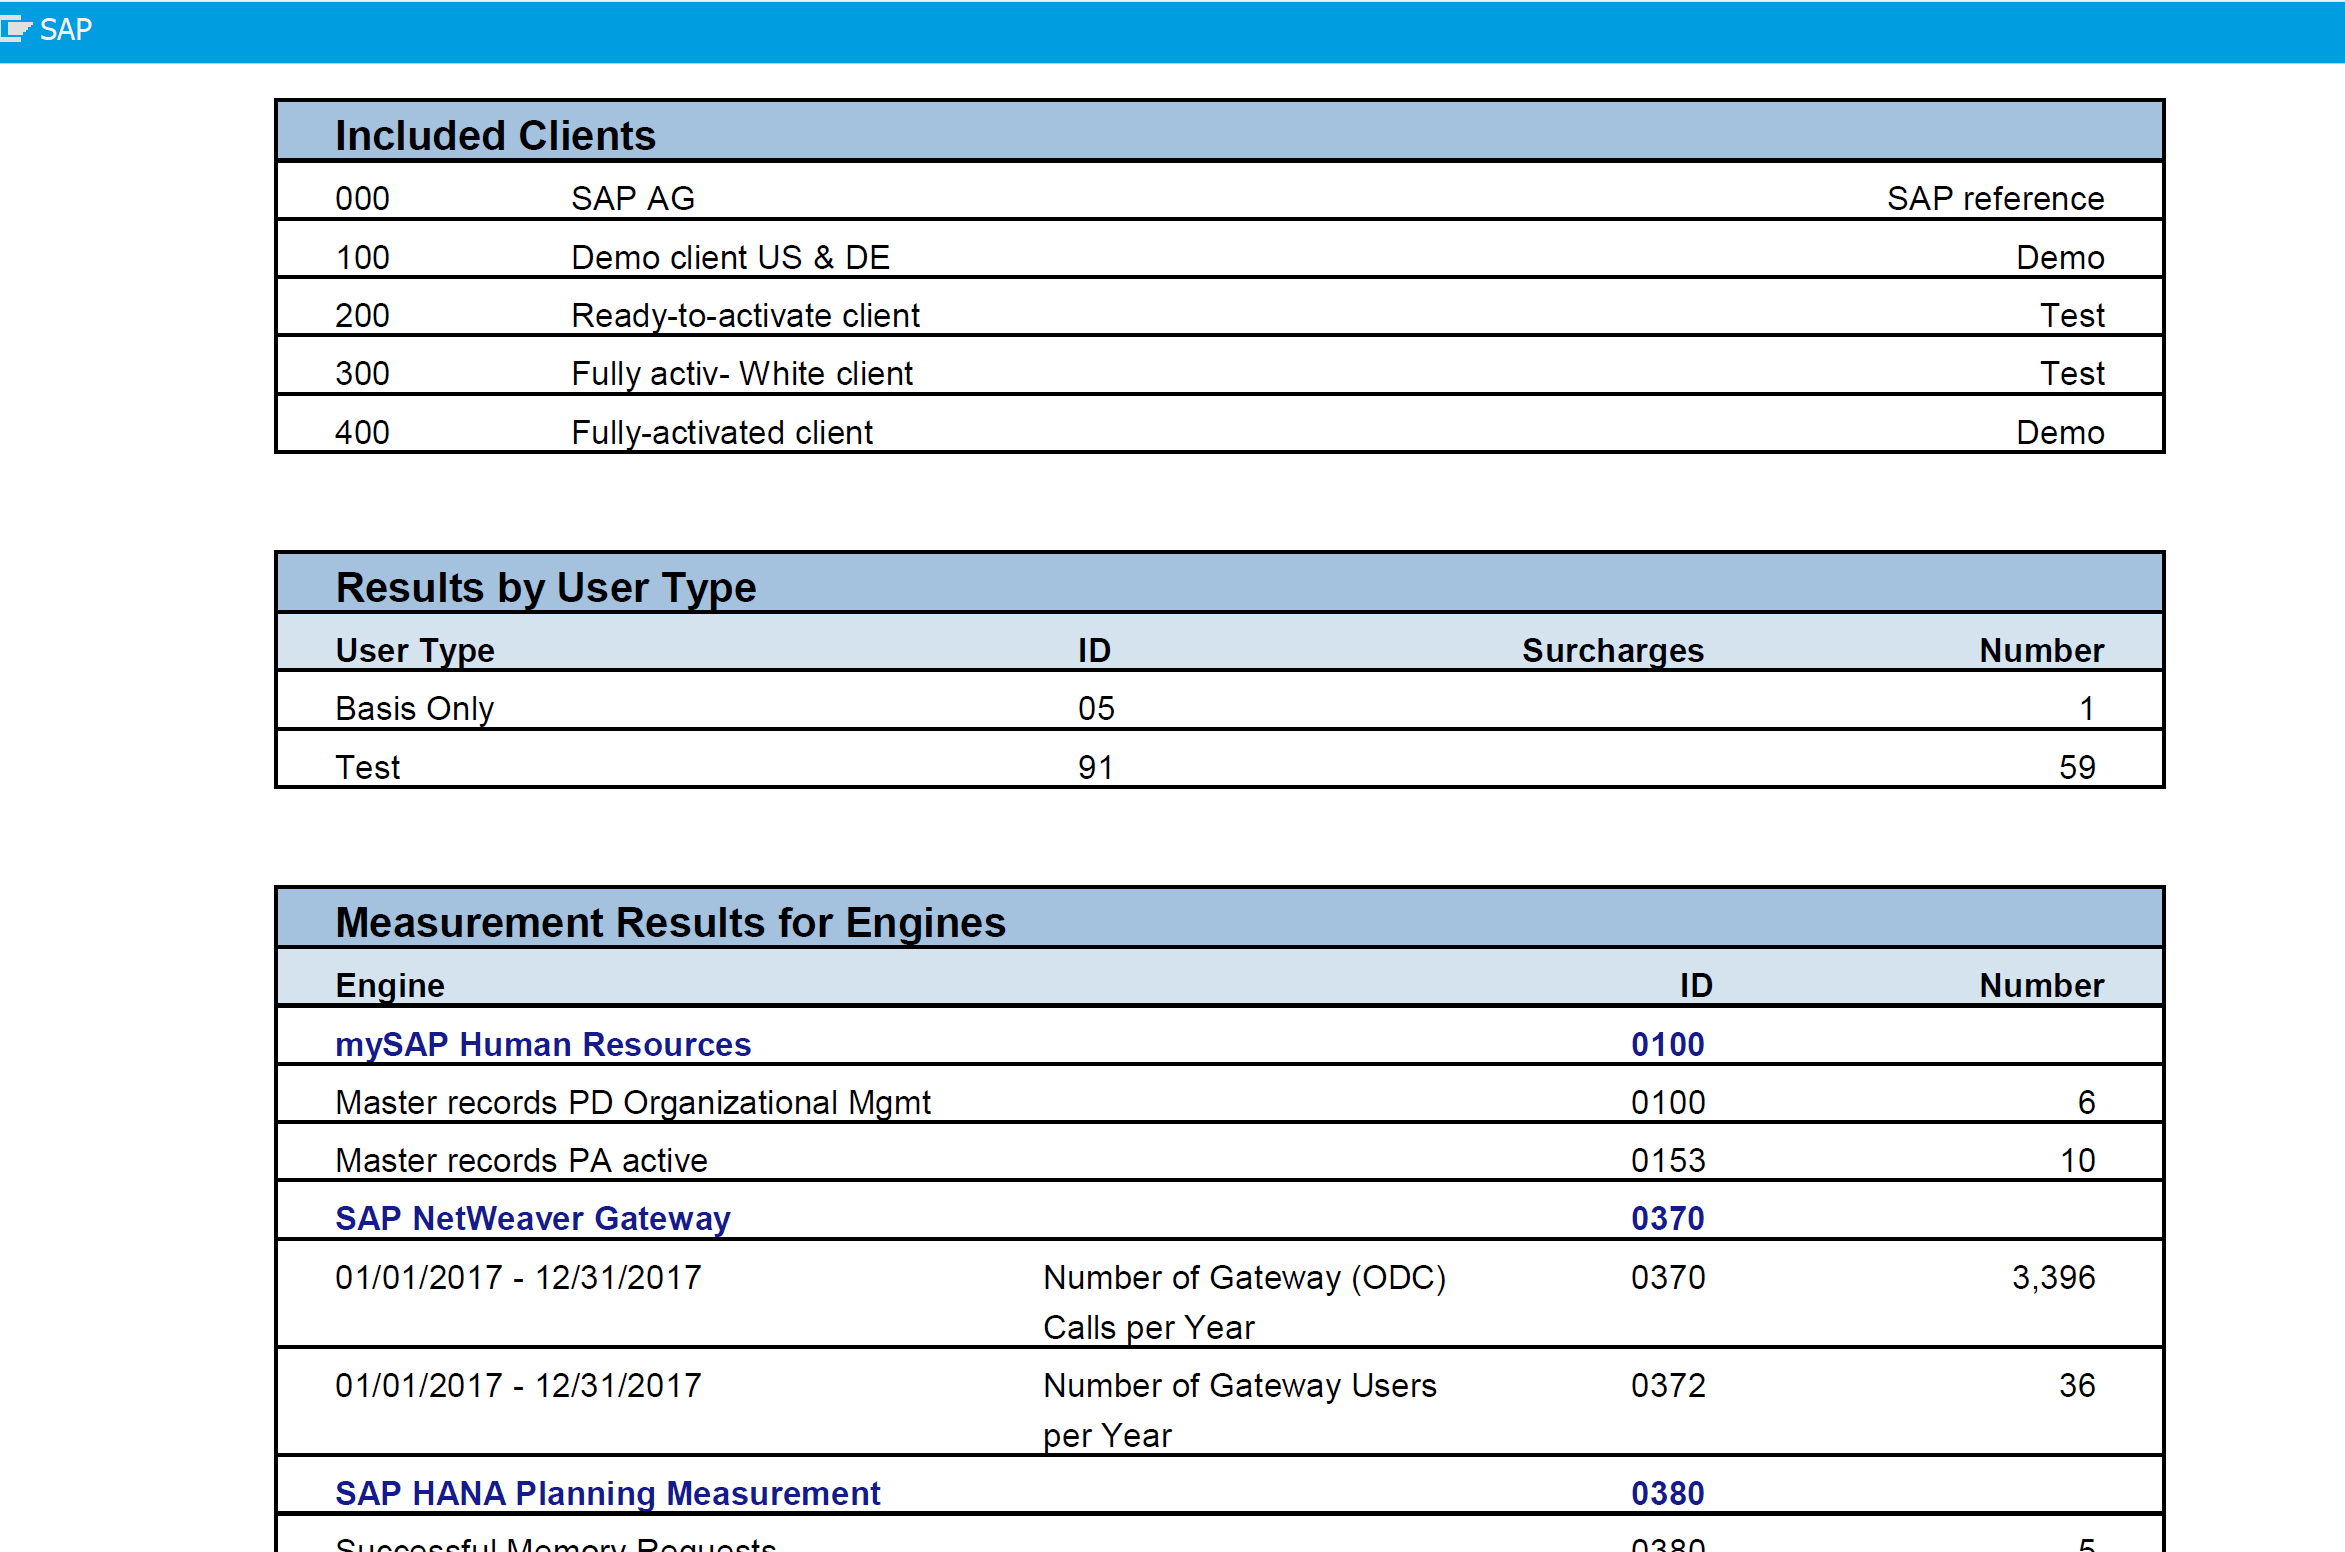
The USMM tool will now run by firing a huge amount of SM37 jobs. Wait until the jobs are finished (typically max 10 min runtime). Then you can see in USMM the result of the run in the log:

USMM run log results

The USMM tool will both do the user and automated engine measurement.

The USMM tool can be run as frequently as you want. The Send to SAP button is a real send and cannot be reverted.

Improving the USMM results

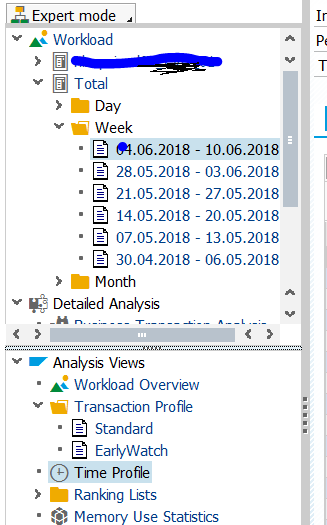
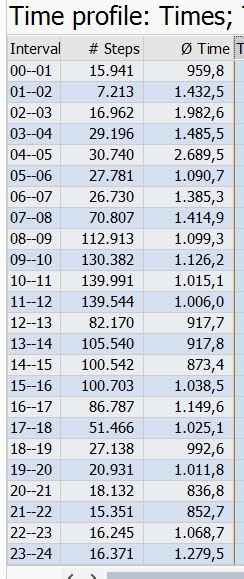
You can improve the USMM results via the User Data Analysis button:

User data analysis

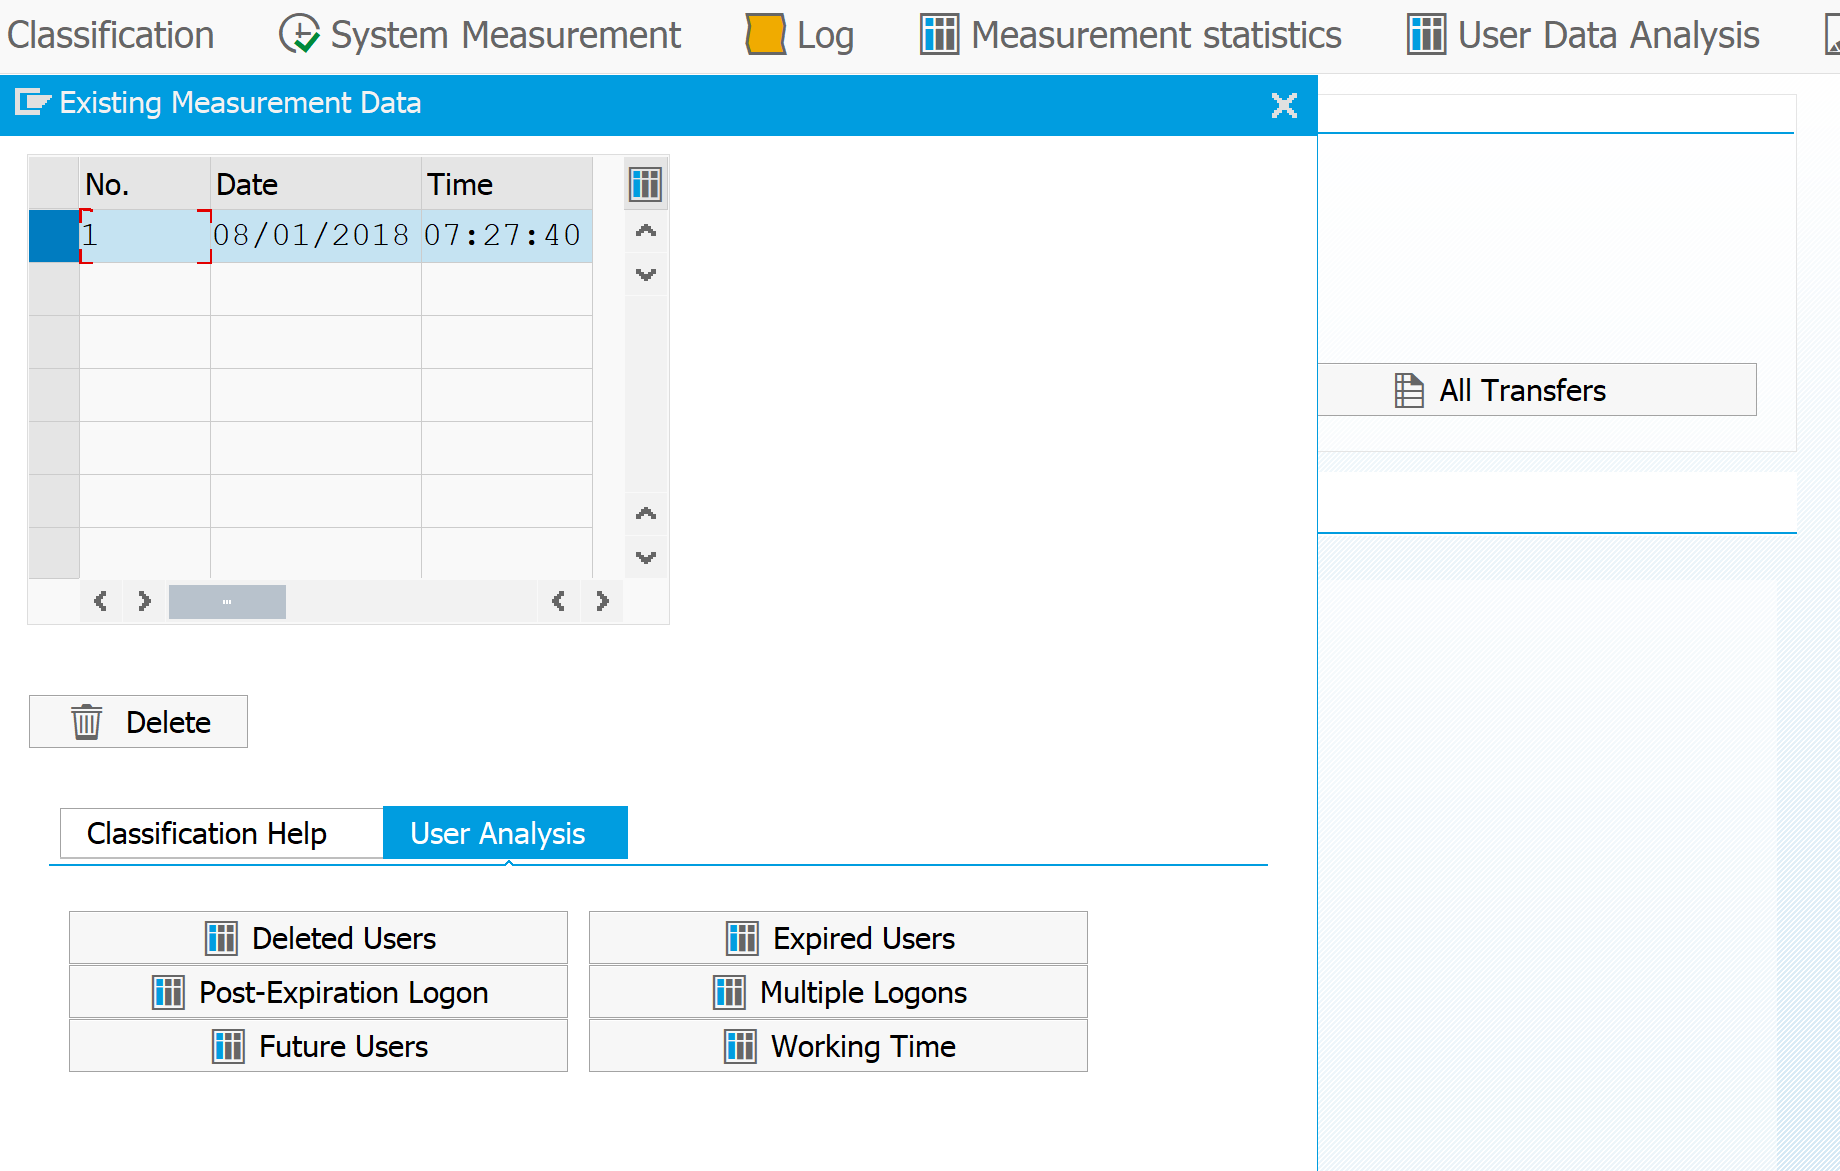
Here there are several lists to help you find why certain elements are reported.

You can use this lists to find errors in the classification and do extra cleanup. Then you can rerun USMM before you submit the data to SAP.

Multiple productive systems

If you have multiple productive systems a lot of users will be present in both systems. Example: user is present in the core ECC system and runs reports in the BI system.

For the SAP user measurement you want to count the user only once.

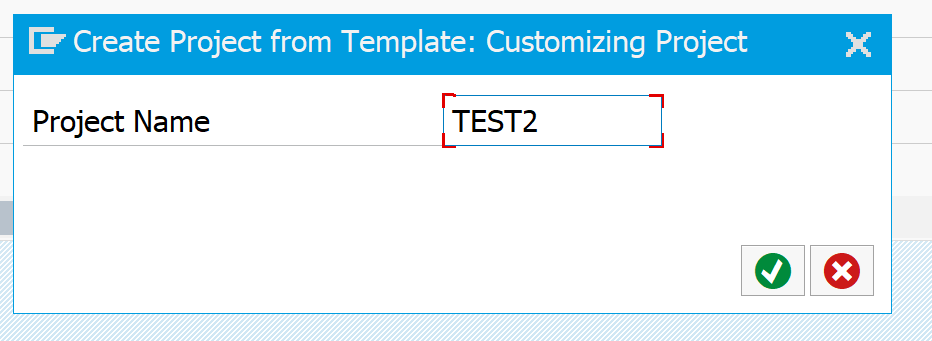
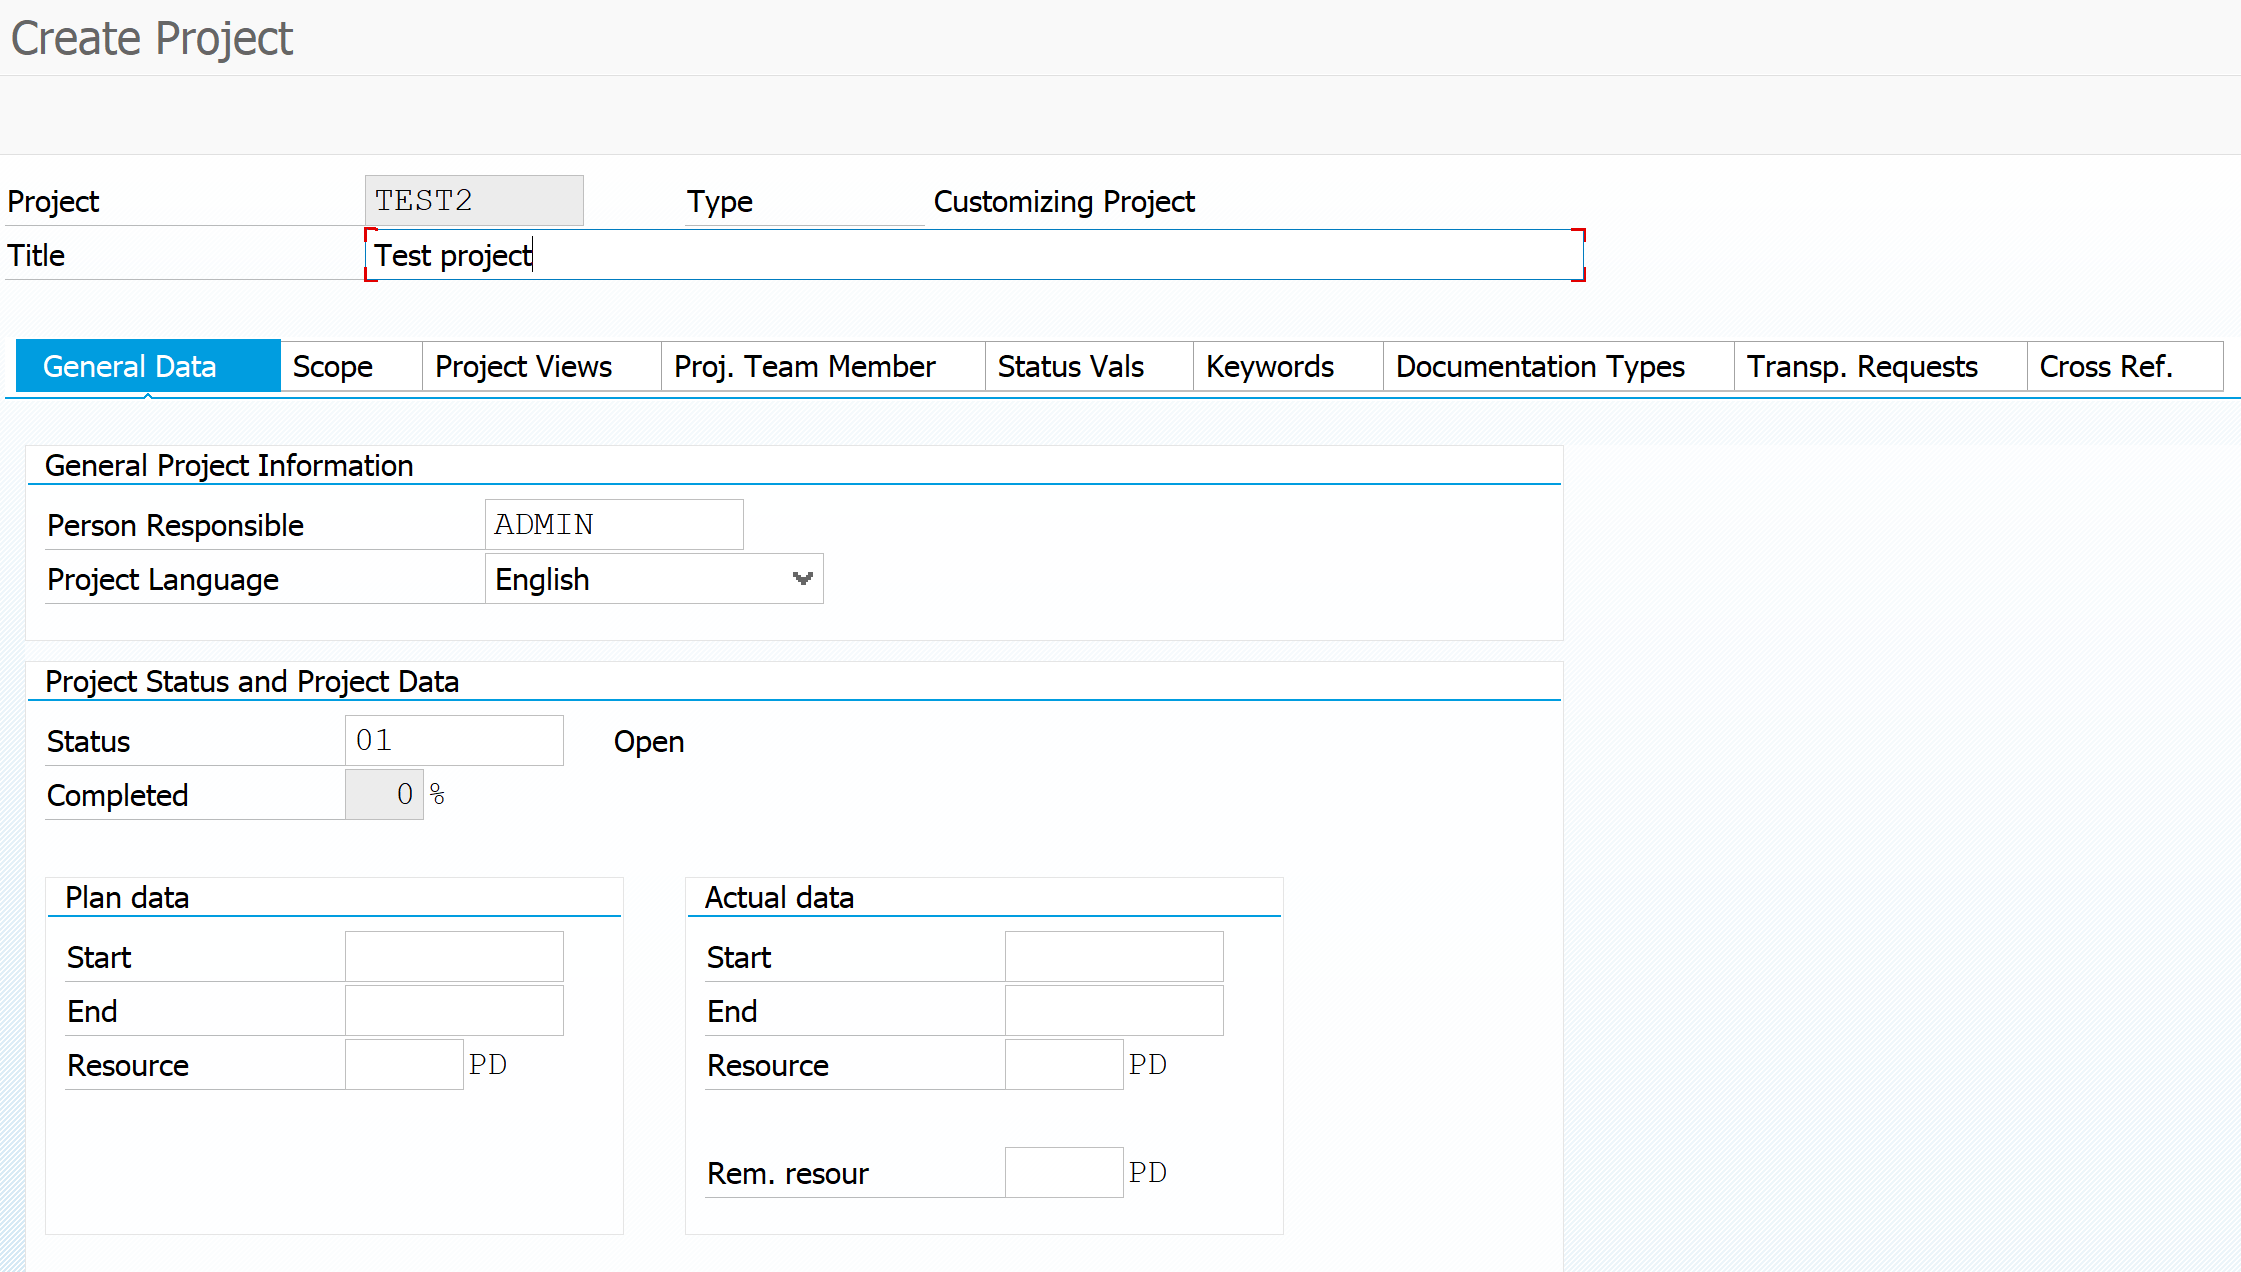
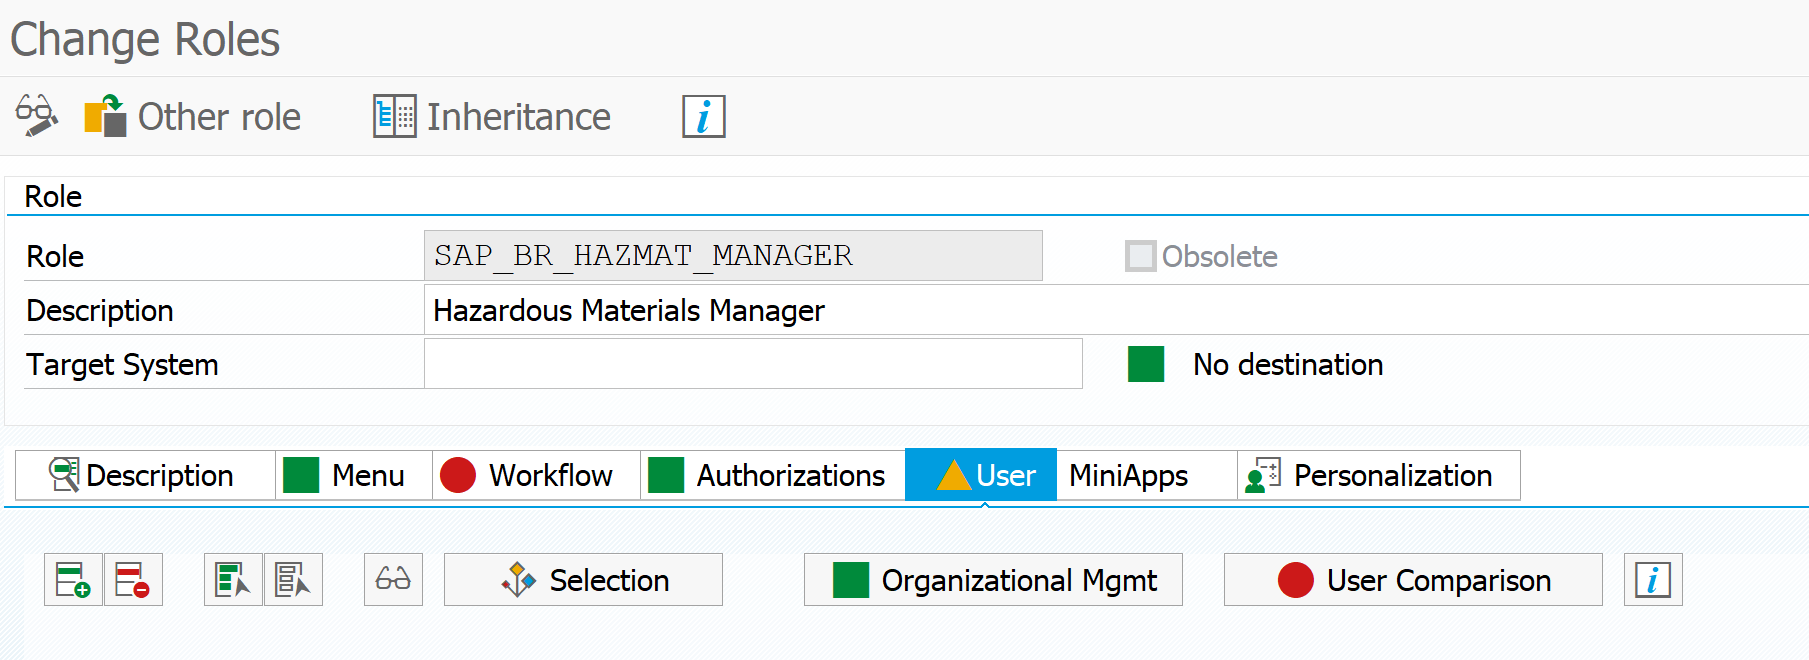
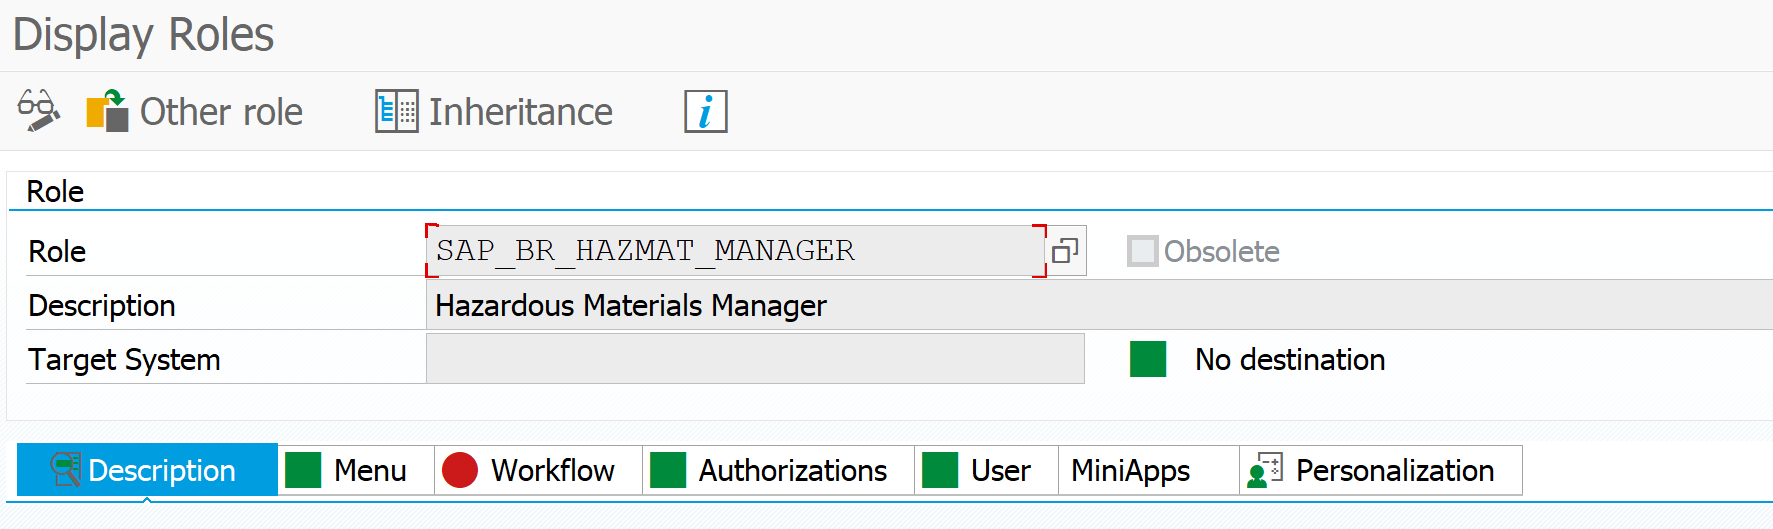
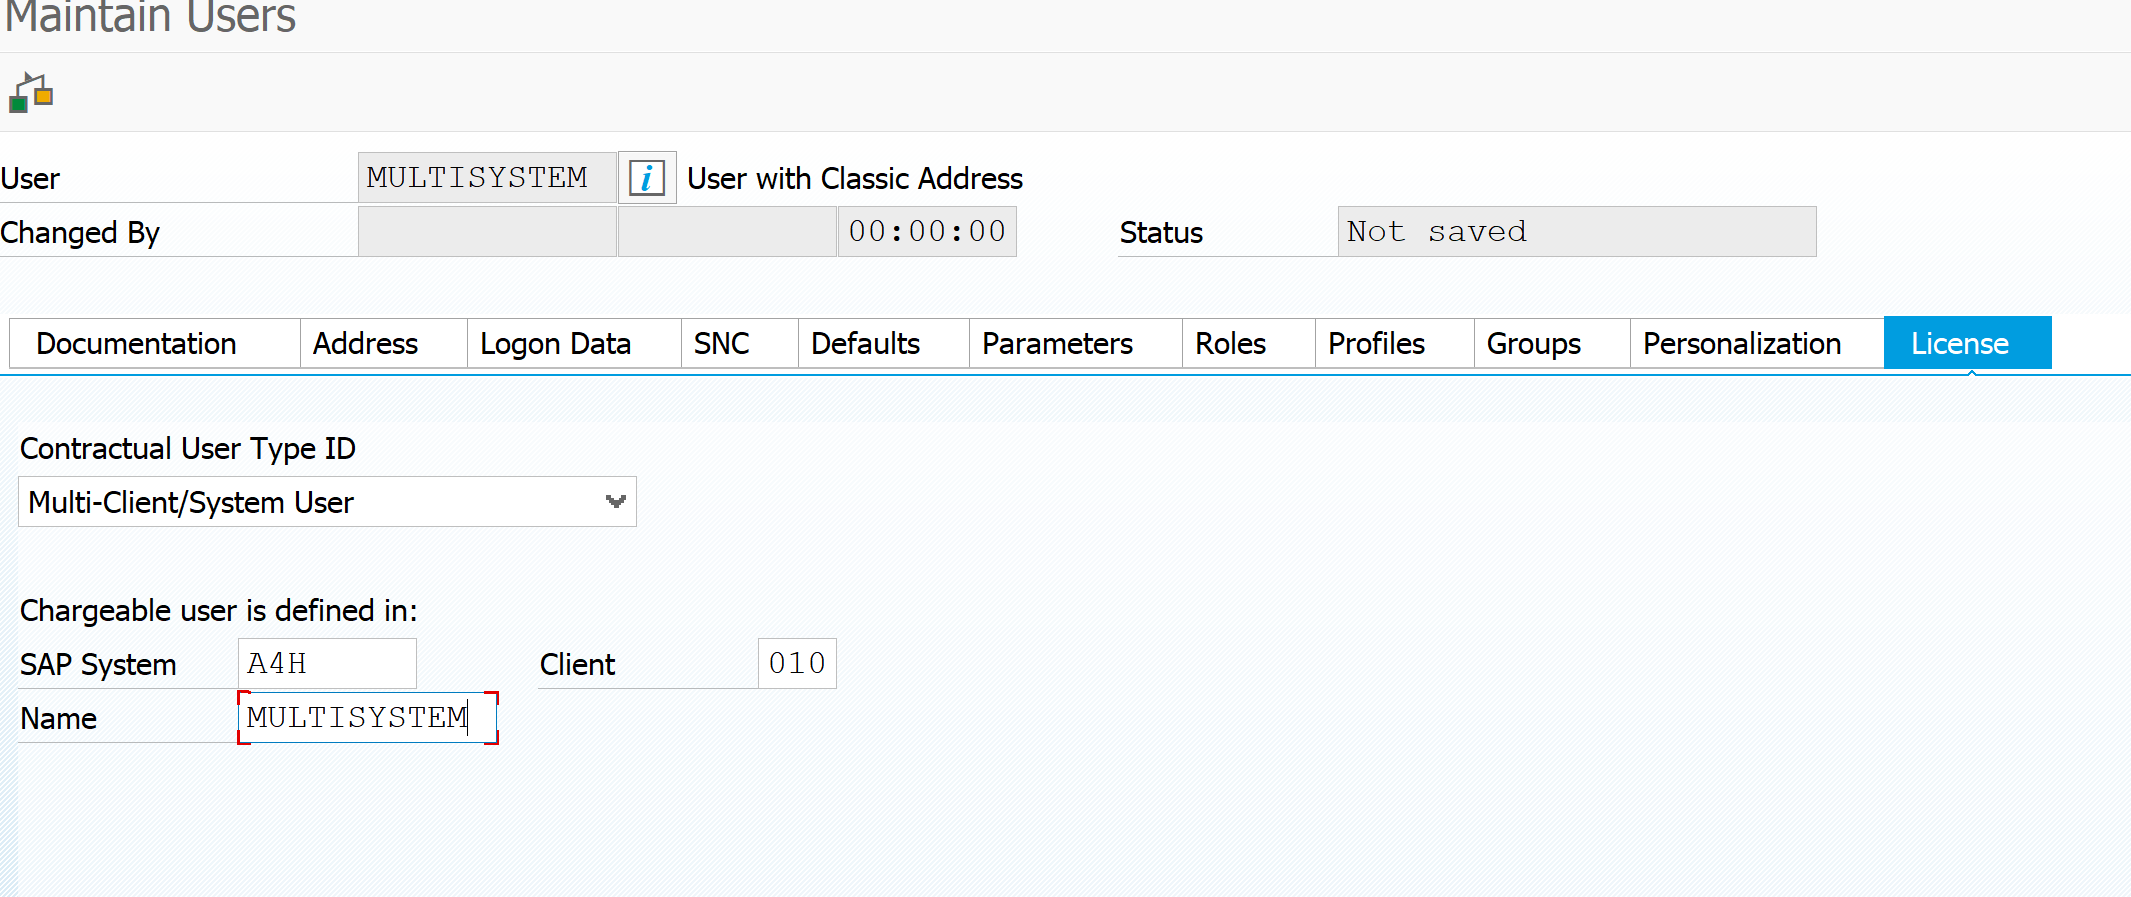
To help you in this administration activate in USMM the Multi-Client/System type:

Multi client system user type

In SU01 license tab you can now refer to this type, and set the main system for user measurement:

Multi system user in SU01 tab

If you have multiple systems you run USMM per system. For consolidation of the runs per system you can use the SLAW tool (license administration workbench), or it successor the SLAW2 tool.

LUI License utilization information

The LUI (license utilization information) tool is an online SAP tool that has all the information on your on premise and cloud licenses information combined. For cloud the usage is automatically visible. For on premise systems you can upload the usage via the SLAW files. This can give you insights into under-consumption and over-consumption of licenses. Read more in this blog.

SAP user measurement background information

The most current SAP user measurement background information can be found on the SAP support pages for user measurement.

For  tips and tricks on user management see this dedicated blog.

For the new license model for digital access, read this blog.

For more technical background on how the measurement is performed, read this blog.

For more background on licenses for SAP solution manager, read this blog.

For more background on FIORI ODATA usage, read this blog.

For more background on EHP switches and licenses, read this blog.

Bug fix notes:

Set up CTS project

This blog will explain on how to setup a CTS project.

Questions that will be answered are:

  • How to setup CTS project?
  • How to test if CTS project can be used in SE10 transports?

Set up of CTS project

Start transaction SPRO_ADMIN.

SPRO_ADMIN start screen

One TEST project is already created. We will now create new project TEST2. Hit the create button and give the project a technical name:

Create project in spro_admin

In the overview screen you now can give a long description name:

Create project screen

Goto the Transp.Requests tab to activate the CTS functions (save first is required):

Activate CTS functions

Alternative way of creating the project for CTS only is via SE38 program RSWBO_AUX_PROJECT.

Testing the project

To test if the project is created correctly go to SE10 and create a transport. The project should be visible now:

Project in SE10 project assignment

Basic activation of webservice SOAP runtime

This blog will explain how to activate the SOAP runtime inside the ABAP stack. This is a mandatory step before you can set up web services in transaction SOAMANAGER.

Questions that will be answered are:

  • What steps are required for the setup?
  • How can I check if the setup is done properly?
  • What are potential issue solving actions?
  • What other tools are available?

Setting up the SOAP runtime

Setting up the SOAP runtime is extensively explained in OSS note 1043195 – Configuration of Web service runtime. The basic steps below have to be repeated twice: first you execute the actions in client 000, then in the main data client again.

Start transaction SRT_TOOLS for reaching the main tool set:

SRT_TOOLS start screen

In the Technical Configuration section select the tool for Technical Web Service Configuration. This will bring you to the main activation program:

Automated technical configuration

Hit Execute to start the automatic configuration. For more information see OSS note 2347013 – Configuration of the ABAP Web Service Runtime with transaction SRT_ADMIN.

In case of issues with the creation of user DELAY_LOGON, check this OSS note:

2848763 – Creation of DELAY_LOGON user using SRT_ADMIN does not work reliably.

Checking the configuration

To check if is ok go back to the main screen and select the Check Technical Web Service Config tool. This is the start screen:

Check technical configuration

Start the check. Result should be like screen shot below:

Technical check check result

For the background jobs check OSS note 2231932 – ESI – How to schedule the SAP_SOAP_RUNTIME_MANAGEMENT standard background job.

Issue solving during setup

During setup things might go wrong. If you run without SAP_ALL, please check the notes that you have sufficient authorization. In the process both a background user (SAP_WSRT and DELAY_LOGON) and RFC (BGRFC_SUPERVISOR) are created. If you don’t have authorization for that, issues will happen.

Use transaction code SU01D to see if the users are created properly with the correct roles.

Use transaction code SBGRFCCONF and check the last tab that the supervisor destination is assigned. In systems with CUA there might be an issue with creating the supervisor destination. In this case follow the steps of OSS note 2775490 – Error in customizing while creating supervisor destination.

Issue solving program (run in SE38): WSS_SETUP.

Issue solving transaction: WSIDPADMIN.

Issue solving after setup

If you have issues after setup, run the above check tool via SRT_TOOLS, or directly via transaction SRT_ADMIN_CHECK.

Common root causes: changes in authorization, overzealous user admin deleted SAP_WSRT or DELAY_LOGON user, or somebody deleted the supervisor RFC destination, etc.

SOAP consistency check: see oss note 2353589 – Consistency Check for Soamanager.

Consistency check for Business application ID: see oss note 2347852 – Consistency check for usage of Business Application Id within Web Service Configuration.

Other notes:

SOAMANAGER and issue solving

In SICF activate the services /sap/bc/srt and /sap/bc/webdynpro/sap/appl_soap_managements.

After the steps above and the general activation, the transaction SOAMANAGER should start up properly.

If you have issues with SOAP webservices, you can check the reference OSS note 2553979 – SOAP Web Services ABAP – Guided Answers.

The generic troubleshooting note for security issues is 2321968 – SOAP Web Service Security Troubleshooting.

Issue solving tools are described in OSS note 3038290 – Tools for analyzing problems in Web Service framework.

Other testing issues:

Other tools

The SRT_TOOLS transaction also lets you jump to other useful tools such as the WS message monitor and the web services utilities tool.

Webservice issues after system copy and other system changes

After a system copy you might be confronted with data inconsistencies. Upon start of SOAMANAGER you might get this screen:

Webservice setup issue after system copy

Follow the instructions from OSS note 2353589 – Consistency Check for Soamanager. It might mean you need to run program SRT_WSP_INITIALIZE_WS_CFG to re-initialize the complete setup and reconfigure all the webservices again.

Background: 2348042 – Web Service Configuration and system copy/refresh, and 3263624 – ESI – SOAMANAGER error: Read error in secure link ID.

In case of host name changes read OSS note 3235977 – Implications on Web Service Configuration in case of hostname change.

Removing a system from the configuration, read OSS note 3238552 – Removing a system from a local configuration.

Related bug fixes:

Retention of SOAP messages

Start transaction SRT_UTIL to go to the Web Service Utilities screen. From the menu now select the option Tools, Global Configuration. Here you can set the retention times (in days) to keep the SOAP messages:

OSS notes 2611962 – WS retention period and 3024345 – ESI – How to change the retention period for Web Service messages contain the background.

If table SRT_MMASTER is growing fast, it is time for clean up of web service data: see OSS note 2231932 – ESI – How to schedule the SAP_SOAP_RUNTIME_MANAGEMENT standard background job.

Idoc webservices

Some web services will use idocs. To use this feature basis first needs to enable this option by registering this service.  This registration is performed via transaction SRTIDOC.

Bug fix and explanation notes SRTIDOC:

SAP background wiki

Please follow this link to the SAP background wiki on basic SOAP runtime activation.

Activating web services

Oss note 2175422 – Web service provider configuration in transaction SOAMANAGER [Video] contains an excellent video with all the step to activate and configure a web service on the ABAP stack. See also this blog on how to convert any remote function module into a web service. And this blog on how to consume a web service in ABAP.

Use of logical ports is explained in this OSS note: 3237511 – Using default logical ports in Web Service scenarios.

Monitoring web services

For more information on monitoring web service message read this dedicated blog.

User role comparison

When you have updated a role this update needs to be reconciled with the existing users assigned to the role. This blog will explain how to do this.

Questions that will be answered are:

  • How to execute user role comparison?
  • How to perform mass execution?
  • What should I do in a productive system?

User compare in role building

User compare in role building is pretty easy. In PFCG when you get the yellow traffic light in the user tab the screen looks as follows:

Role user comparison

Simply hit the User Comparison button and you are done:

After PFUD run

Mass run of user comparison

With transaction PFUD you can do a mass user assignment comparison:

PFUD start screen

More information on PFUD can be found in OSS note 511200 – PFCG/PFUD/SU01/SU10: Role assignment and profile comparison.

Bug fix notes:

Running after transports and running in productive system

When you transport a role some changes might end up into the roles being updated, but the user comparison is not done. The end result is that the assigned authorization does not work, and you might get lots of complaints.

In oss note 571276 – PFCG: Transport of roles, SAP explains regarding the cleanup option: “If you schedule the user comparison in a way that means that there might be time overlaps with role imports, you should always deactivate the “Cleanups” option. Otherwise, imported profile data might be deleted.” and “The cleanup is not a security issue, so it does not have to be active for every comparison. Experience shows that it is sufficient to execute it once a week. However, it must be scheduled so that no role import is in progress at the same time.”.

That’s why it is wise to run the program behind PFUD, RHAUTUPD_NEW, in each system on daily or bi-daily basis without the cleanup option. And run it once per week in the weekend with the cleanup option enabled.

PFUD_AIMP transaction

OSS note 2734455 – Optimized user comparison after role imports contains optimized way for the comparison in some cases when you transport roles. It also explains the new PFUD_AIMP transaction.

ST03N time profiling

If you are running a global system you want to see the usage of the system round the clock. Unfortunately the standard delivery of SAP is summing up the early morning and night hours in the ST03N time profiling.

This blog will explain you how to change this to 24 hours statistics recording.

Questions that will be answered in this blog are:

  • How to switch to 24 hour time profiling?
  • How does the result look like?

General information on ST03N can be found in this blog.

Switching to 24 hour time profiling

To switch to 24 hour time profiling start program SWNC_CONFIG_TIMEPROFILE:

Program SWNC_CONFIG_TIME_PROFILE

Select the Calculate All Hours Separately option and hit the execute button. Done.

The end result

Before you can see the end result you best wait one week for the changed statistics to record.

After 1 week go to transaction ST03N and select the Time Profile option in the expert section:

Time profile selection in ST03n

The end results is a breakdown in all 24 hours:

Endresult

More background information can be found in OSS note 910897 – ST03N: Configuration of the time profile.