Central user administration (CUA) is a great tool. Despite the fact that SAP has tried to replace it with IDM tools (IDentity Management). CUA remains efficient and reliable.
Questions that will be answered in this blog are:
- What are use cases for CUA?
- How to setup CUA?
- How to monitor CUA?
- Is CUA working is S4HANA?
Use cases for central user administration
Use cases for central user administration:
- Management of users in the entire landscape (including production servers)
- Management of users in non-production (sandbox, development, acceptance)
- Management of users in client 000
Suppose you have a larger landscape consisting of 100 SAP systems and a new basis person will join. Good luck creating 100 user accounts… With CUA connected this is done in one shot.
And every now and then you need to go to client 000. You have forgotten the password, or due to security settings you users is automatically locked there after xx amount of days. With CUA you can simply reset your password there and log on.
Check if you are using to use SAP-GRC access control. This might conflict with CUA.
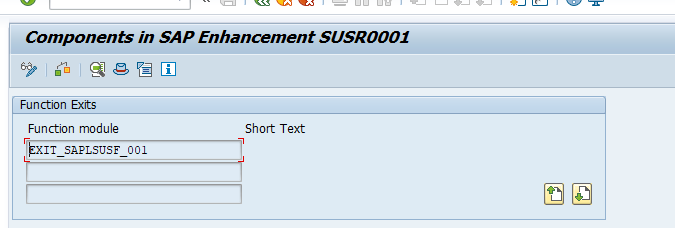
Set up of central user administration
In the central CUA system (also called CUA master) you need to set up a logical system for each CUA child system. Use transaction BD54 to create them.
Also setup 1 RFC in SM59 to each child system with this naming convention:
<SID>CLNT<MANDT>
Use a non-expiring background user, with the appropriate rights, in this RFC. Make sure you update the whitelist for CUA in the RFC, otherwise you might get RFC callback error. See this blog.
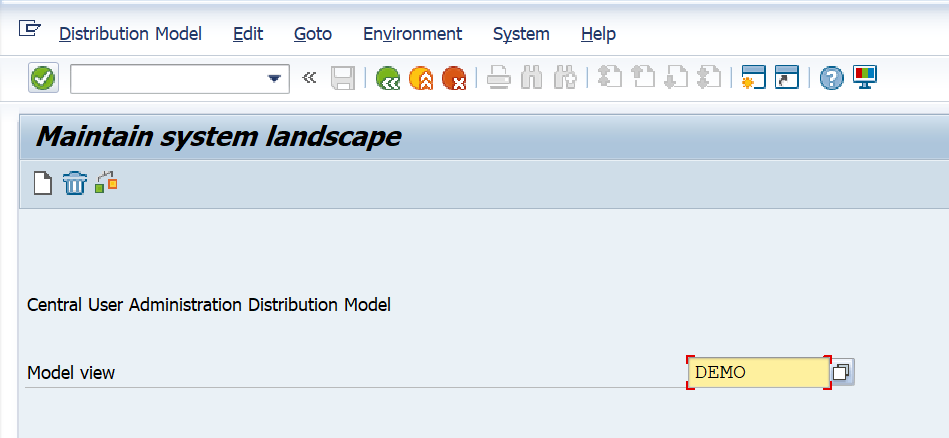
Now start transaction SCUA:
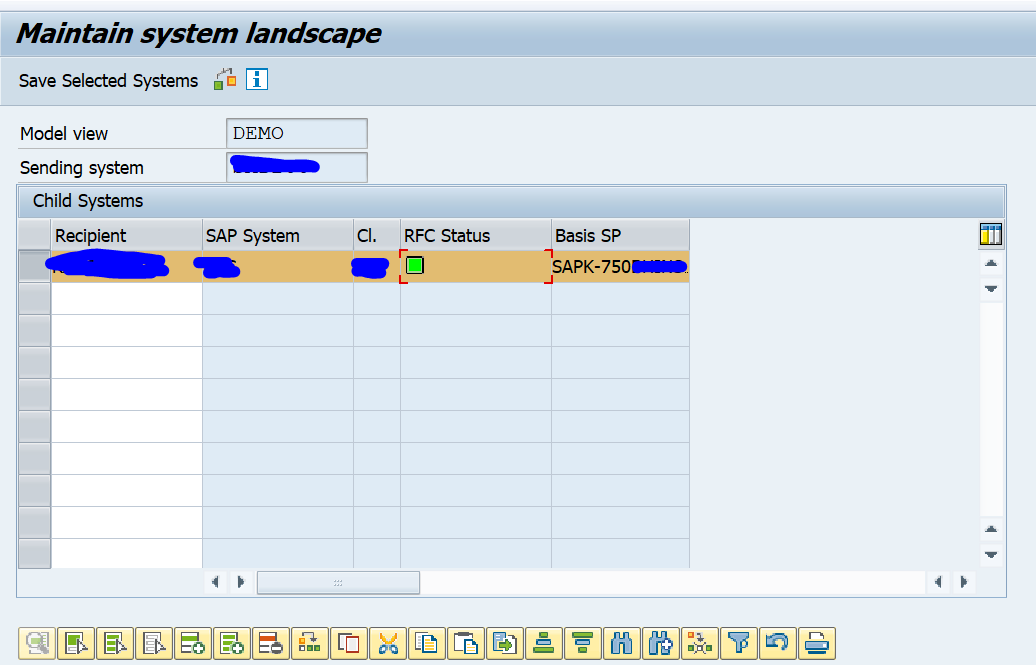
Create a new model view and add the child system:
Do check that the RFC status is fine.
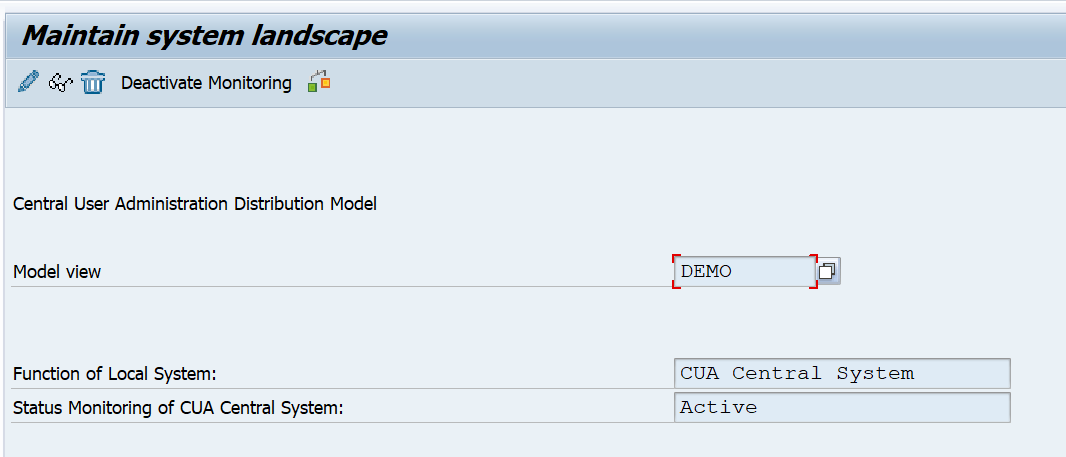
Save and activate the CUA model view:
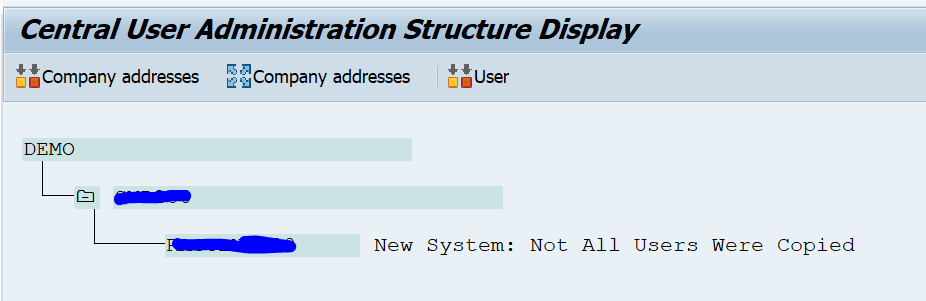
Check in the master CUA system that the distribution model is created correctly. Start transaction BD64 and look for the CUA model:
Check in WE20 in the master CUA system that the partner profiles are correctly generated towards the child system:
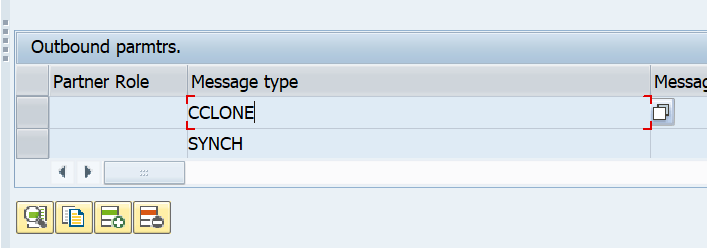
Check that the outbound settings are set to collect the idocs.
If you have a user base up to 1000 users, you could set the idocs to immediately. With larger user bases: set to collect. Reason is that CUA will daily compare the child and master. It will generate 1 idoc per user. This will clog the child system if you do not set to collect.
Check on the CUA child system that the WE20 partner profiles are also created correctly:
Also here, set the processing to collect in stead of process immediately.
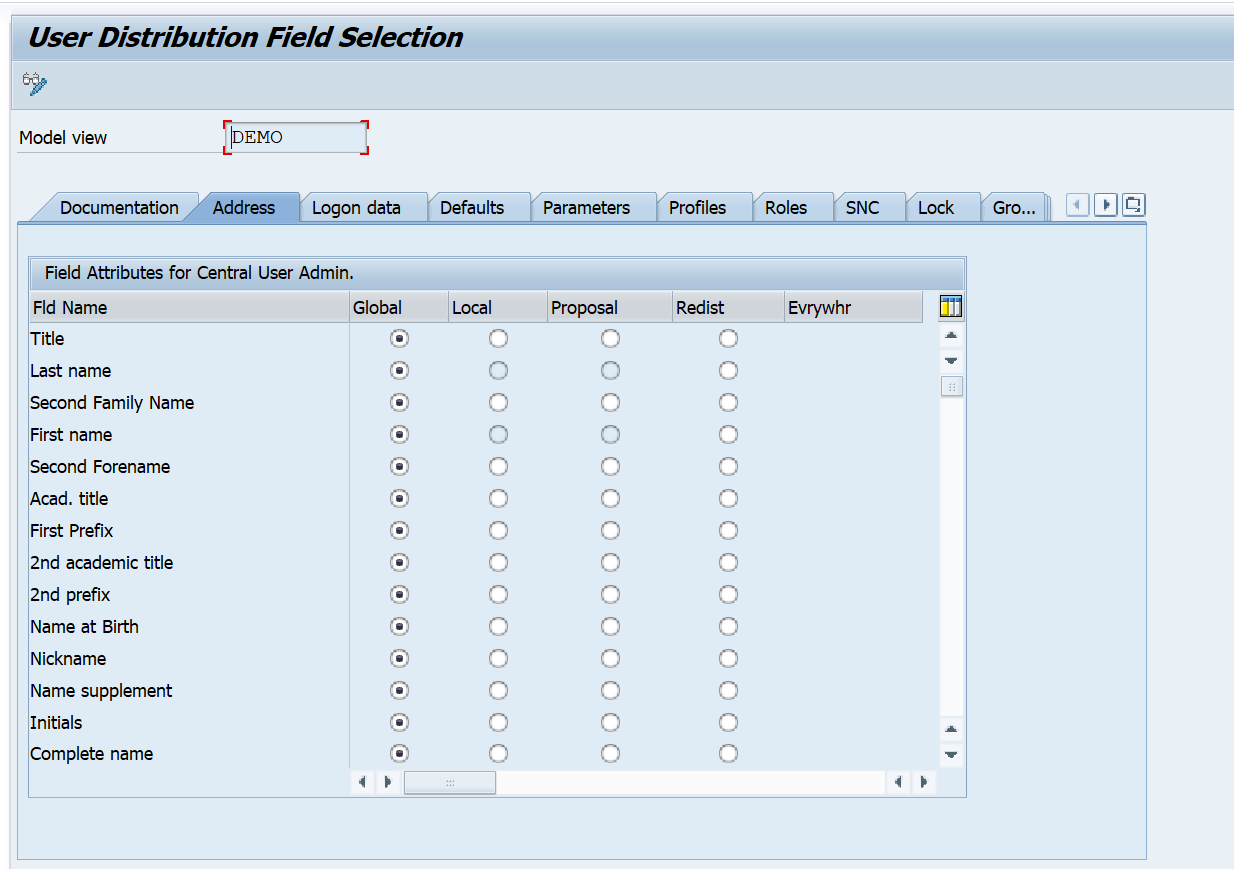
In transaction SCUM you can make a very detailed configuration per field on which fields are globally maintained in the CUA master, and which local:
First synchronisation
After the first setup you need to do an initial synchronisation.
Start transaction SCUG:
First synchronise the Company address. Then synchronise the users. During user synchronisation you will get errors due to user groups. Each user group in the CUA child system needs to be defined in the CUA master system as well.
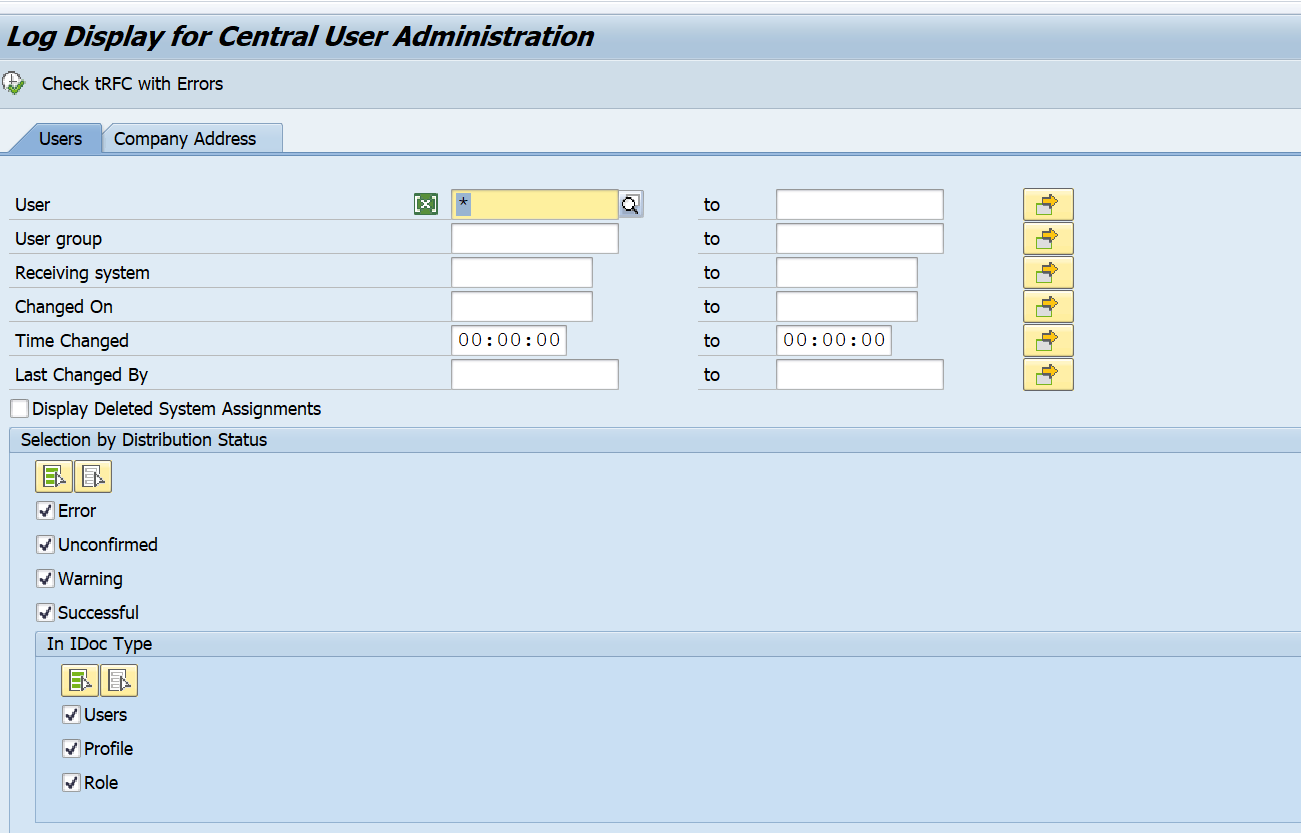
Transaction SCUL can be used to check the logging:
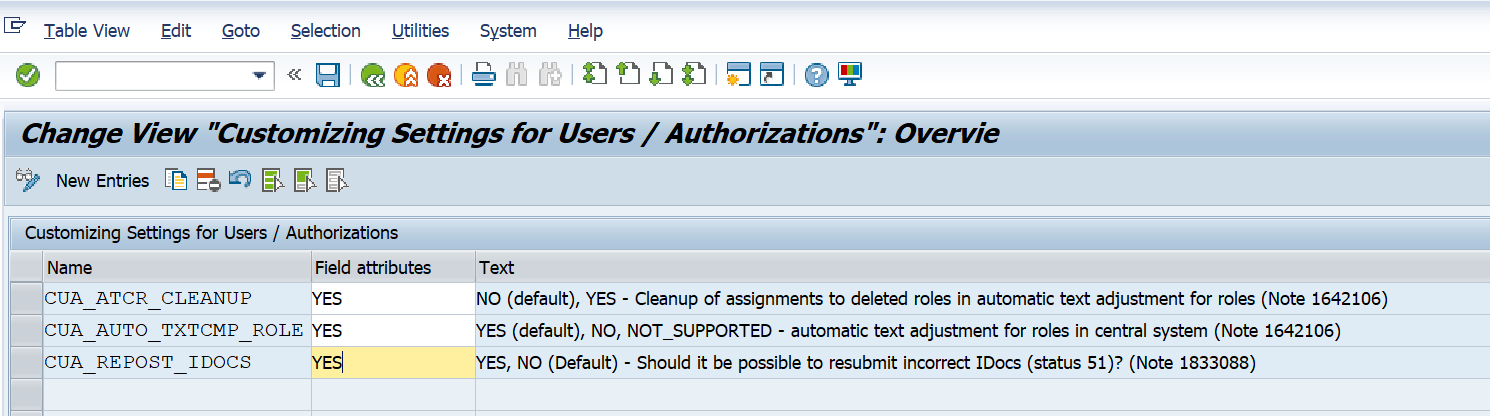
For text comparison a traffic light shows whether the child system supports it or not. See SAP note 1642106 – CUA|PFCG: Automatic text comparison of roles for central system. This note explains to update table USR_CUST:
For issues remaining with first setup, read OSS note 333441 – CUA: Tips for problem analysis.
Regular batch jobs
In the CUA master system plan the following batch jobs:
- RSCCUSND (Send user master data to child systems), daily
- SUSR_ZBV_GET_RECEIVER_PROFILES (text comparison between child and central), daily
- RSEOUT00 (Send idocs to child systems), every 5 minutes
In the CUA child system plan the following batch jobs:
- SUSR_ZBV_GET_RECEIVER_PROFILES (text comparison between central and child), daily
- RBDAPP01 (Process idocs from the master system), every 5 minutes
Due to the jobs, a change in CUA master can take up to 10 minutes to be effective in the child system.
In the central system the next standard jobs are scheduled:
- BAT_CUA_USER_MASTER_DATA
- BAT_CUA_SEND_IDOCS
- BAT_CUA_COMPARISON_PROFILES
- BAT_CUA_SEND_IDOC_ERRORS
In the child systems the next standard jobs are scheduled:
- BAT_CUA_PROCESS_IDOCS
- BAT_CUA_COMPARISON_PROFILES
More background information can be found in OSS note 399271 – CUA: Tips for optimizing ALE distribution performance.
CUA in action
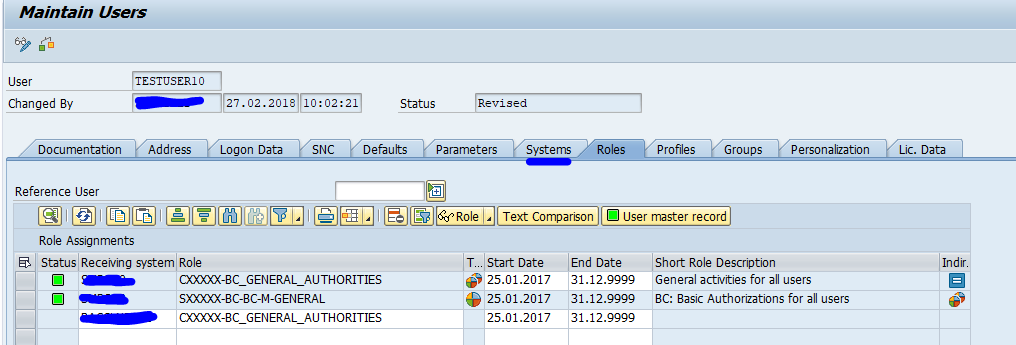
If you goto SU01 in the master system, you see there is an extra tab called systems. And you have to specify the system for each role you assign to a user:
Copying a user can be done for multiple systems.
Also password resets can now be done for multiple systems in one shot.
Emergency cases
There might be emergency cases when CUA master is down or is having maintenance or issues, you might need to temporarily disconnect CUA.
Read OSS note 320449 – Deactivating the CUA temporarily. Run program RSDELCUA in the child system.
CUA and S4HANA
Despite several rumors, CUA is fully supported with S4HANA. See help.sap.com on CUA in S4HANA 2021.
Background information
More background information: