There are 2 good reasons for mass locking and ending validity date of user: security and licenses.
Questions that will be answered in this blog are:
- How can I mass lock users automatically if they have not logged on for a certain time?
- How can I mass set the validity date of the users that did not log on for a certain time?
Automatic lock of user after expired logon
In RZ11 you can set parameter login/password_max_idle_productive with an amount in days.
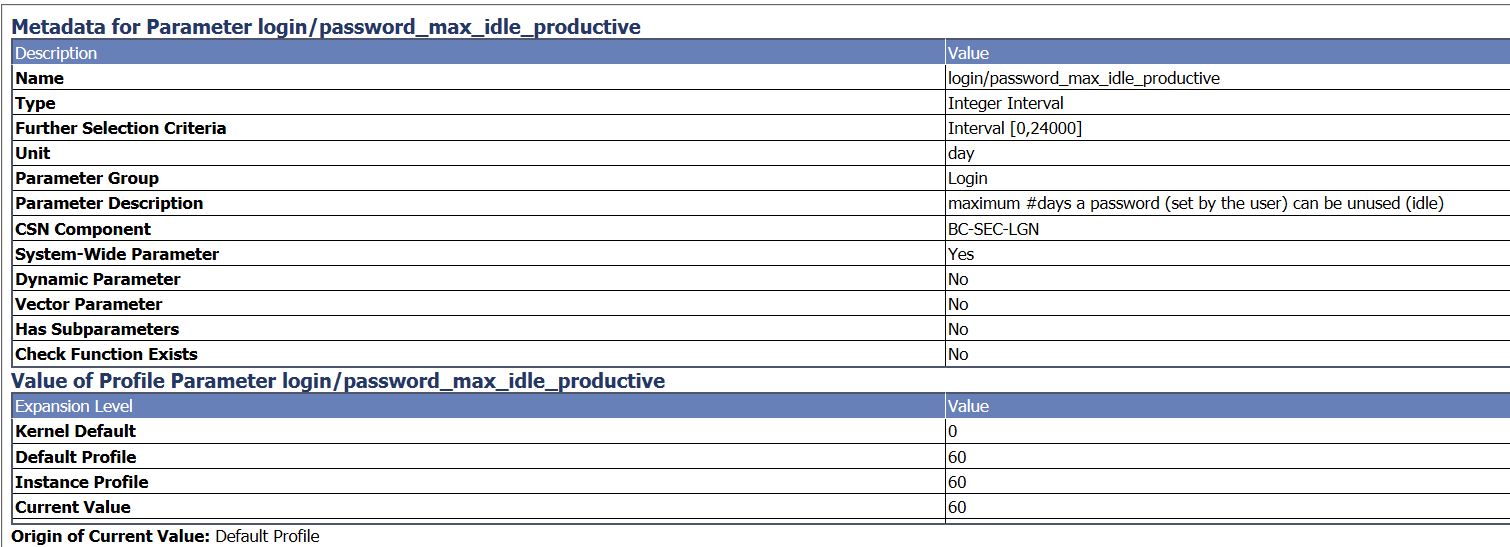
If the user (including yourself) did not logon to the system after this amount of days the password is still valid, but it does not allow you to logon.
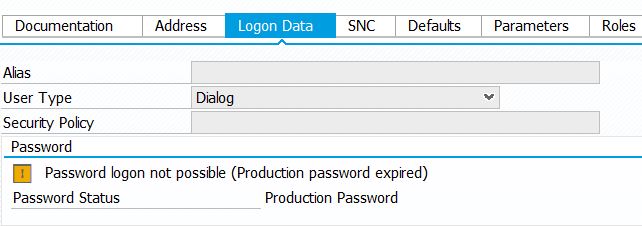
If the user tries to logon after the period he will see this error message and cannot continue:

In SU01 such a user looks like this:
If you also want to automatically lock users after you give them a new password, use the parameter login/password_max_idle_initial.
Initial passwords is one of the nice ways of entering a system as hacker. Especially if the initial password used by the admin is more or less the same (like Welcome_1234!). Countermeasure: instruct your admins to use the Password Generator. This will generate long random once off password.
Mass setting of user validity date
For user measurement and security reasons you want to limit the validity period as well. Users who are locked still count for user measurement (see blog on license measurement tips & tricks). Users locked and unlocked by some method can be security threat.
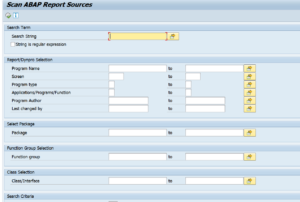
Standard SAP program RSUSR_LOCK_USERS (built on top of program RSUSR200) is the tool to achieve this.
It has quite a long selection screen:
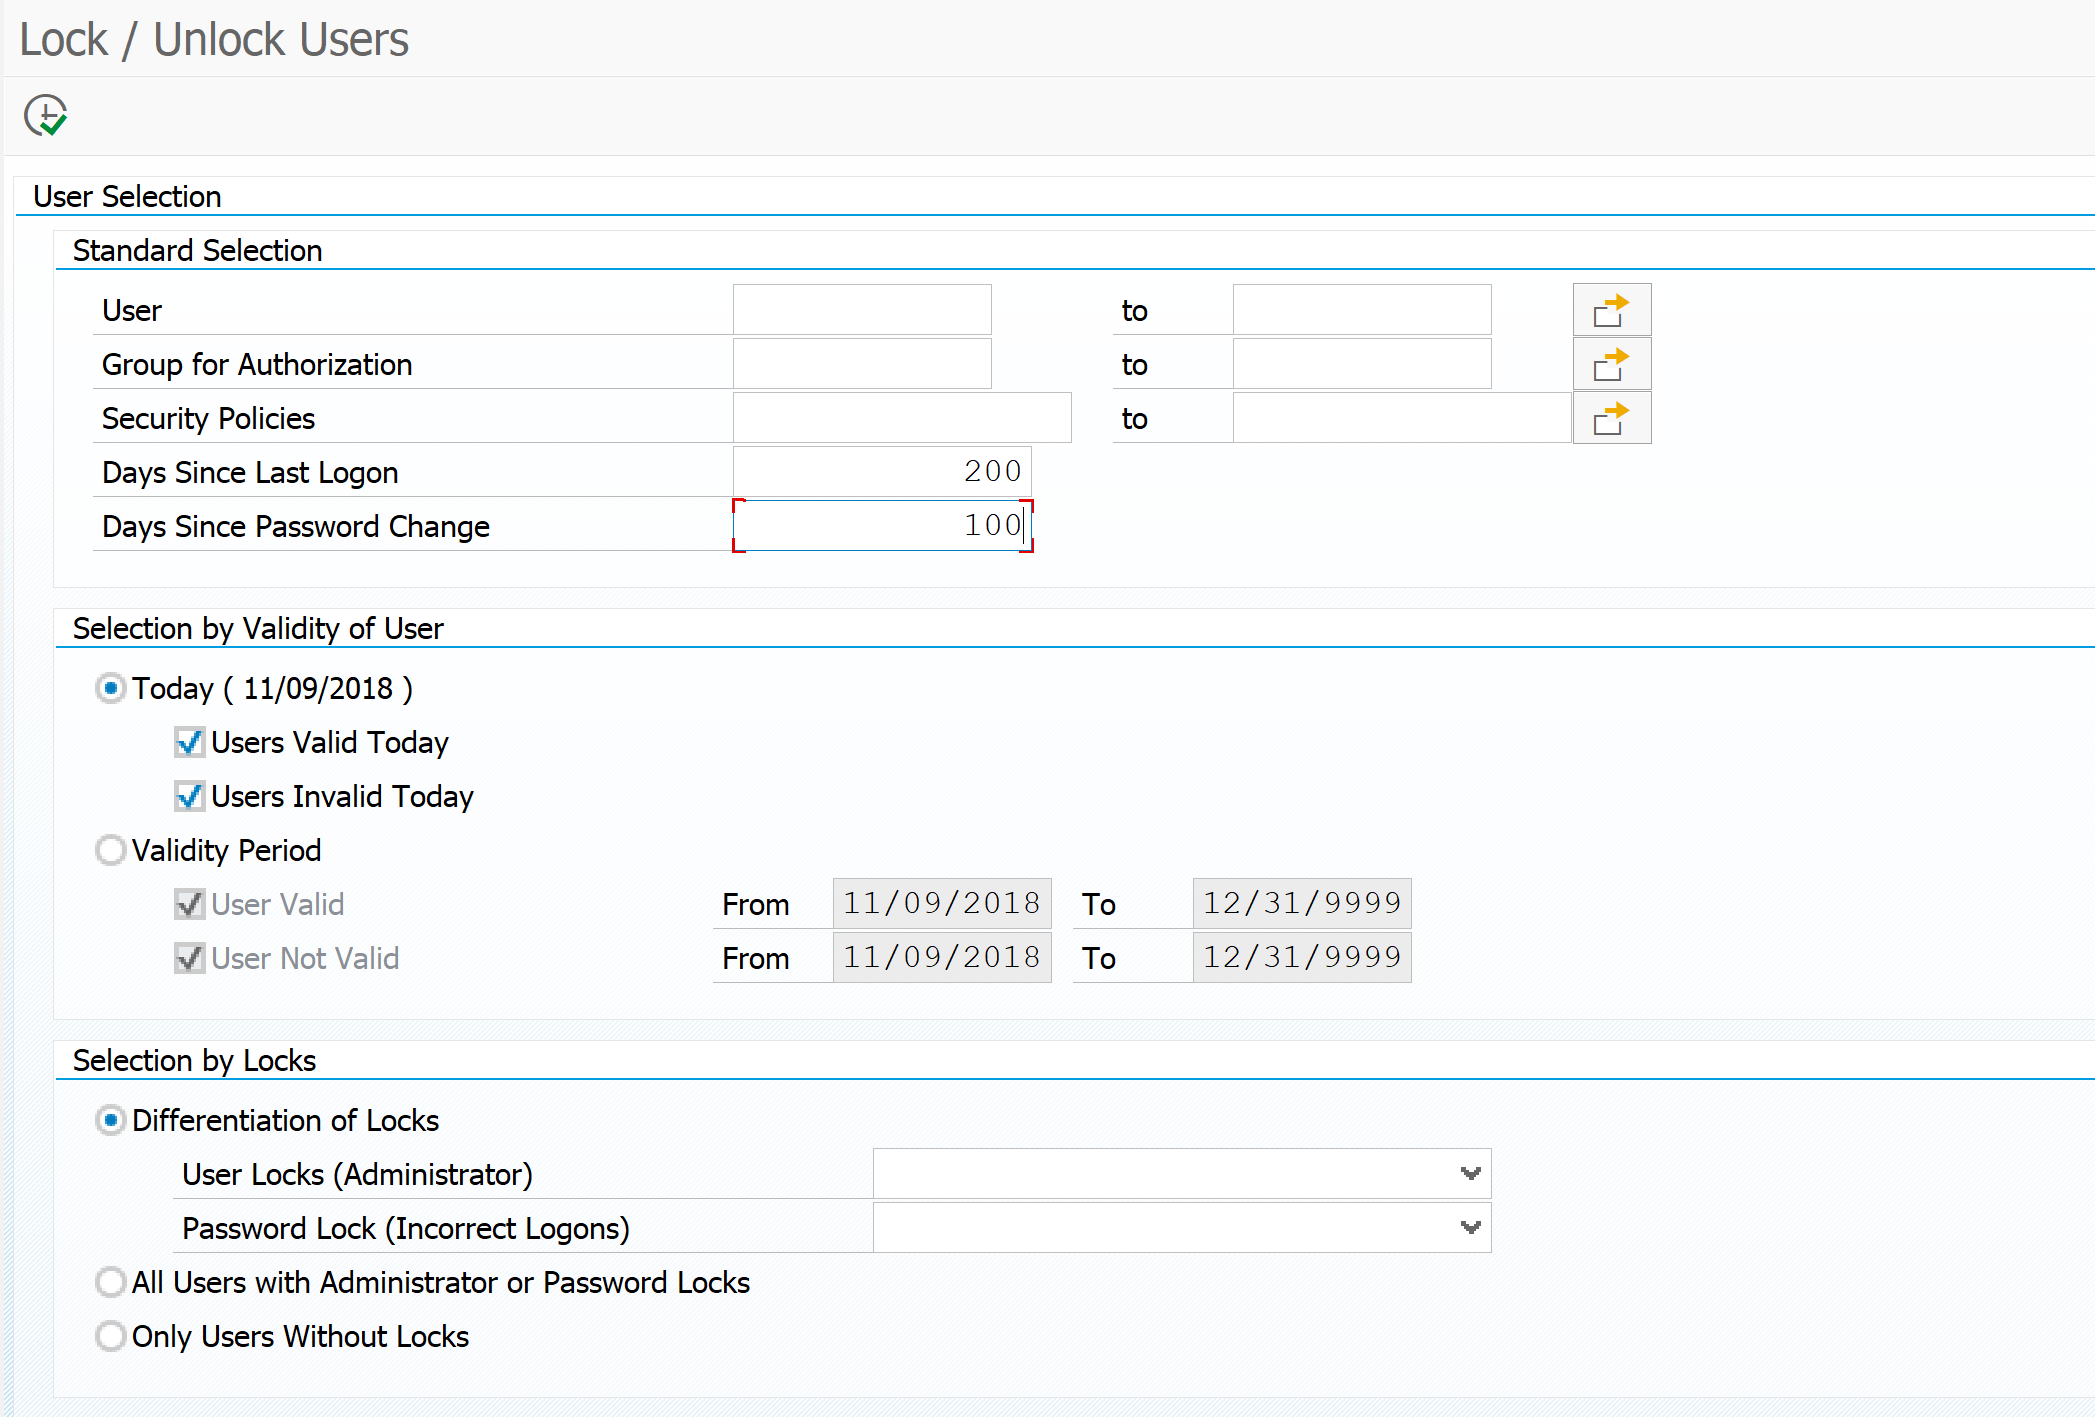
On the first block set the dates for last logon and password change to get a good selection of users.
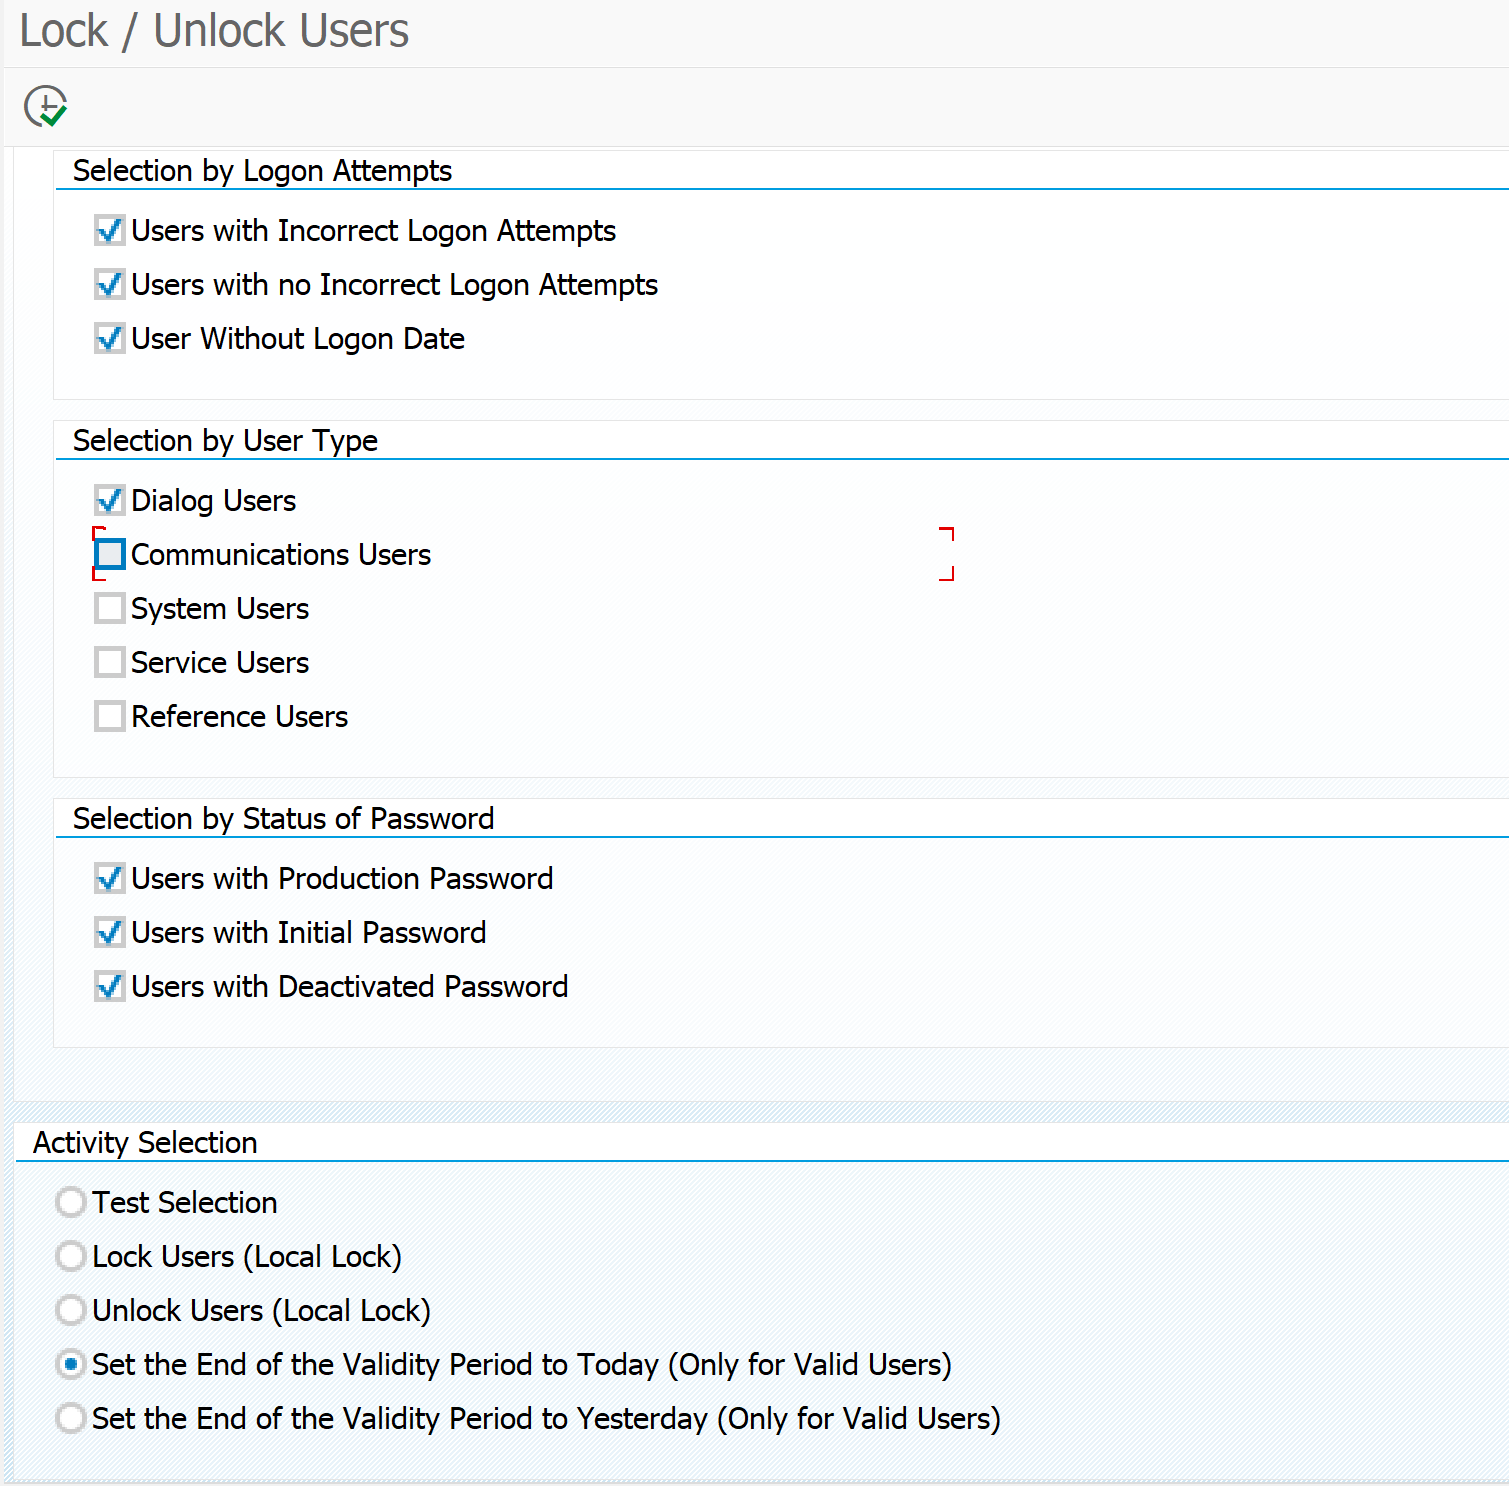
On the second block very important to only select Dialog Users.
First run with Test Selection to get a list. If you are happy with the list, run it with Set End Of Validity Period.
OSS notes
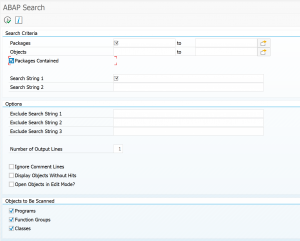
Performance and bug notes (OSS search hints RSUSR200 and RSUSR_LOCK_USERS):
- 2615606 – SUIM | Search for users with incorrect logon does not work
- 2628060 – SUIM | RS USR200: Poor performance
- 2698638 – RSUSR_LOCK_USERS does not unlock users with incorrect logon attempts.
- 2715833 – SUIM | RSUSR200 – search for users not valid in certain time period returns incorrect results
- 2770656 – RSUSR_LOCK_USERS: Incorrect selection parameters
- 2849534 – ALV full screen: Processing in background results in a runtime error
- 3025197 – RSUSR200 | performance optimization and print output optimization
- 3292405 – RSUSR200 | List header problems in case of extremely large number of selection criteria
- 3370057 – SUIM | Missing function for RSUSR200 in SU10 mode
- 3392534 – RSUSR200 | Error during selection by validity interval
- 3421267 – RSUSR_LOCK_USERS – update task
- 3428447 – RSUSR200/RSUSR002 | enhancement of result list