You are going for S4HANA conversion if your start release is ECC6.0. Then you are not only upgrading your system, but actually a large part of your data (financial data, stock data, customer data, vendor data, etc) is converted from the ECC 6.0 to the S4HANA data model.
A great amount of preparations are required for a conversion to S4HANA. If you are on a S4HANA start release and want to upgrade to a higher version, the steps are far less. In that case read the blog on upgrading in stead of the blog below, which focuses on the conversion.
Summary of preparations to consider:
- Readiness check and pathfinder
- Sizing
- Data archiving
- Remove unused clients
- Add-ons
- Custom code adjustments
- DTV tool (data transition validation)
- Performance of custom code (SQLM and SWLT)
- Use of Eclipse for custom code
- S4HANA simplification items
- CVI: Business partner integration of customers and vendors
- FICO: New general ledger and new asset management
- SLT triggers
- Set up parallel landscape
- Security parameter changes
- Downtime
- Measure during all conversions (start on sandbox, development)
- Perform actual dry run on acceptance or dedicated trial conversion system to measure downtime
- Transaction codes that are changed
- Downtime optimization app
- Include customer transports in SUM upgrade
- FIORI:
- Use of embedded Livecache
Readiness check and pathfinder
A good first step is to run the S4HANA Readiness Check 2.0. This tool will give you a first insight into the use of your current system and potential blocks and work for the S4HANA conversion. How to run the check is explained in this blog.
The readiness check is more based on existing functionality. The pathfinder tool is a tool that can help you more into new and innovative scenarios. Read more about pathfinder in this blog.
Sizing
You need to switch your system from your current database to a HANA database. This has impact on both your database size and your system sizing. Read more about in this blog on S4HANA system sizing, based on your current system usage.
A database migration can be done before the S4HANA conversion, but in most cases the database migration and S4HANA conversion are combined in one step.
Data archiving
To speed up the data migration, data archiving and data deletion is required to execute in many cases. The archiving and deletion can already be done before your S4HANA conversion project starts. For information on deletion of technical data read this blog. For data archiving, you first start with the business discussions on retention times (read this blog). After the discussions are done, you execute the technical execution according to this blog.
Remove unused clients
Unused clients must be removed. Removal of clients 001 and 066 are mandatory and to be removed before the conversion starts. Read more in this blog.
Add-ons
Add-ons can be the worst nightmare in a S4HANA conversion. If an add on is no longer required, first check if it can be uninstalled.
See OSS note 2011192 – Uninstallation of ABAP add-ons for SAP delivered add-ons, and OSS note 2911053 – Uninstallation configuration for 3rd party delivered add-ons.
If you do need to convert your system to S4HANA including the add-ons, please read OSS note 2214409 – SAP S/4HANA: Compatible Add-Ons. This note refers to the list of compatible SAP and 3rd party add-ons for each S4HANA version.
The SAP add-ons will normally be ready within few months after release of new S4HANA version. 3rd party add-ons differ per supplier. Some are really fast and can deliver you the needed ACP file within a week. Some take months or longer than 1 year. If you have such a poor add-on supplier, your complete conversion will block until the supplier has done its work. Best to impose pressure via management (best is via CIO or head of IT procurement) on the supplier to speed up.
Custom code adjustments
During the S4HANA conversion process all custom code must be validated and adjusted in these cases:
- Changes due to HANA database change
- Changes due to S4HANA data model changes
You can already change in the existing ECC 6.0 system parts of the code before the actual conversion. To see what you need to change, you need to set up an extra ABAP netweaver stack and run remote ATC checks for S4HANA readiness of the custom code. Read the details in this blog.
Next to S4HANA readiness, you can also scan your custom code for use of unsupported SAP objects. Read the details in this blog.
Custom code performance
You can use the SQLM and SWLT tools on your current productive system to determine your code points that already eat up most of your system performance now. These points are an opportunity to improve in the S4HANA conversion.
Data transition validation tool
During the S4HANA conversion FICO data and other data will be migrated to new data structures. The business needs to validate if the conversion was done correctly and proof this. Consider the use of the DTV tool (data transition validation) for this purpose.
Use of Eclipse for custom code
On S4HANA many new developments are possible in custom code, like CDS views. For these tools the ABAP developers need on their front end the ABAP Eclipse tool. Read these blogs: installation of ABAP Eclipse and backend activation.
S4HANA simplification items
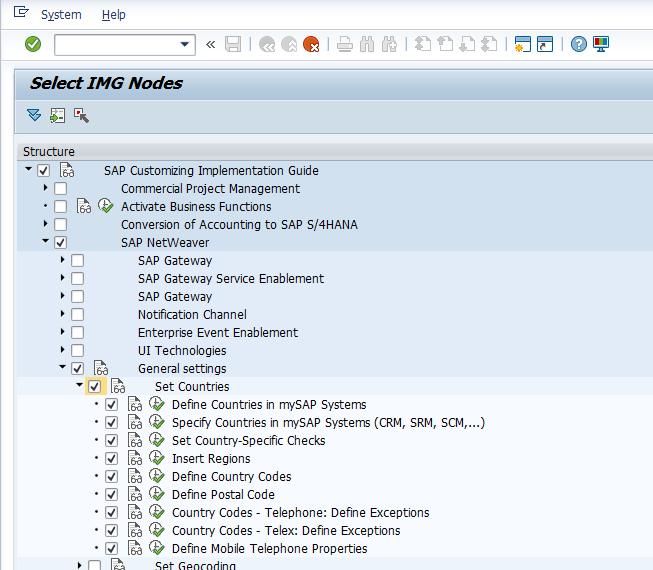
The S4HANA simplification items must be dealt with. Already before starting the conversion, you can run the simplification items checks and assess their impact. Read this blog on how to run the S4HANA simplification items check.
CVI integration / BP integration
The CVI (customer vendor integration), also known as BP (Business Partner) integration can be a very time consuming piece of the S4HANA conversion preparation. More on this topic can be learned on the OpenSAP training dedicated to the Business Partner conversion in S4HANA.
FICO changes
In S4HANA new general ledger and new asset management are mandatory to be used. If your current system does not yet use new general ledger and/or new asset management, you need to plan a lot of time for the FICO consultants and FICO business for the FICO data conversion.
SLT triggers
If you are using SLT triggers, also check this OSS note carefully: 2755741 – Potential Impact of SLT During SAP S/4HANA System Conversion / Upgrade of S/4HANA System. In some cases it is better to drop the triggers and recreate after the upgrade.
Set up of parallel landscape
Most likely your ECC system has a lot of topics to be dealt with. This also means that the conversion project will take between 6 and 12 months in duration. During this time more or less changes must continue to be implemented for diverse business and legal reasons.
For most support packages and upgrades a parallel landscape might be over the top. But for a S4HANA conversion it is definitely not a luxury item.
Best to start your planning and implementation directly with a parallel landscape in mind.
More about parallel landscape in this blog.
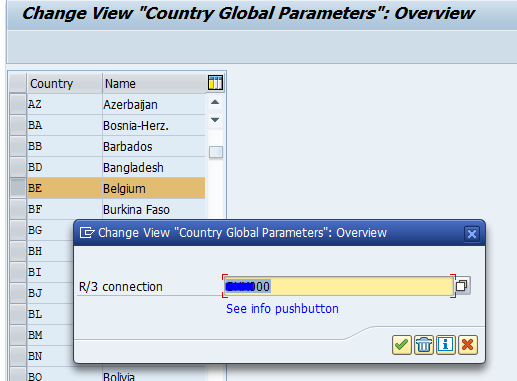
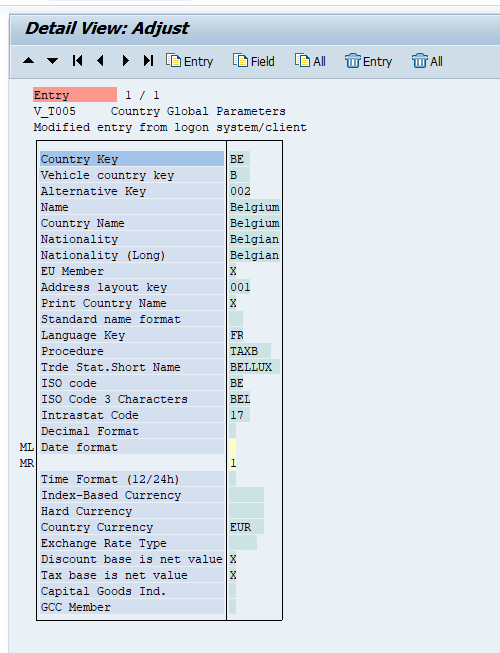
Security parameter changes
After the conversion to S4HANA you need to consider new and updated security parameter recommendations from SAP. You can prepare yourself already for this step. Read more in this blog.
Downtime reduction
An S4HANA conversion can take a long time to implement, but also a long time to run in productive system. It can take a complete day, weekend or even extended weekend (including Friday and Monday) to execute the conversion on production.
During your S4HANA conversion you should really spend time on downtime minimization.
First step is to determine the maximum downtime you are allowed to have by the business. If you have this timing, use the first sandbox and development system conversions to measure the expected downtime as first estimate. You can use the downtime recording from the SUM tool. But you have to add time for many more elements:
- Graceful shutdown
- Data checks after the migration
- Transport imports after the migration
- System validation after the imports
- Graceful startup
Test the actual downtime on your acceptance system. If required, you can also create extra copy of production to a special conversion upgrade dress rehearsal system to practice the downtime and your optimizations.
Tips for downtime reduction:
- Check the SUM options for downtime reduction
- Check the downtime optimization app from SAP: see this blog
- Consider to include customer transports in SUM: see this blog
- Consider to contact SAP if your system is very large and you outage window requirements are not met by the actual times. SAP can offer tailored services to further reduce your downtime. These services are expensive, but can be worth the money to help your project meet the business maximum downtime requirements
In the SAP readiness check there is a dedicated section for estimating the total business downtime of a S4HANA conversion. Read more in this dedicated blog.
Transaction codes that are changed
S4HANA conversion comes with changes to transaction codes. Old ones are replaced by new ones. New transactions are present. FIORI tiles replacing transaction codes. And many more. Unfortunately there is no central list. OSS note 3118651 – How to identify, which Apps/Transaction codes are obsolete or replaced in SAP S/4 HANA? provides hints on assembling a list for your use case.
FIORI app recommendations
The FIORI app recommendations tool can already be used before the start of your S4HANA conversion project. You can use the current ST03N data in your ECC system and upload it to the FIORI app recommendation tool. This can give you insights into parts where you can support the user better with FIORI apps. More information on the FIORI app recommendations tool can be found in this blog.
Use of embedded LiveCache
In case your ECC system is connected to SCM APO system, you might consider to start using the embedded LiveCache in S4HANA as a replacement of the SCM APO system livecache.
This can only be done if:
- SCM is not used by other ECC systems as well
- You validated you can replace all functions
- You have sufficient time in your project for the replacement
If yes, it will save you a complete SCM landscape.
More background on embedded LiveCache setup is in this blog.
SAP best practices
SAP has an excellent best practice document “Upgrading SAP S/4HANA: Why, How, and Best Practices”.